PSST – I use affiliate links on my website, from Amazon as well as others – this means if you click my links, I may earn a little money at no cost to you! I appreciate your support of my blog, and if you have questions, you can see my disclosure policy here. Thank you!
Raise your hands with me if puffy paint was part of your childhood. (Raise both if you also tie-dyed a shirt or six.)
I can still remember using puffy paint on my (admittedly pathetic) costume in elementary school, where a clown wig and a puffy-painted sweatshirt declared my status as the “Punk Pumpkin”. No, seriously. Then came junior high, where puffy paint was critical to making shoes more exciting, and decorating ALL the picture frames for my room as evidence of my amazing friendships.
I remember my Nana pulling out the buckets and teaching myself and my cousins the fun of tie-dye. Tie-dye wasn’t really my thing, but time with my Nana was always worthwhile!
If your kids love paint but you’re tired of running out of paper (or washing it off the table, the chairs, their faces…), fabric painting is a fun way to give that creative energy a new outlet. These projects are hands-on, easy to prep, and best of all—the finished pieces are something your kids can use every day.
Here are three fabric-painting crafts that are fun, simple, and perfect for kids of all ages.
1. Custom T-Shirts
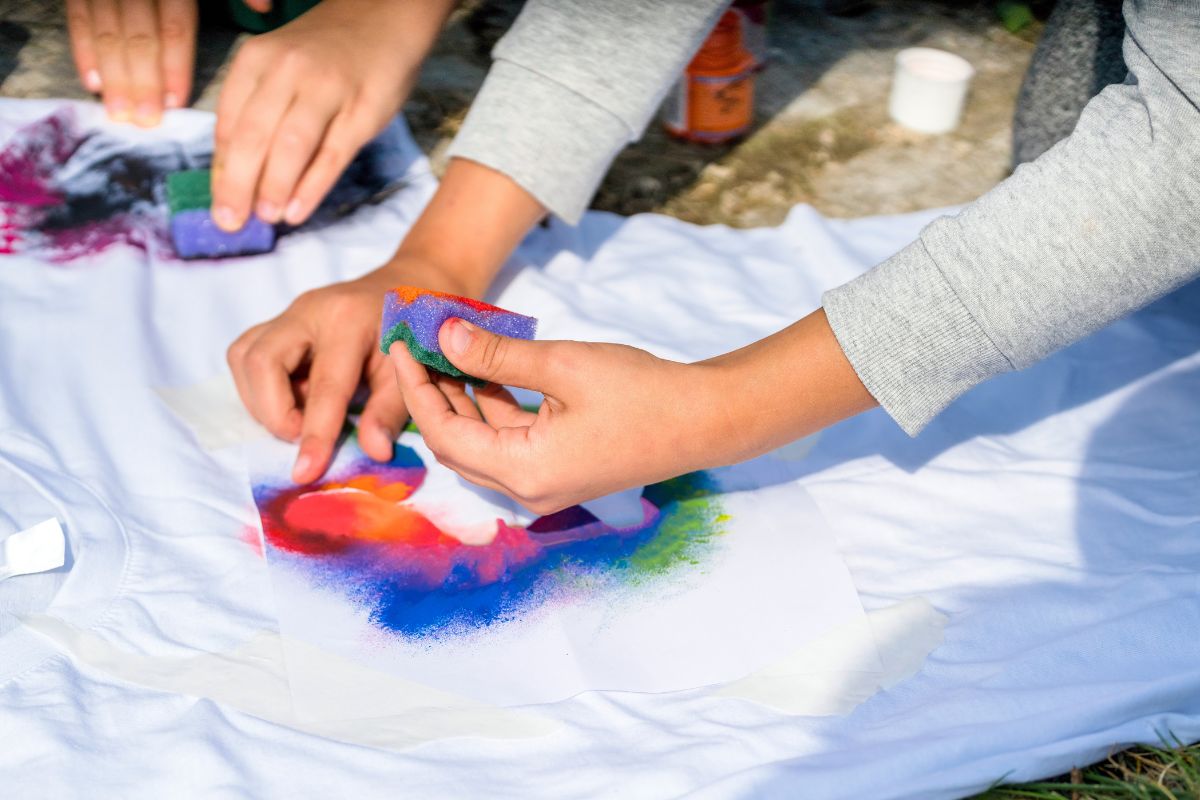
Let your kids design their own T-shirts. All you need is a blank white or pastel-colored shirt, some fabric paint, and a little supervision.
Start with:
- Pre-washed plain T-shirts
- Fabric paints
- Paintbrushes or sponge brushes
- Optional: stencils, painter’s tape, and rulers for cleaner lines
Let them go wild with color, write their names, draw favorite characters—whatever feels like “them.” No judgement for rebellious gourds! If you’re aiming for wearable art that lasts longer than one wash, make sure the paint is fully dry before heat-setting it with an iron (follow your paint instructions).
Want to take it up a notch? Plan a mini fashion show when the shirts are dry.

2. Personalized Pencil Cases
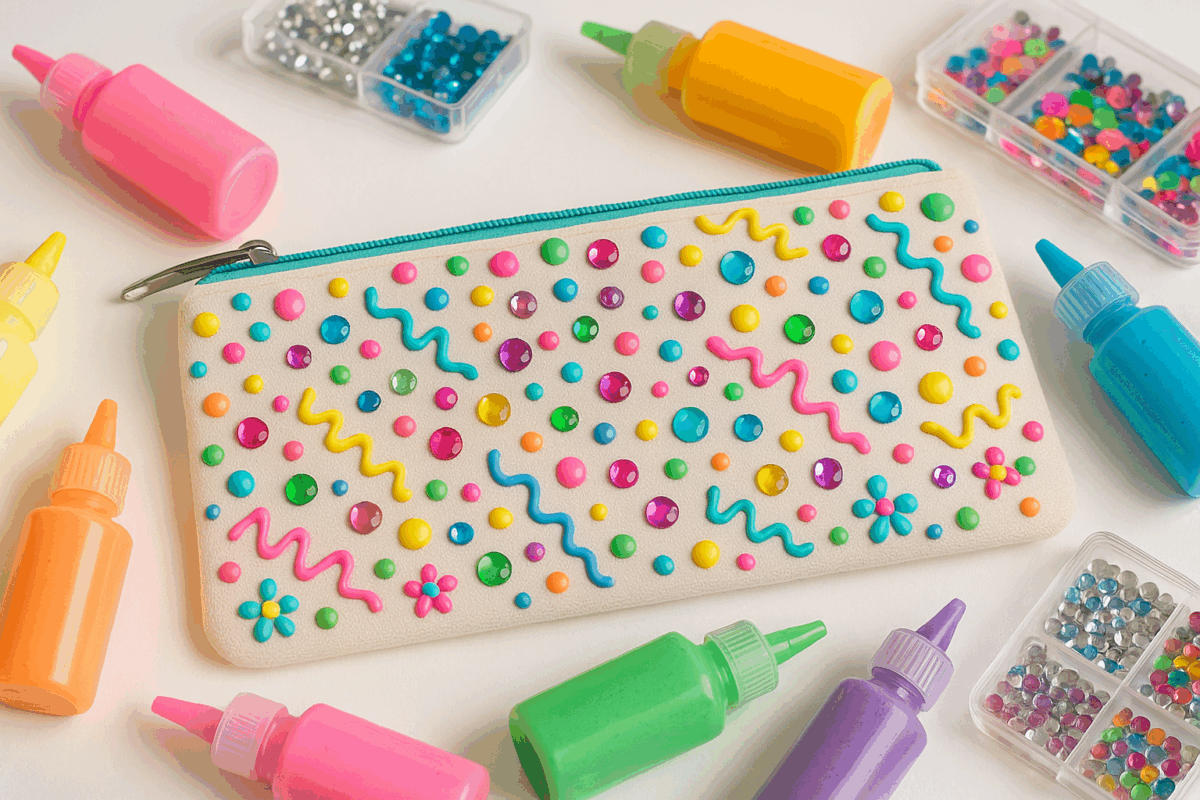
Turn a plain pencil pouch into something that actually makes them excited for school.
You’ll need:
- Canvas zippered pouches or blank pencil cases
- Fabric paints
- Mica powder or craft glitter (optional, because glitter is the worst, but also popular and I don’t judge!)
- Rhinestones, buttons, or small charms
Encourage your kids to make their pouch reflect their personality; rainbows, video game themes, initials, or doodles. Mica powder is a great way to add shimmer without the mess of traditional glitter, just make sure you know the different grades of mica powder and choose one meant for crafting.
You can also sew or glue a name tag or patch onto the back if you want to make it extra personalized.

3. DIY Tooth Fairy Pillows
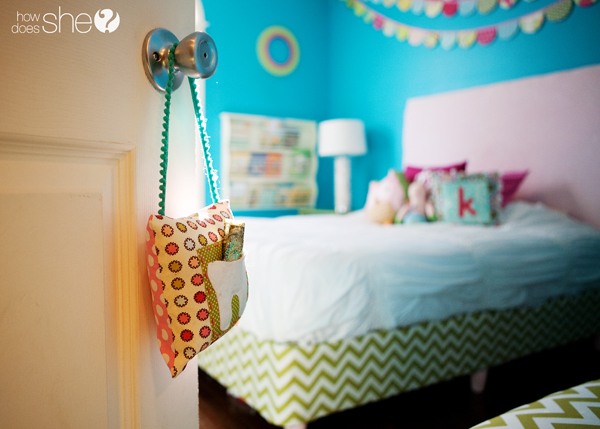
This one is a sweet little keepsake you can use for years. (I really wish I’d done this for my kids, but we kept the magic alive with the Tooth Fairy app, a fun way to show the tooth fairy magically flying over their heads as they slept.) A tooth fairy pillow makes the tradition even more special, and painting it together lets your child be part of the magic.
Grab:
- Small fabric squares or pre-sewn mini pillows
- Fabric paint
- A small scrap of fabric to make a tooth pocket
- Needle and thread or fabric glue
For the pillow itself, there are plenty of patterns available on Pinterest, or you can follow this simple tutorial from How Does She.

Let your kids design whatever they want: a little tooth character, stars, their name, or even a fairy. 🧚♀️🧚 Add some mica powder to the paint before it dries for a fairy dust effect.
Once the pillow is dry, help them attach the little pocket for tooth storage. Now you’re ready for the next wiggly milestone!
These fabric painting crafts are quick to set up, easy to adapt by age, and genuinely useful. Plus, they give your kids a creative break that ends with something fun and functional. If you try any of these, let me know—I love seeing what your little artists come up with.

