You know that feeling when you walk into your home, and it’s missing just a little something? Maybe it’s a lack of personality, or maybe the walls are just too… bare. I know when we bought our home, I couldn’t WAIT to get rid of the builder’s beige walls and get my personality all over them.
That may have led to my 7-months-pregnant-crazy-self painting coats of blue like a woman possessed, but that’s beside the point. . .
Sure, you can hang pictures, maybe some wall art . . . but it seems harder to find things that are unique without a custom price tag. I mean, love them or hate them, but how many people have some version of “Live, Laugh, Love” hung somewhere??
Enter laser engraving—a fun, creative way to add a personal touch to your space without turning your living room into an art project gone wrong. You can add some unique wall art or spice up your kitchen with personalized accessories; either way, laser engraving is your ticket to a home that truly reflects you.
And the best part? You don’t need a degree in design to make it happen. Just a little guidance and a dash of creativity, which I KNOW you have! (You’re here, aren’t you?)😉
PSST – I use affiliate links on my website, from Amazon as well as others – this means if you click my links, I may earn a little money at no cost to you! As an Amazon Associate I earn from qualifying purchases. I appreciate your support of my blog, and if you have questions, you can see my disclosure policy here. Thank you!

Choosing the Right Material
Before you fire up that laser, let’s talk materials. Not all surfaces are created equal, and choosing the right one can make all the difference between a decor piece that looks like it belongs in a gallery versus one that screams “DIY disaster.”
Wood
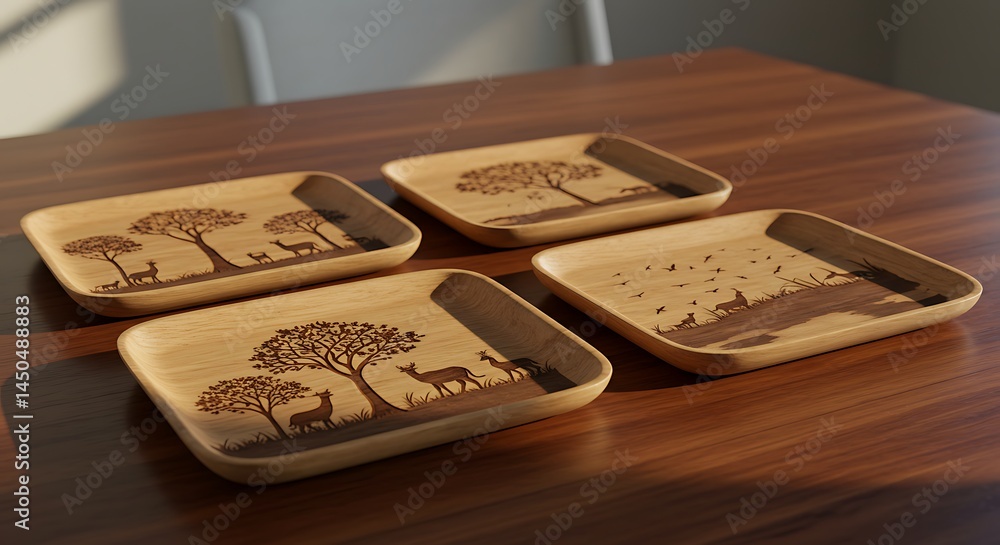
Wood is like that trusty pair of jeans—reliable, versatile, and it never goes out of style. Its natural grain gives every engraved piece a warm, rustic feel that’s perfect for adding a personal touch to signs, frames, or even cutting boards. The texture adds character, making each creation uniquely yours, like that one-of-a-kind heirloom recipe you only bring out for special occasions. Elevate your home decor with some DIY flair!
I’m not suggesting you go log cabin overboard (unless that’s your vibe, then timbbbeeerrr!), but wooden pieces are always eye-catching and feel like they have a real story behind them. (You can learn more at shophomestyles if you want more visuals.)
Acrylic
For a more modern, polished look, acrylic is where it’s at. Think of it as the sleek black dress of materials—clean, sharp, and always in vogue. Doesn’t matter if you’re more of a contemporary wall art fan, or you’re just going for a statement piece for your entryway – acrylic is gonna bring that pop of color and high gloss that’s hard to ignore.
Glass
If elegance is the name of the game, glass should be your go-to. There’s something about an engraved glass piece that just oozes sophistication—like the perfect martini glass that’s both delicate and striking. Custom-etched mirrors, glasses, or plates add a refined touch that elevates your decor to a whole new level of chic. Just watch those fingerprints!!
Metal
Metal is your answer if you’re going for bold. Engraving on metal surfaces like aluminum or stainless steel adds a bit of edge to your decor—literally. It’s perfect for those who love a mix of industrial style and durability, creating pieces that are as tough as they are stylish. Metal adds a cool, modern industrial vibe that’s hard to beat. I like to use it sparingly, mixed with a little wood for a great contrast.
So what Should you Make??
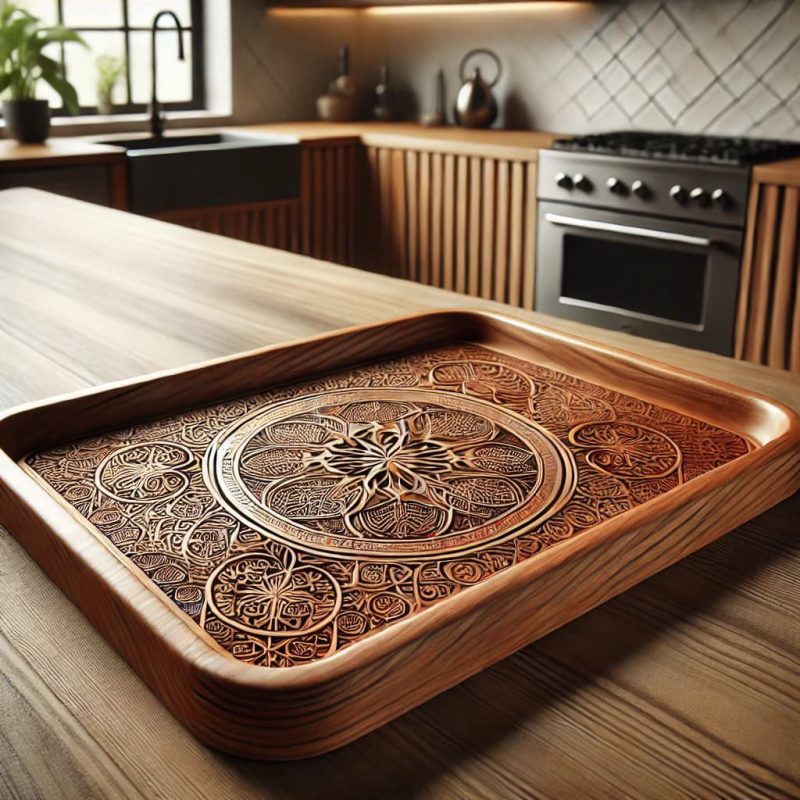
Personalized Serving Trays

Want to add some flair to your kitchen or dining area? A personalized serving tray might be just the ticket. Here’s how to create one that’s both functional and fabulous:
- Pick Your Tray and Design
- Start with a wooden or acrylic tray that matches your vibe. Think about what you’d like to engrave—your family name, a snappy monogram, or maybe a favorite quote that gets the party started. Use design software to get it just right, or sketch it out if you’re feeling old-school.
- Prep the Tray
- Make sure your tray is clean and smooth. A quick wipe-down will do the trick, ensuring your engraving comes out crisp and clean.
- Set Up Your Engraver
- Adjust your laser cutter and engraver settings to suit the material you’re working with. It’s worth doing a quick test on a similar surface to make sure everything’s dialed in just right.
- Align and Engrave
- Place your tray on the engraving bed and align your design. Once everything’s centered, hit start and watch your creation come to life.
- Finishing Touches
- If you’re using wood, consider adding a protective sealant to keep your design looking sharp. Let it dry, and your tray is ready to steal the spotlight at your next gathering.
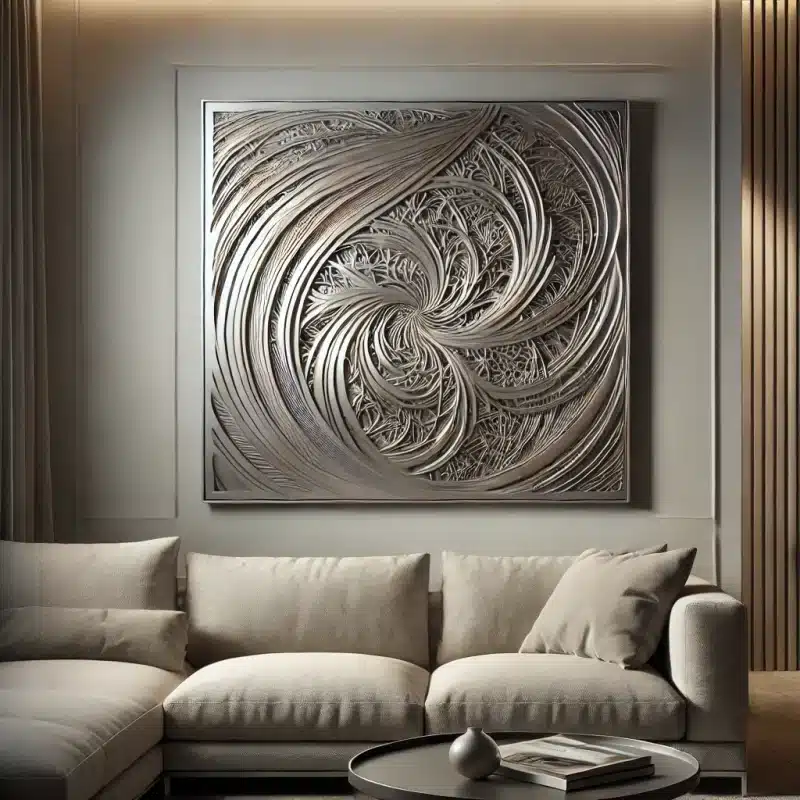
Metal Wall Art
Ready to make a statement? Metal wall art is your chance to bring some bold, artistic flair to your space. Here’s how to do it:
- Choose Your Metal and Design
- Pick a metal sheet, like aluminum or stainless steel, that fits the size of your desired artwork. Design something that speaks to you—whether it’s an abstract pattern, a nature-inspired motif, or a city skyline that reminds you of your favorite travels.
- Set the Engraving Machine
- Adjust your laser engraver to handle metal, focusing on settings that will achieve the depth and detail you’re aiming for. Keep an eye on the process to ensure clean, precise lines.
- Enhance with Layering
- Add dimension by creating multiple layers of engraved metal. Each layer can feature a different design, and when stacked or spaced apart, it creates a 3D effect that adds depth and interest.
- Frame It Right
- Instead of a traditional frame, consider using metal brackets or minimalist mounts that enhance the industrial feel of your artwork. The frame should complement the design without overshadowing it.
- Light It Up
- Add spotlights or LED strips around your metal art to highlight the engraving and create dramatic shadows. The right lighting can turn your piece into a focal point, especially in the evening.
- Add spotlights or LED strips around your metal art to highlight the engraving and create dramatic shadows. The right lighting can turn your piece into a focal point, especially in the evening.

Laser Engraved Wood Door Knockers
Adding a custom wood door knocker is a charming way to give your home’s entrance a bit of personality. Here’s how to craft one that’s sure to impress:
- Pick Your Wood
- Choose a sturdy wood like oak or mahogany that can stand up to the elements. Design an engraving that matches your home’s style—whether it’s classic, modern, or a little whimsical.
- Carve Out the Base Shape
- Before engraving, carve the base shape of your door knocker. Smooth out the edges and prep the surface so it’s ready for engraving.
- Engrave Your Design
- Use a laser engraver to etch your chosen design onto the wood. Make sure the engraving is deep enough to be durable, but not so deep that it compromises the wood’s integrity.
- Attach Hardware
- Secure the knocker to a metal or wooden backplate, and attach a handle or ring for knocking. Choose hardware that complements the design and is sturdy enough to last.
- Finishing and Sealing
- Sand down any rough edges and apply a wood finish to protect your knocker from the weather. A sealant will keep it looking great for years to come.
- Installation and Display
- Once your knocker is complete, install it on your front door. Make sure it’s securely fastened and properly aligned to welcome guests with style.
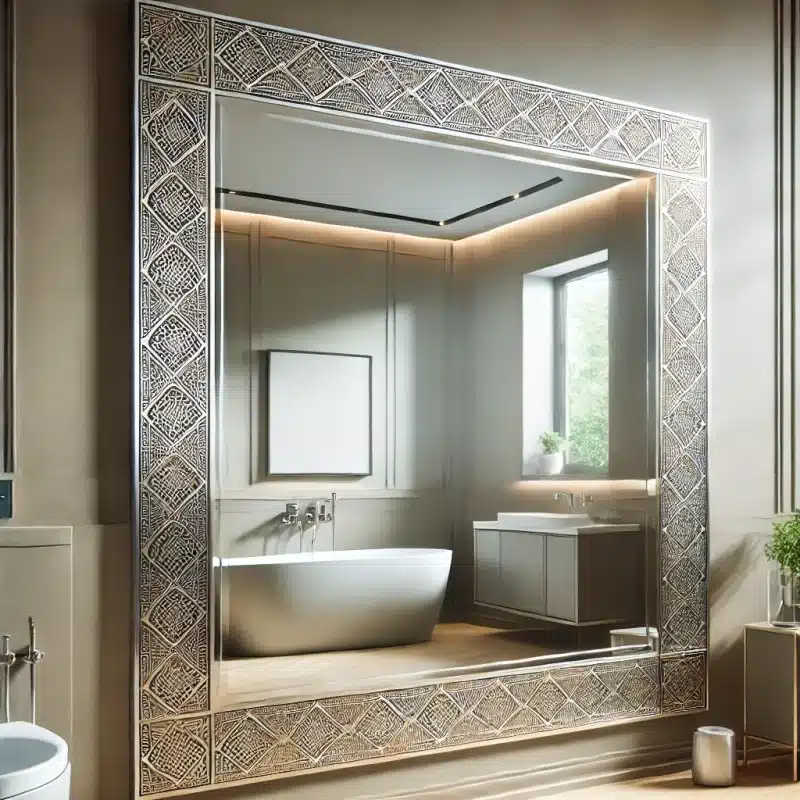
Decorative Mirrors
Mirrors are more than just functional—they can be a statement piece that adds flair to any room. I didn’t actually do any engraving on my own bathroom transformation, but you could pick up my slack! Here’s how to elevate a simple mirror with some laser engraving magic:
- Choose Your Mirror and Get Creative
- Pick a mirror that could use a little something extra. Whether it’s for the bathroom or living room, think about what design would make it pop—elegant floral borders, geometric shapes, or something uniquely you.
- Prep and Secure
- Clean the mirror to remove any smudges, and secure it on the engraving bed so it doesn’t move during the process. Precision is key here.
- Engrave with Precision
- Set your laser engraver for glass, ensuring the settings are just right. As you engrave, watch your design come to life, adding a personal touch that makes the mirror stand out.
- Add the Finishing Touches
- Once engraving is done, clean up any dust or residue. You can stop here or add a decorative frame or colored backing to make your design really shine.
- Once engraving is done, clean up any dust or residue. You can stop here or add a decorative frame or colored backing to make your design really shine.

Customized Planters
Want to give your garden or indoor plants a personal touch? Customized planters are a great way to showcase your style. Here’s a fresh take on how to do it:
- Select Your Planter
- Choose a terracotta or wooden planter that’s begging for a makeover. Think about the shape and size that will best highlight your design.
- Create a Stencil Design
- Instead of engraving directly, create a stencil of your design. This could be a botanical pattern, the plant’s name, or a quote that captures your love for gardening.
- Apply and Secure the Stencil
- Attach your stencil to the planter using temporary adhesive or painter’s tape. Make sure it’s perfectly aligned for a clean, professional finish.
- Engrave Through the Stencil
- Carefully engrave through the stencil, ensuring crisp lines and a polished look. This method helps reduce the chance of mistakes.
- Add Color
- After engraving, consider adding color with waterproof paints to make the design pop. A little color can go a long way in making your planter a standout piece.
Laser Engraved Lampshades
Turn a simple lampshade into a piece of art with laser engraving. Here’s how to do it in a way that’s both creative and functional:
- Choose a Suitable Lampshade
- Select a lampshade made of a material that can handle engraving, like thin wood veneer or sturdy paper. Make sure the surface is smooth for the best results.
- Sketch Your Design Directly on the Lampshade
- Lightly sketch your design directly onto the lampshade. This hands-on approach helps you visualize how it will look in the space.
- Experiment with Depth
- Use your laser engraver to create varying depths in your design. Shallow engravings will allow more light to pass through, casting softer shadows, while deeper engravings will block more light, creating bolder patterns. This technique adds dimension and makes your lampshade truly unique.
- Test the Lighting Effect
- After engraving a section, place the lampshade on a lamp and turn it on. This will help you see how the light interacts with your design. Adjust the depth of the engraving or add more details to enhance the overall effect.
- Add Final Details
- If you want to take your design to the next level, consider adding paint, colored film, or other embellishments to certain areas of the lampshade. This will enhance the look both when the lamp is on and off, making it a versatile piece of decor.
Laser engraving opens up so many options for adding your personal touch to home decor. Whether it’s a custom door knocker, unique wall art, or a standout lampshade, each project lets you create something truly your own.
If you’re feeling inspired, take a look around the blog. You’ll find plenty more tutorials and ideas to keep your creativity flowing. There’s always something new to try here at C’mon Get Crafty—where every project is a chance to make your space uniquely yours.


