This is one of my favorite features I added when I made over my son’s bedroom in a Disney Cars theme. I’ll show you how I made it!
To make my Piston Cup, I went shopping.

$5 red plant pot (Meijer)
$6 Package of chipboard sheets (Michaels)
$4 Metallic gold spray paint (Menards)
$1 plastic yellow dish/bowl (Dollar General)
$1 package of 2 white plastic plates (Dollar General)
$3 tube of E006 Industrial Strength Adhesive (Menards)
Total Cost: $20.00
The plastic flower part was perfect, as it added two elements to the design. The pot was a nice match for the actual cup portion. I took the bottom tray, flipped it over, and glued it to the bottom of the yellow Dollar General bowl. With the paper plate glued inside the bowl, I had a perfect stand!
The body of the cup was the hardest part, and may require some tweaking on your part, depending on how you plan to use your Piston Cup. I knew I was going to attach mine to the wall, either by screws or Command strips, so it wasn’t a priority that it stand on its own.
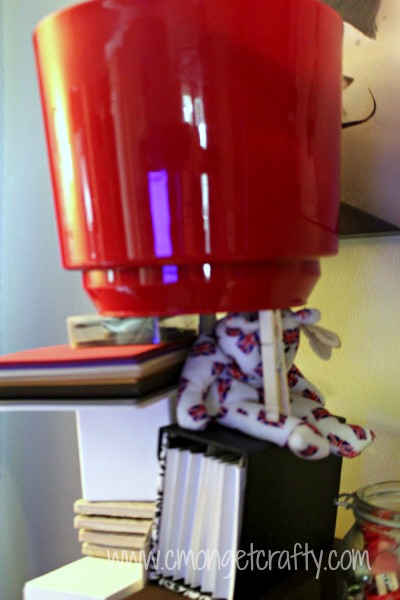
The body reminded me a little of the Eiffel Tower, the way it has that curved opening at the legs. I used my Cricut machine and a blending of cartridges like Summer in Paris and Basics to put together the body, and cut it out on the chipboard. (You could easily freehand draw and cut if you don’t have a cutting machine.) I cut three copies and glued them together to give it more stability. I cut circles out of chip board and glued to the top and legs of the body, which I then glued to the bottom of hte pot and top of my previously made “base”. Since I wasn’t going to a self-standing structure, I had to, um, get creative in how I kept the pieces together for the glue to dry.

Once the glue was dry, I took the project out to the garage for painting.

There’s two in the picture because my original idea was to have three cups, hanging on the wall for storage. (If you know the movie, then you know Doc Hudson had three Piston Cups.) Halfway in, I changed my design, and only needed one.
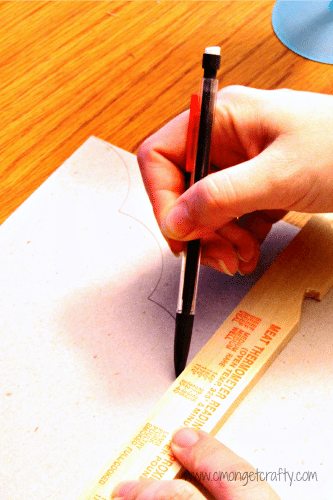
For the “wings” on either side, I went back to the chipboard. I took a wine glass and trace a half circle off the bottom of the glass onto the top right edge of the long side of the sheet, and repeated it at the junction for two more half circles.

I used a ruler to take the bottom curve straight across to the end of the sheet to finish the
wing”.

Each wing is also held out with a half circle cut out, so I pulled out my fantastic Martha Stewart Circle Cutter. You could easily trace two different sized bowls instead.

Once I had one “ring” I snipped it in half and glued to the wings, then cut out the excess in the middle. Time to paint!

All that’s left is to glue the wings on either side of your cup – I propped my drying wings up with puffed up portions of the tarp. Then you’re done! Wipe off any excess dust from the spray paint, and use screws or Contact Strips to mount your cup! Again, if you came up with a sturdier solution for the body, yours might be able to freestand. 🙂

When it’s all painted and set up, it’s hard to tell that it’s bits of chipboard and dollar store items!


What is the stick in the middle that has to be held up by your bear? And where do you use the plastic plates?
Hi Yvette! I used cardboard, which is why it was so flimsy. If I redid it now, I’d definitely reinforce it better.