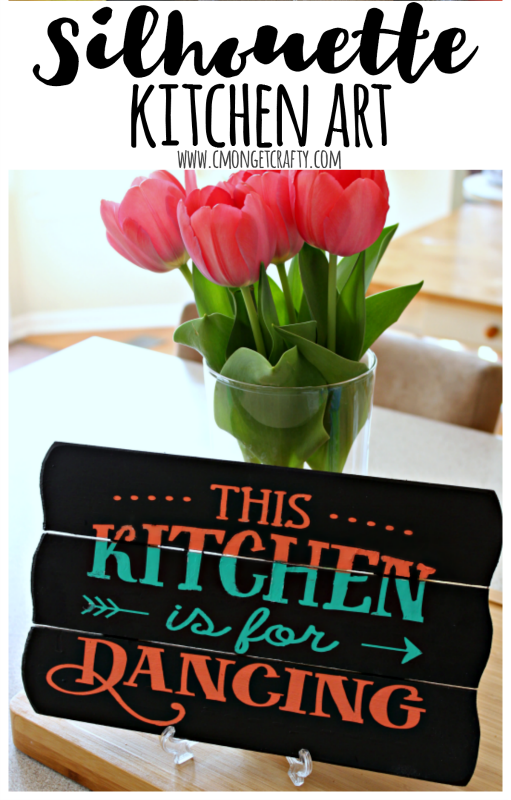
I’m finally back in the Silhouette Monthly challenge, after my blog hiatus last month! I admit, I wasn’t sure what I was going to make for this month’s “Stencil It” challenge – until I saw THIS!
*post contains affiliate links – read my full disclosure here*
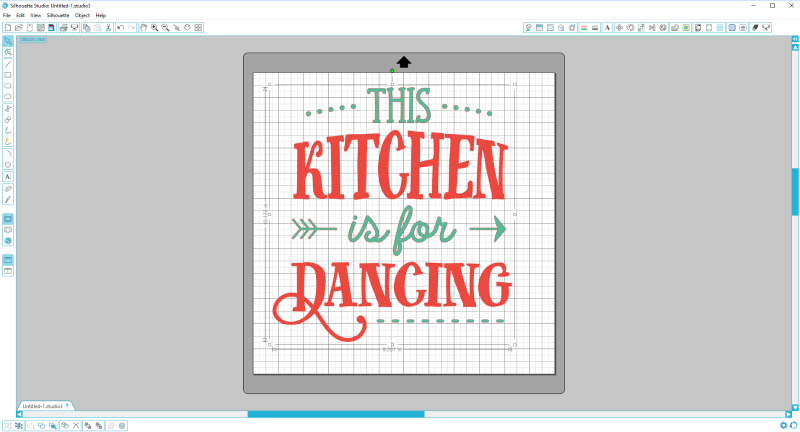
While browsing the Silhouette store for design inspiration, I stumbled across this kitchen art design and fell in love. We own the Amazon Echo (affectionately dubbed Alexa) and frequently jam out to anything from country to Michael Jackson to Disney while making dinner. How could I NOT make this for our kitchen?
I used an old sign I’d grabbed on a whim at Goodwill for this project.
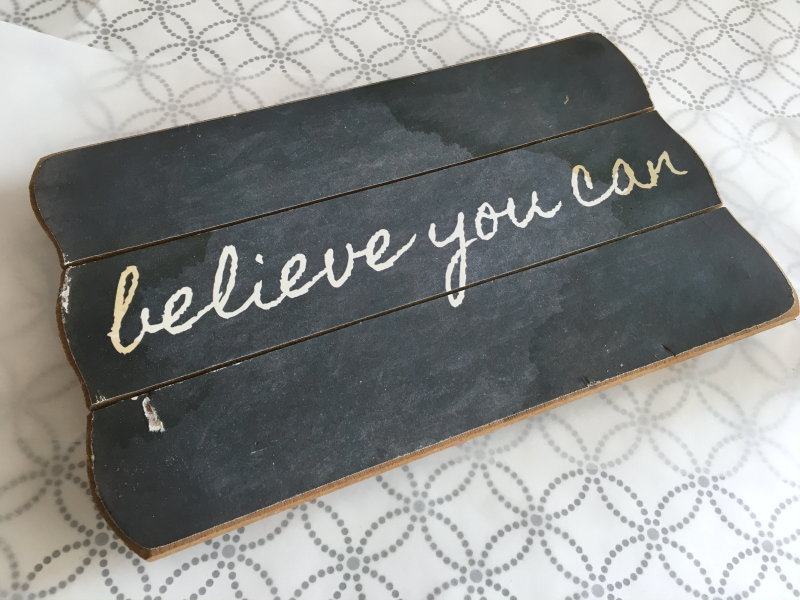
I knew I could use this tired old sign for something, so I nabbed it months ago. Then stuck it in a cabinet. Then forgot about it. Then remembered it. Actually, this would be a perfect post for my monthly Craft De-Stash challenge, but oh well!
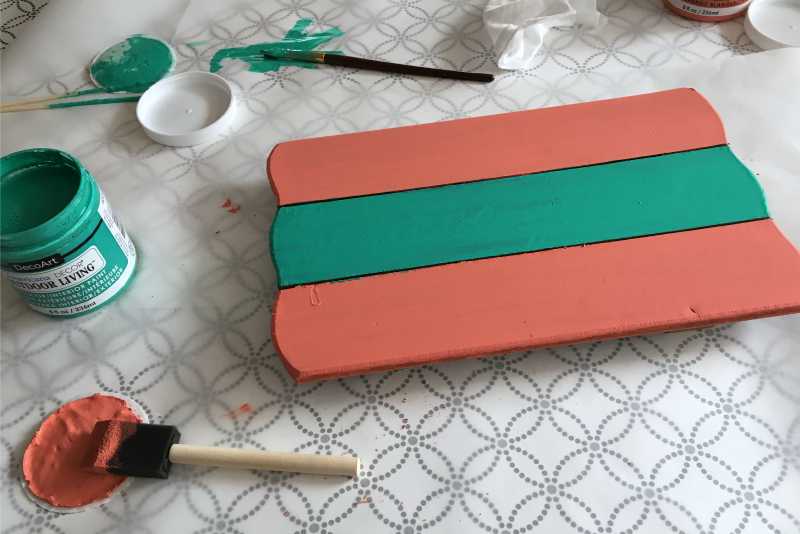
I cherry picked two colors from my DecoArt stash for this project, and I admit to being largely influenced by the colors of the design I used.
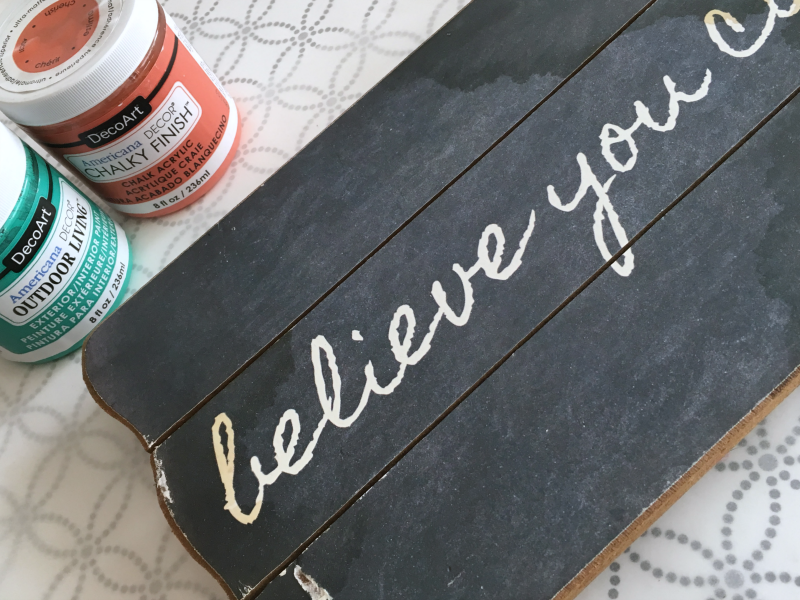
I was horrified to find I was down to two sponge brushes, my craft brush of choice, but what was a girl to do? I made it though!
Once the canvas was painted, I got to work on the design. I did have to modify the one I purchased, in order to make it fit. Thankfully, Silhouette makes that fairly simple. All I needed to do was adjust the image using the center points of the design to fit the size of my project! I had measured it out at eleven inches wide and 7 inches tall. So I estimated my design at just under ten inches and almost seven.
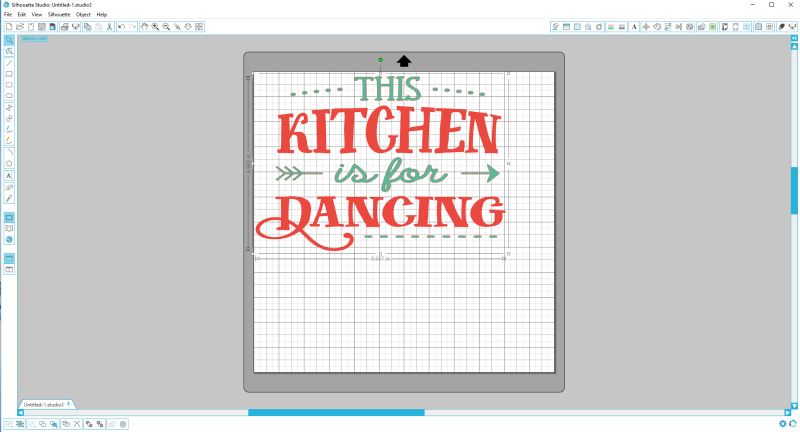
Once I had it set up correctly for my workspace, I was able to cut this Silhouette kitchen art on some throw away vinyl for a stencil. I ran some extra vinyl through my machine and weeded out the unnecessary bits for my design.
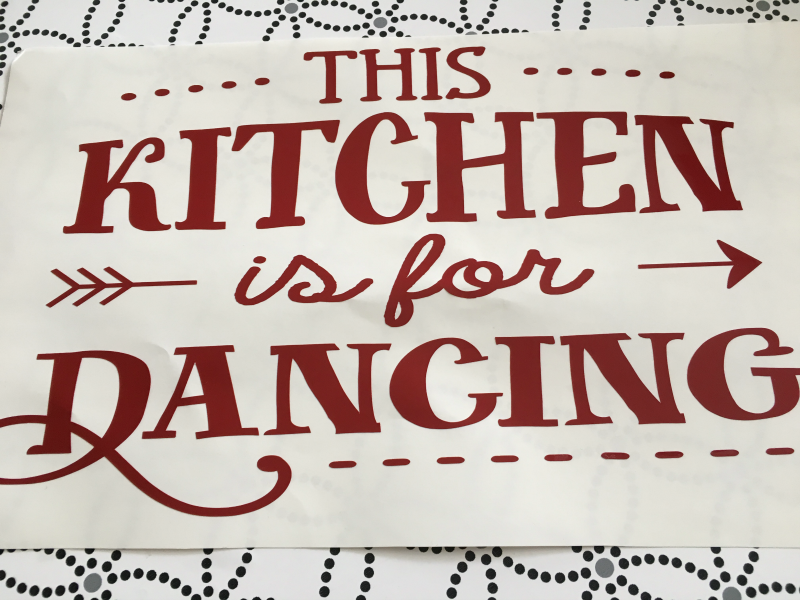
Once I’d successfully weeded out the unused vinyl in my sweet new kitchen art, I applied transfer tape to the design.
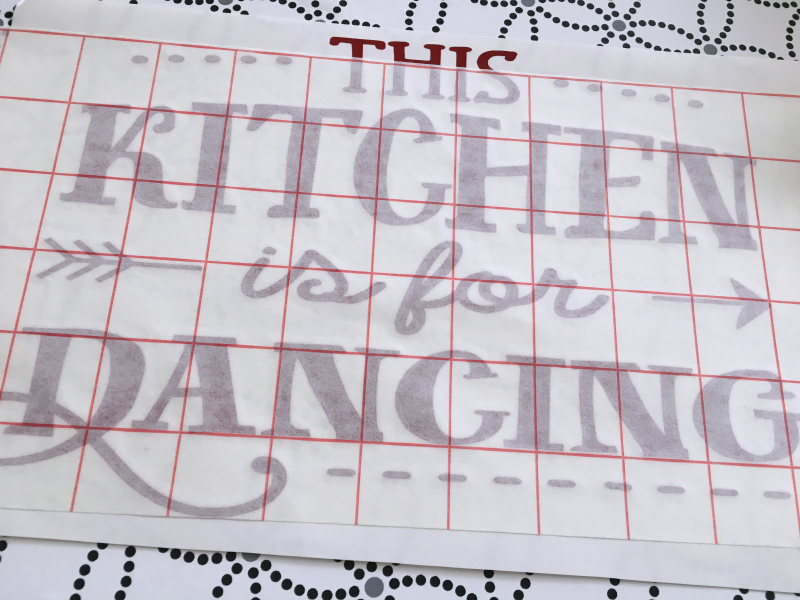
Once I’d secured the transfer tape, I applied it to the wooden board, using the grids to line it up. I used my bone folder to adhere it to the surface. Once applied, I was free to paint over my stencil.
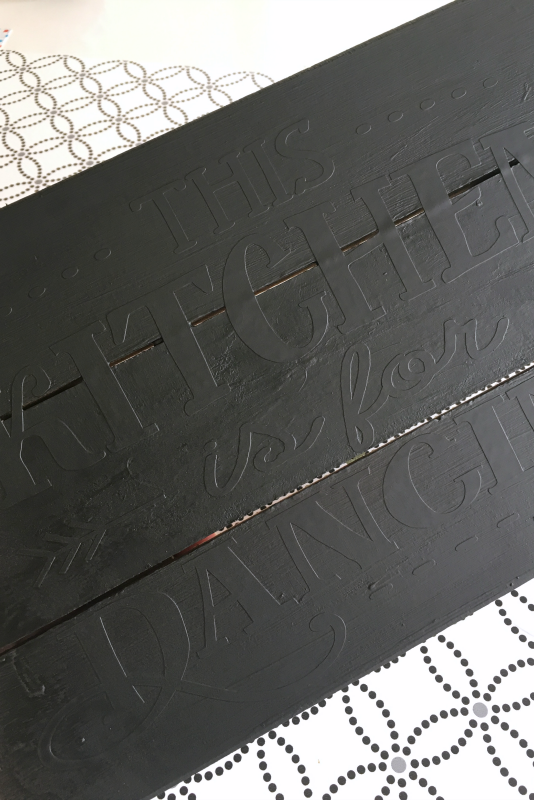
I used a spray paint chalkboard paint to save time. I also have bottled chalkboard paint, which is handy for touch-ups. Once you have painted the surface, peel away the vinyl carefully. I ended up with a decent transfer, though I did have to touch up an area or two. I’m still happy with the final result!!
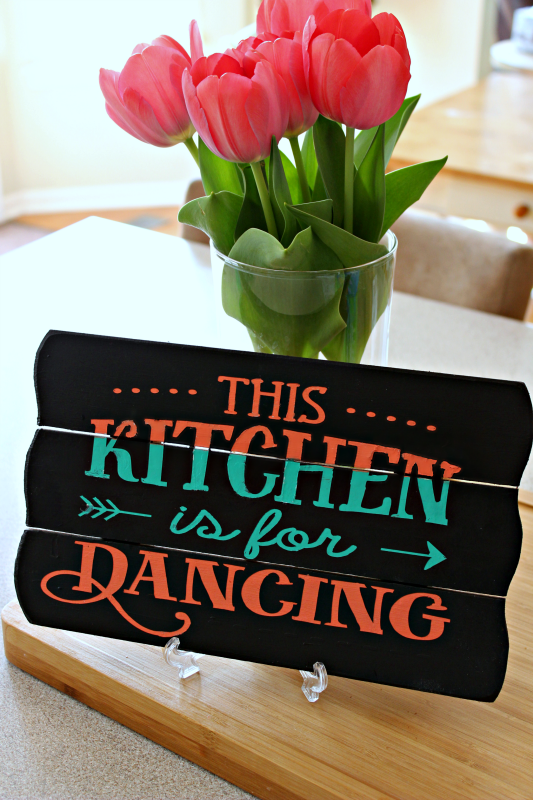
Don’t forget to check out the other amazing ideas from other bloggers!
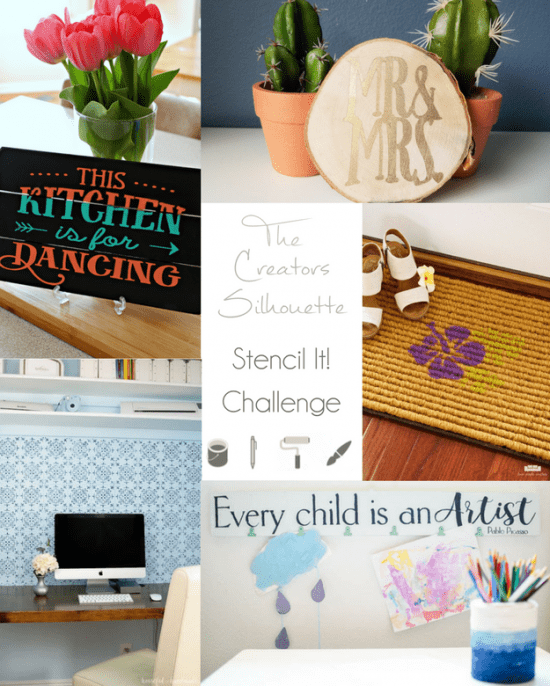
Silhouette Kitchen Sign – C’mon Get Crafty
Stenciled Mr. & Mrs. Wood Slice – Dwell Beautiful
DIY Stenciled Door Mat – Two Purple Couches
“Every Child is an Artist” DIY Kids Art Display Sign Pocketful of Posies
Patterned Tile Wall Stencil – Houseful of Handmade


This is so neat! I like that you used two different paint colors to give it a two-toned effect!
Oh this is so cute! The kitchen is absolutely for dancing 😉 Love the colors you used!