Welcome back to another month dedicating to de-stashing my craft room clutter!
Every month, a group of bloggers challenge each other to create a new craft or project from their own stash of goodies! You must create something primarily from your stash, using a max of $10 for extra supplies, if necessary, to complete your project. Scroll all the way through to see some awesome creations you might be able to make from your own stash! #CraftRoomDestashChallenge
This month I tackled my horde of paper and vinyl leftovers. When I used to make my Birthday Blocks, I was forever having excess paper and vinyl scraps from my designs. I certainly didn’t want to waste them, so they gradually collected into a mountain of clutter.

In a previous Monthly De-stash challenge, I used a few of the paper scraps to create a href=”https://cmongetcrafty.com/make-paper-flowers-january-craft-de-stash-challenge/”>paper bouquet. This month, I not only still had paper scraps, but I still had wooden blocks piled up, collecting dust and taking up valuable cabinet space. Actually, I had ALL the supplies to make my alphabet blocks again, and an upcoming toddler birthday party to attend. Cost of project? ZERO!!!
“Once more unto the breach. . .”

I will not lie to you and tell you that this is not a time consuming process. . . it IS. However, once you get going, it becomes fairly routine to get all your blocks created. You also don’t HAVE to make the whole alphabet.
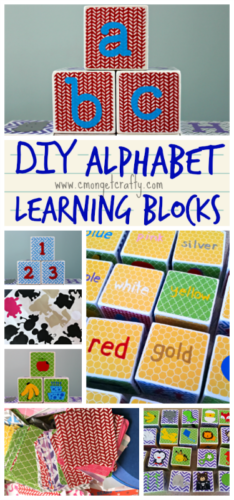
The idea is to have each side of the block represent that letter of the alphabet and other learning tools. For example, each block has a capital letter, lowercase letter, number, color name, shape, and animal or object beginning with that letter. Apple for “A”, zebra for “Z”, that sort of thing.
*Post contains affiliate links. Read my full disclosure here.*
Here’s what you need to make your own DIY Alphabet Blocks
- 2″ wooden craft blocks
- sanding sponge
- Vinyl sheets, various colors
- Cricut cutting machine
- Create a Critter Cricut Cartridge
- Scrapbook paper
- Triple Thick Gloss Glaze
- Modge Podge Paper Matte
- foam brushes
- white acrylic paint
- clear acrylic sealant spray
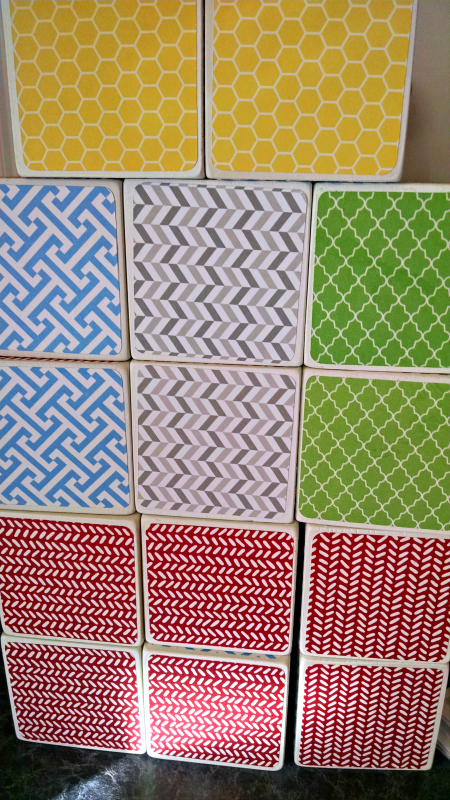
Let’s Make Some Alphabet Blocks!
- First thing you will want to do is sand the corners of your unfinished wooden blocks. These are meant to be played with, after all, and sharp corners are no fun. Cover the blocks in a few coats of white acrylic paint and let dry
- Using your Cricut machine, size up a square to fit on your 2″ block. I set mine up to fill a full 12 x 12 cutting mat, and then cut multiple patterns of 12 x 12 scrapbook paper.
- You could run all your paper squares through a Xyron sticker maker, but for a full set of blocks that might use a LOT of it and become a LOT more expensive. I went simple, applying a thin layer of Modge Podge to the back of each square as well as the block, then smoothing it down. Let dry.
- Apply a topcoat of Modge Podge over the entire block. Let dry.
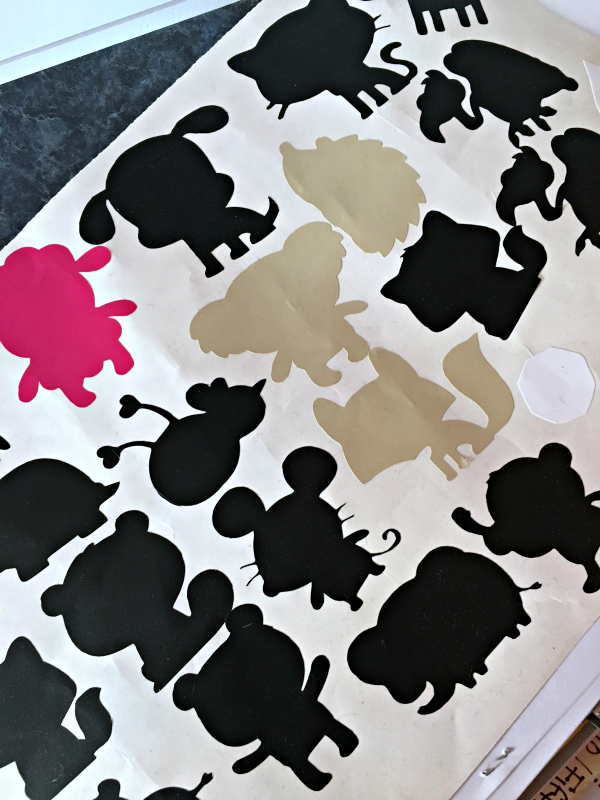
- Using the Create a Critter cartridge and vinyl layers, you can start to cut and build your animals for your blocks. You’ll want to cut your layers so that you can use the max amount of a single color vinyl at once (ex. all the base layers on one sheet of black vinyl). While I didn’t screenshot this process because I already had leftover cuts (it’s a de-stash project, after all!), you can find lots of videos using this cartridge on Youtube here.
- “Build” your animals by applying the layers on top of each other until they complete the critter. Same goes for any object you decide to use, such a a guitar for “G” or a ball for “B”. I ended up using a combination of many images, from basic shapes to individual images from my Disney cartridges. Get creative, play around with whatever cartridges you have available, or get individual images from Cricut Design Space for free or cheap! You can also substitute family photos, like a picture of Mommy on “M” and Daddy on “D”!

- Apply your animals to one side, objects to another, and fill the rest of the sides of the block with letters, numbers, and color names. You could easily make all the sides of the blocks the same color/pattern paper, or mix it up per side like I did. There are no rules!
- Once all the sides have been decorated, apply another thin layer of Modge Podge and let dry.
- My secret weapon when I was creating Birthday Blocks for sale in my store was this Triple Thick Gloss Glaze. THIS was how I sealed in my projects and made them appear smoother, rather than feeling the layers of vinyl. One thin vinyl letter is no big deal, but when you have three layers of fur for a teddy bear design, it can feel a bit bulky. Using a foam brush, lightly coat each side of the blog, letting dry completely before moving on to the next side. I ended up with an assembly line, turning all the blocks at once to get at the new side!

- You will want to let these dry for a LONG time to avoid any messes on your hard work. Triple Thick takes a long time to cure, and be sure not to stack the blocks together until about 48 hours later, or they WILL stick together and ruin your efforts. Trust me, this was one reason I stopped making these for sale.
- Once the Triple Thick has dried, find an airy spot to spray each side with the clear acyrlic sealant. I recommend a MATTE finish. Same as before, let each side dry completely before moving on. The one sneaky trick here is you CAN spray three sides at once, so long as the side sitting down is dry. Helps speed things up a tad.
Marvel at your hard work!

Mine are actually still drying, so I will admit that the photo above is a finished set I created for a client back when I was still running my business – but you get the idea!
[clickToTweet tweet=”Make Your Own Alphabet Blocks – perfect for toddlers! #alphabetblocks #diy” quote=”Make Your Own Alphabet Blocks – perfect for toddlers! #alphabetblocks #diy”]

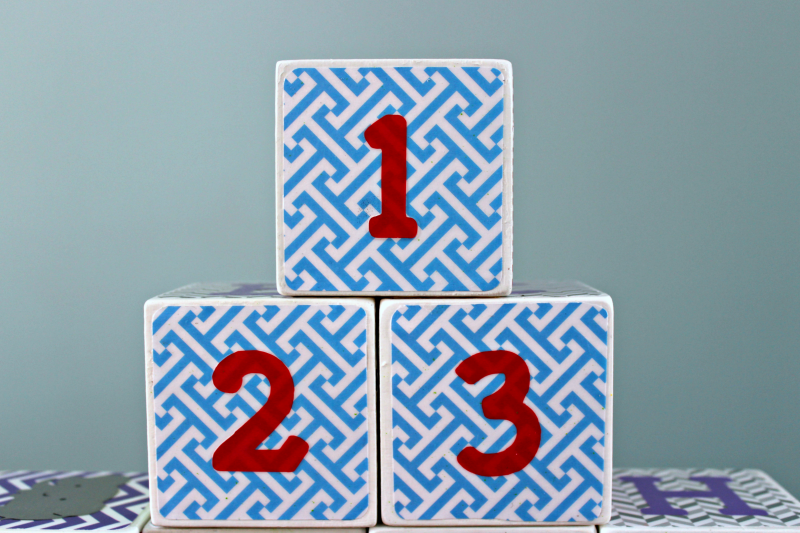
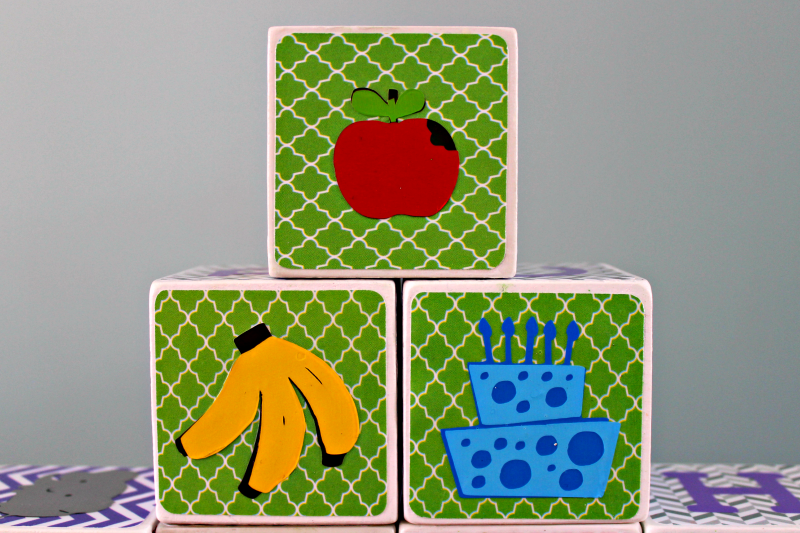
So, while these blocks definitely take effort and time, the response you will get when you gift them is TOTALLY worth it. Here’s what a client left as feedback once:
“These are wonderful! We submitted photos of our family and my daughter guards those blocks with her life. She adores them! I find her stacking the blocks and then I say “destruction” and she goes to town destroying her towers with giggles galore! The investment in these blocks is totally worth it! They are a true treasure :)”
Here are the blocks I made for her, to give you an idea of other designs you could use, especially if going for a gender theme. . .

If you’d like to join in the Craft Room De-Stash Challenge, you can request to join our Facebook group here!


You May Also Like

I love this idea. I can see how you can do all sorts of things with these. It sure looks good.
This would be such a great baby shower gift. Love it.
These are really cute! I can think of a few other things this technique would be good for. Thanks for starting the destash challenge! I love it
I’m impressed with this set of blocks. I’ll bet they were well recieved! 🙂
These are adorable! I love your tutorial and learned about a new craft product to try – triple thick.
Wow!! What a fun gift for a toddler. We got some soft foam like blocks when my little one was a baby and they have turned out to be one of his favorite toys!