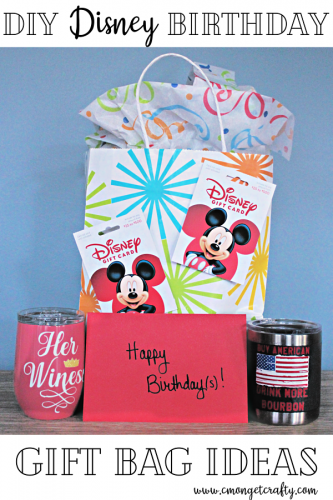
I had so much fun putting together this adorable gift bag for my cousin and her husband! This month, they both turn forty within days of each other, and decided to celebrate the big 4-0 by taking a weekend trip (SANS KIDS!) to Walt Disney World! Lucky ducks!
PSST – I use affiliate links on my website, from Amazon as well as others – this means if you click my links, I may earn a little money at no cost to you! I appreciate your support of my blog, and if you have questions, you can see my disclosure policy here. Thank you!
In the past year, I’ve started making a ton of personalized shirts and tumblers for my friends and family, thanks to the amazing heat press my hubby gifted me as a surprise. Naturally my cousin requested shirts for their Disney trip, so I turned her request into a total birthday gift bag set! It was perfect timing for our first 2020 Craft Room Destash Challenge! I did max my $10 budget on this one, but only because I had to buy the gift bag and two t shirts! I had everything else in my stash!

Every month a group of bloggers are challenged by C’mon Get Crafty to create a new craft or project from their own stash of goodies! Everyone is allowed a $10 allowance for necessities to complete their project (i.e. paint brushes, glue, etc), but the bulk of it must be created from their own stash of goodies.
Let’s meet this month’s bloggers!!
C’mon Get Crafty | Love My Little Cottage
Domestic Deadline | Across the Blvd | Purple Hues and Me
This Autoimmune Life | Sew Crafty Crochet
Like I said, I’ve gotten in a lot of practice recently with my heat press; take a look at a few of the goodies I’ve made thus far!

This was a sweatshirt I made for the same cousin last year, when they took their kids to Mickey’s Not-So-Scary Halloween! She went as Darla from Finding Nemo. I’ll post a separate post later this year to showcase how I made it, just in time for Halloween!
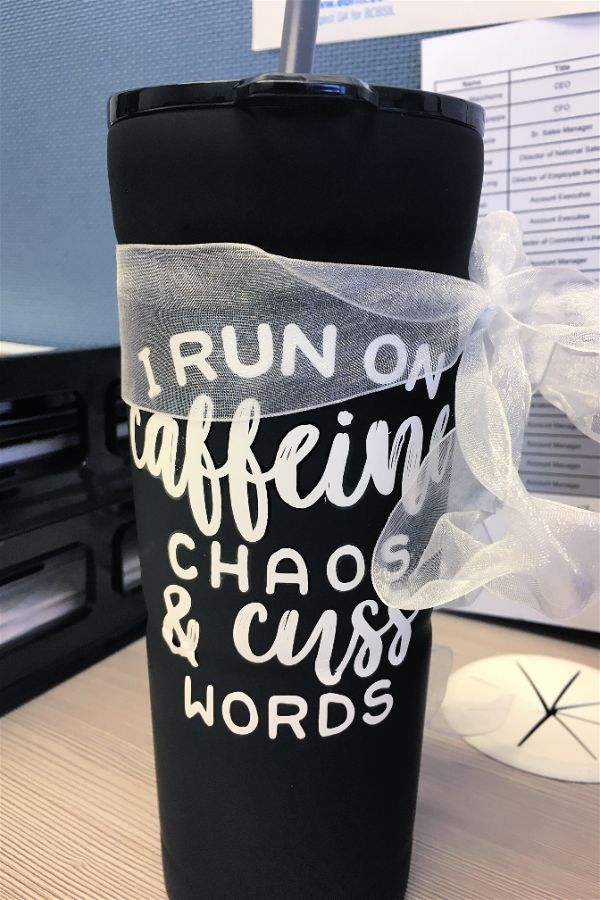
These tumblers I made for my team at work for Christmas. This was actually my first attempt using the cup section of my heat press, and I can tell you it for sure so far has been the most challenging!

So Now for What I Made for the Disney Gift Bag Set!
While I very much enjoy designing my own concepts for making shirts and things, sometimes I just don’t have the time! That’s when I love the ease of Etsy and DesignBundles! I can find the perfect design, pay little to nothing for it, and get on with the making! The designs I used below came from Etsy, DesignBundles, and a freebie design from a fellow blogger!
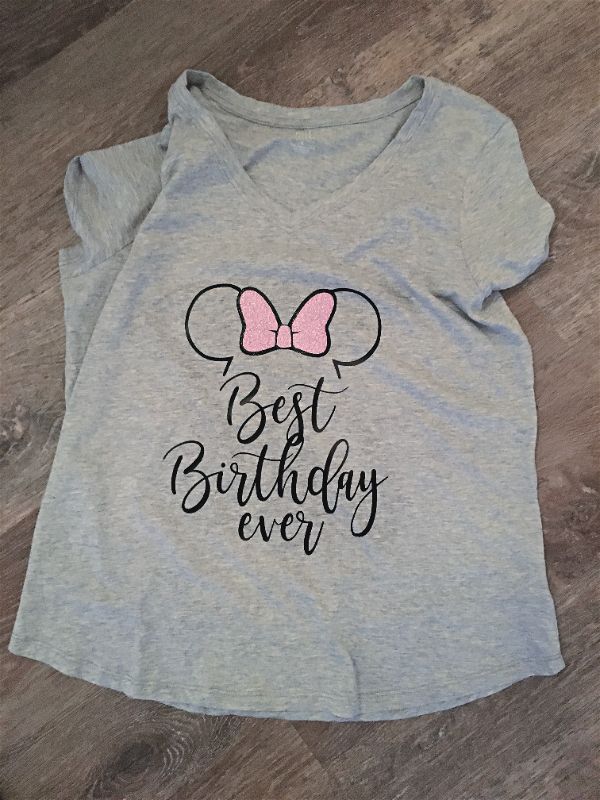
My cousin requested these specific designs for her and her husband’s shirts. I was able to locate one on Etsy and the other was a fabulous free download!

HOW I MADE THE GIFTS
To make these shirts, simply upload your design to your cutting machine (I used my Cricut Explore Air) and size appropriately for your shirt. **DON’T BE LIKE ME AND FORGET TO MIRROR THE IMAGE!!***
. . . so much wasted HTV by forgetting that step. Sigh.
Using either a heat press, Cricut Easy Press, or even just an old fashioned iron, line up your design on your shirt and heat to transfer the design. For my heat press, I had the setting at 350 degrees and pressed for 10 seconds.
Once I finished my shirts, I moved on to my surprise gift – a set of tumblers also decked out in HTV! Now, I didn’t go Disney for the tumblers because I figured they were long term, not just for their weekend trip. I had both of these designs in my stash from all my free downloads!

For my cousin, I selected a coral colored wine tumbler (also in my stash! No out of pocket cost here!) and some basic white HTV (heat transfer vinyl). Now, like I mentioned above, the tumblers are much MUCH more difficult to create when you’ve never tried them before.
I’ve gotten better, but I was very impatient (per usual), and trying to steamroll my way through the project. MY BAD.
You can see from the pic that I had a bit of smudging with my design. This wine tumbler curves at the bottom, making it devilishly difficult to heat evenly. I attached my cup press and manipulated it as much as possible.
I also think I need to double check the time length for tumblers. I did 350 degrees for about 25 seconds, but it still seemed like it didn’t transfer properly. I added another ten seconds for good measure.
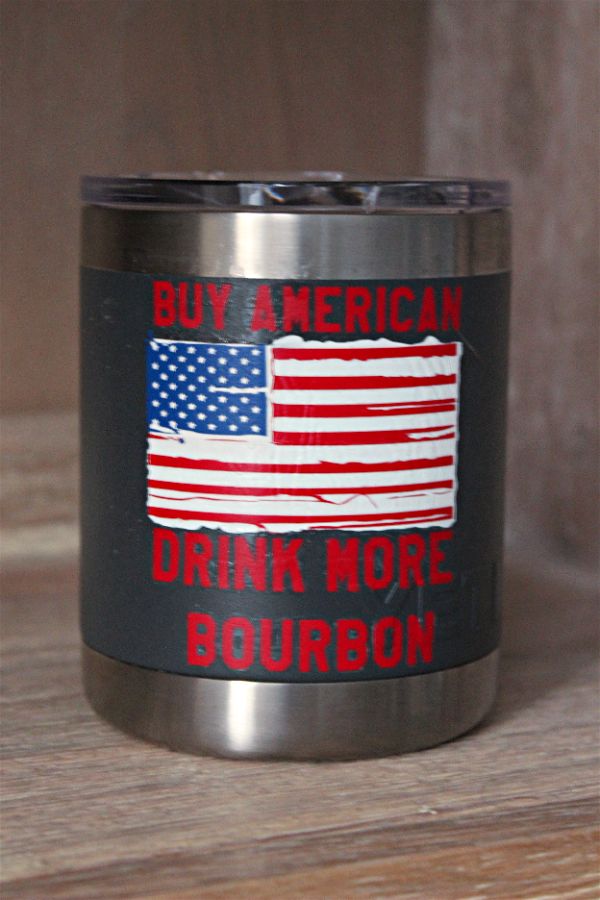
For my cousin-in-law, I went with a Yeti tumbler (I am not counting this cost for the challenge! I would have gotten it for him anyway, I just decided to decorate it!).
Hee hee, my challenge, my rules! LOL!
Again, this design was in my stash from my free downloads. I actually didn’t use their full design, just the idea and one element. I made my own design in Picmonkey, using just a flag element I had gotten from them. The flag is a layered design, with a full white rectangle, the red stripes, and the blue rectangle corner all layered on top of one another.
And that was that! I had picked up some Disney gift cards that I taped to the outside of the gift bag and my birthday gift set was done!


I love those shirts! We’re heading to Disney soon and that Stars Wars design would be perfect for my husband.
What a fun gift for your cousin and her husband! I love that Disney birthday design – I might have to get it for my daughter who is a huge Disney fan!
These are all so fun! What great gift ideas!
I love the personal aspect of each gift!
Such fun gifts! I love those shirts! I hope they have a great time at Disney!
What a great gift, I hope they have a wonderful time in Disney