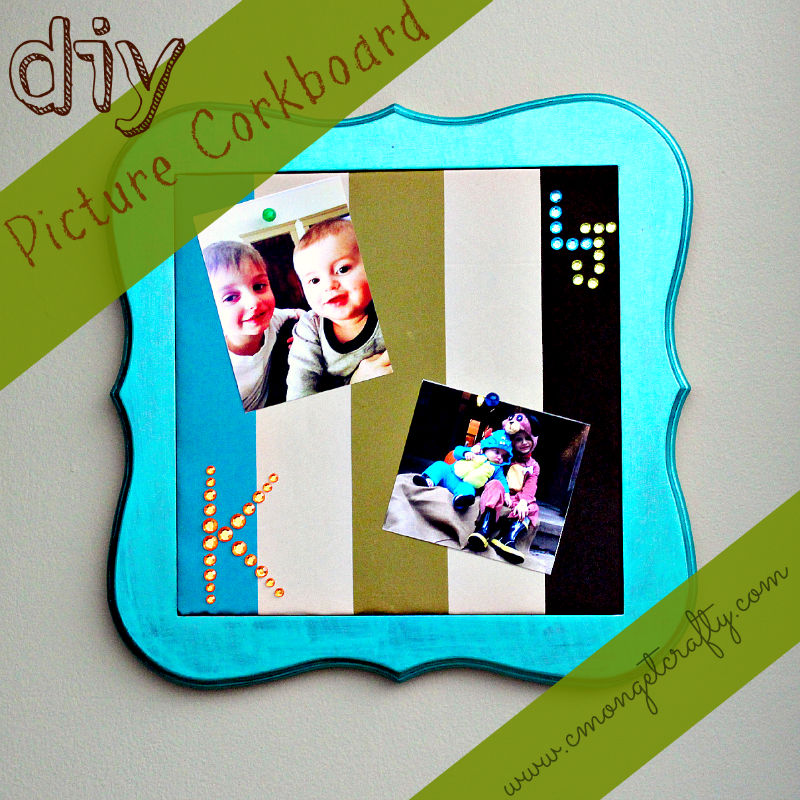
Being crafty comes in handy when birthdays roll around. For my cousin’s birthday back in January, I asked her if there was anything she could use that could potentially be “crafted”. She told me she’d love a picture frame to show off her two boys in her office. A picture frame sounded MUCH too simple; I knew I wanted to make something more of it.
Materials
4-pack of 12 x 12 cork board tiles
12 x 12 picture frame (40% off at Hobby Lobby)
adhesive
(I used tacky glue, but the included adhesive squares with the cork board could work easily as well)
fabric
craft gems
Skor tape
Acrylic paint
I went rummaging in my stash of fabric for this project. I am NOT adept at sewing or anything like it, so my fabric stash is really a culmination of clearance pieces I snag, old clothes, and other odds and ends. I found a great clearance roll of fabric in my collection, something I thought was a good fit for my cousin’s taste. Once the fabric was chosen, I selected craft gem colors to coordinate.
Step One
Trim your cork board to fit the glass front of the picture frame, if necessary. While my cork and my photo frame were both labeled 12 x 12, the glass portion was not quite as large. Cut the fabric to be slightly larger than your cork board tile, and iron it smooth. Lay your cork board down over the back side of the fabric so that there are ends overlapping on all sides.
Step Two
Line the edges of the cork tile with Skor-tape, or some form of adhesive. Working one side at a time, fold the fabric tightly over and secure.
Step Three
Fun part – decorate your fabric square! I used craft gems to showcase the first and last initials of my cousin’s two little boys, but you could really do anything you want. I had briefly considered paint and stencils, but changed my mind. Use your imagination!
Step Four
 Totally optional, but you can definitely give that boring black frame a coat of paint. I went with a metallic, and only applied enough coats to give somewhat of a distressed look to the frame. You could also stencil the frame, add ribbon, or other fun embellishments. There are dozens of possibilities.
Once your frame is dry and you are satisfied with your cork board, use your tacky glue or adhesive squares to secure your cork tile to the glass front of your picture frame. Take some cute pins and tack up your favorite photos – enjoy!!!


