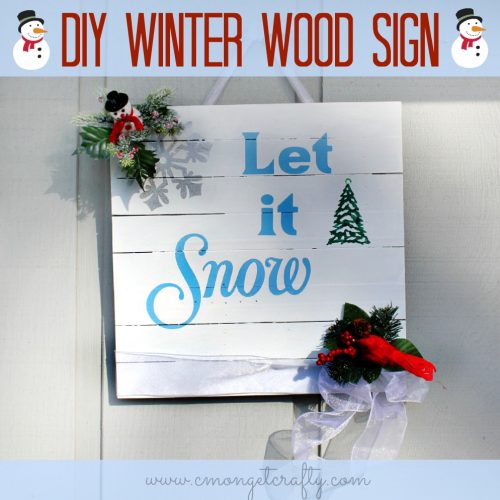
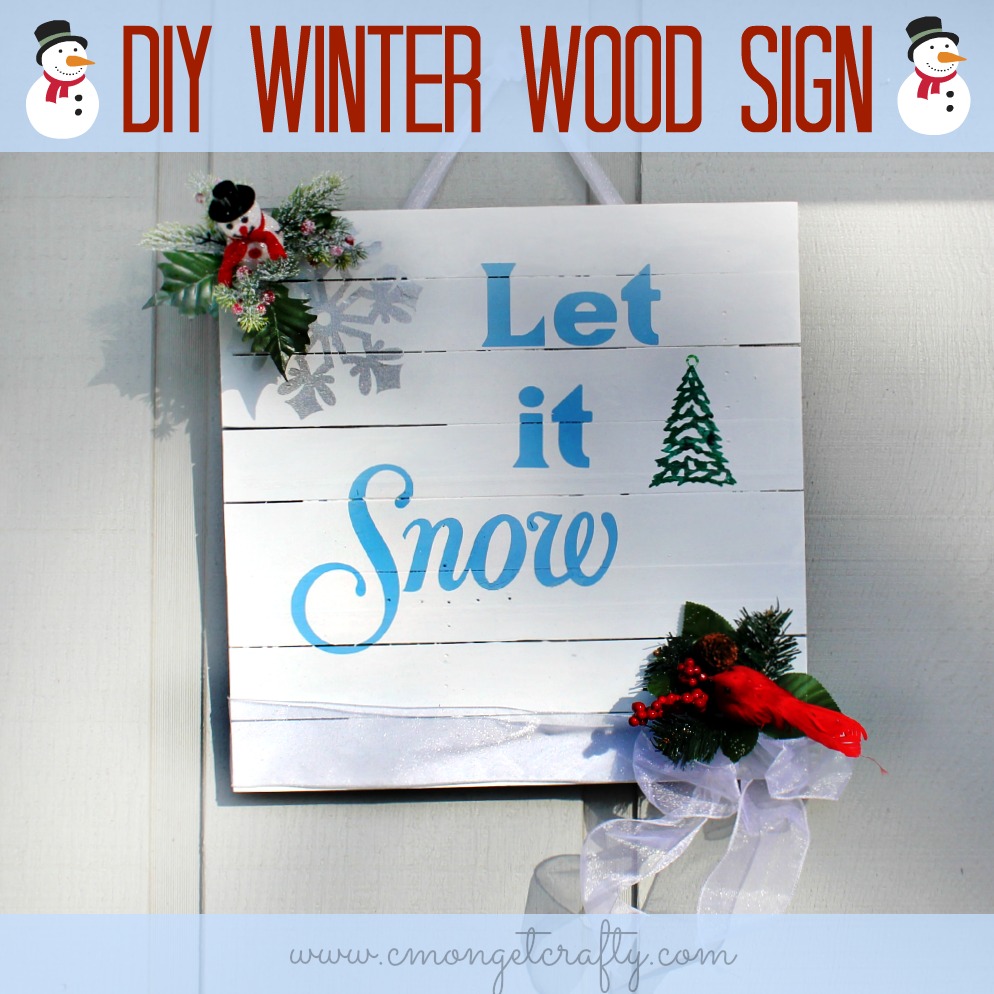
Recently I was a guest poster over at Sugar Bee Crafts, and I shared this tutorial for a winter wood sign. Wooden signs are all the rage on Pinterest, so here’s one way to make your own!
I found two of this wooden sign on clearance at the local Meijer. Who can pass that up?
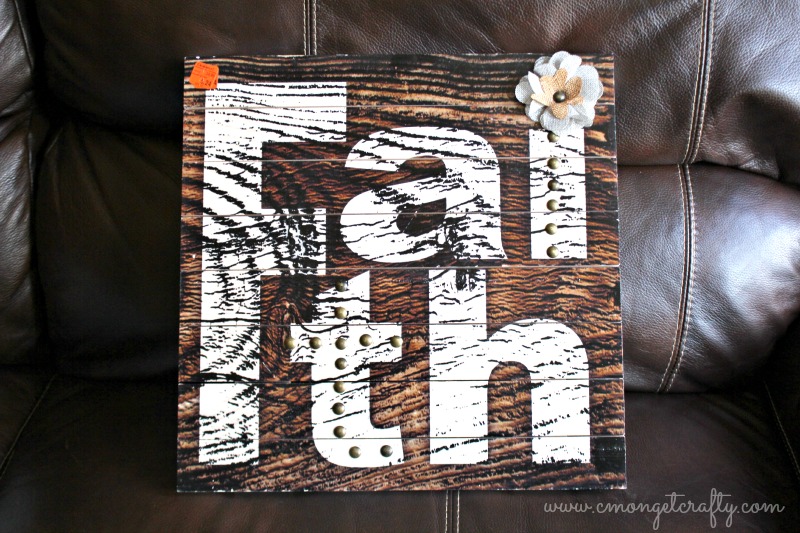
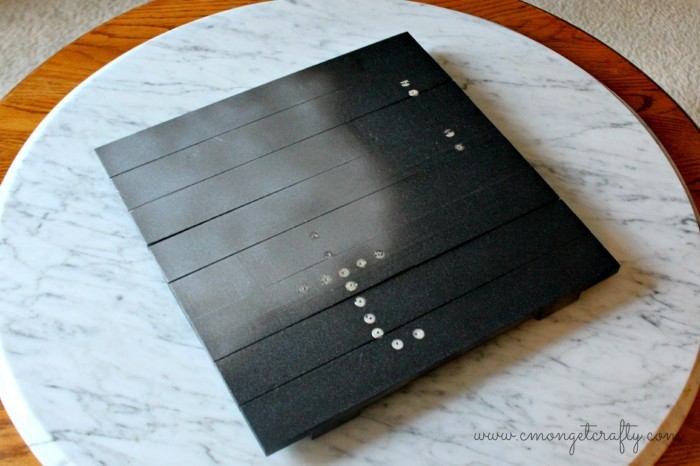
Well, definitely not me! I tend to just fly by the seat of my paint-smeared pants and play with stuff, so I didn’t really have a design in mind. I actually originally started a sign for Halloween, but time got away from me, and I never finished it. I got as far as removing the metal brads and the flower, then spray painting the entire sign black.
When Halloween passed me by, I reconsidered my options. We recently moved back home to our native Chicago after five years in sunny Vegas, so a pretty sign to embrace the approaching cold seemed a fitting idea! We’ve taken so much good-natured grief from Chicagoans and Las Vegans alike for electing to return the the frozen Midwest, why not wear it proudly? LET IT SNOW.
First, gotta get rid of the black. I wanted to incorporate the cold with a nice sparkly snowflake in the top corner, so I spray painted the corner a silver metallic.
I absolutely adore using my Cricut cutting machine with vinyl, so I cut my sign elements out with a combination of cartridges from Cricut’s winter rental bundle.
After placing the snowflake on the silver portion, I slathered a large area with Creamcoat “Blue Heaven” acrylic paint for the letters.

Now here is a great example of being “flexible” with your crafts. I painted the bottom corner a glittery white with the intention of more snowflakes (see those small three in the picture above, all cut and ready?). Well, those little guys did NOT want to adhere to my wood! The likely reason is I was rushing, and not allowing sufficient drying time. (I don’t practice patience all that well.) I ended up ruining my snowflakes, so that idea was out.

Hmm, I forgot to take a picture of the green paint under the tree, but you get the idea.
Next up, cover the all the vinyl with a coat of Modge Podge. This helps to seal the letters down and avoid bleed-through when you top off the whole sign with your “background” color.
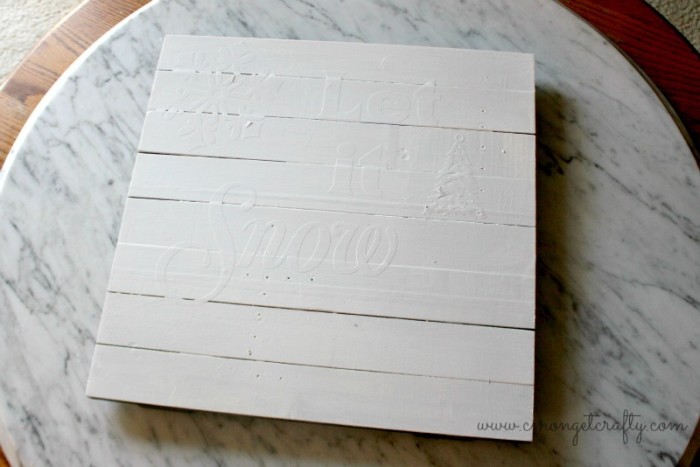
See my vinyl peeking out under my paint layer? This time, I DID allow sufficient drying time. (Lesson learned. Bad Meg.)
Okay, here comes the true test of patience.
PEELING.
A pair of tweezers can help to manipulate the removal of the vinyl.
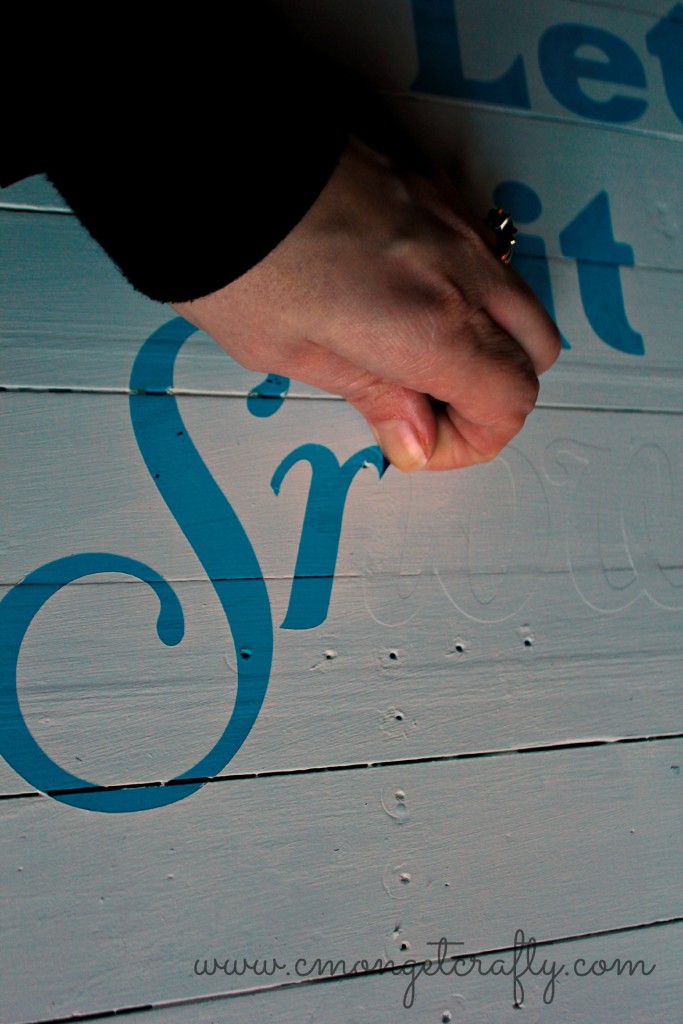
Another key tip for removing vinyl is to pull away from the edge of paint, rather than simply straight up or back.
Even with patience, tweezers, and the pull technique, sometimes you’re still going to have issues.

My snowflake vinyl pulled up more paint than I wanted. 🙁 Similarly, my SNOW cut pulled up ALL the paint, including the blue I wanted to stay there!
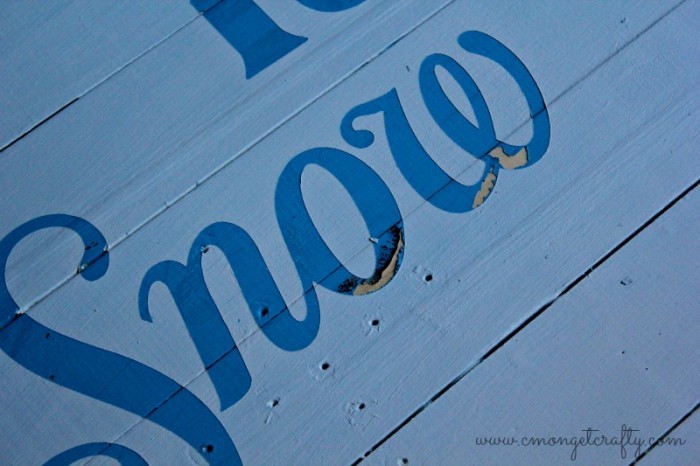
My tree got a bit mangled as well.
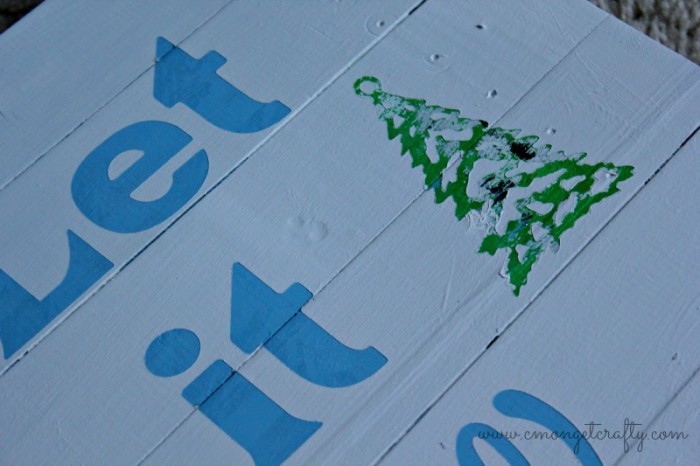
Do not be discouraged by these little mishaps!!! None of those glowing and gorgeous pins on Pinterest got there the first try, and I bet half of them are NOT as originally intended!
KEEP CALM AND CRAFT ON.
I used a paintbrush to dab in the blue for the word snow, and a green fine point marker to clean up my tree. Whew, crisis averted!
My snowflake was a little messier to clean up, which is when I got my idea to COVER UP. (Rub some dirt on it, crafty style.)
A few $1 decorations and a dash of hot glue, and VOILA!!

I love the cool palette of the sign combined with the bright red accents.
Now go get your craft on! 🙂
Have you seen a sign on Pinterest you wanted to make?


I love linking up at these parties , and at House of Rose!

