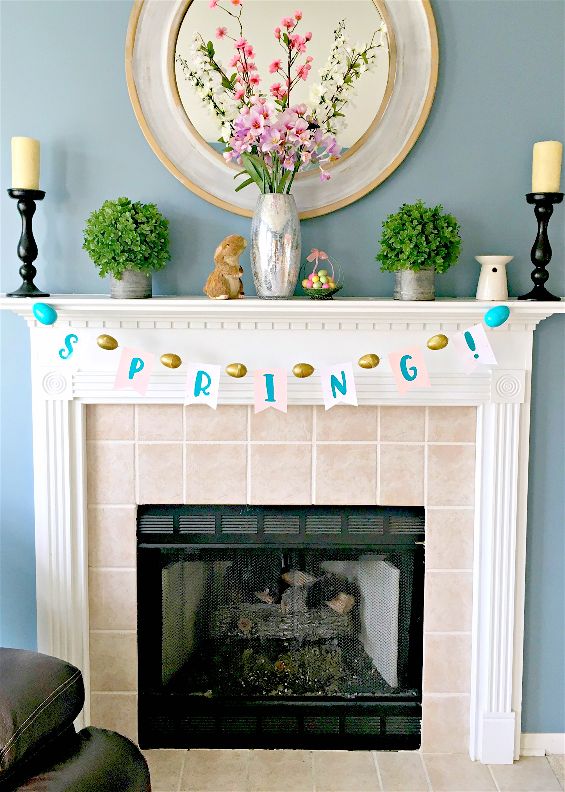
With supplies you’ve already got (or are likely to get for Easter anyway!), you can recreate my easy spring banner for yourself!

Every month I challenge a group of bloggers to create a new craft or project from their own stash of goodies! Everyone is allowed a $10 allowance for necessities to complete their project (i.e. paint brushes, glue, etc), but the bulk of it must be created from their own stash of goodies.
PSST – I use affiliate links on my website, from Amazon as well as others – this means if you click my links, I may earn a little money at no cost to you! I appreciate your support of my blog, and if you have questions, you can see my disclosure policy here. Thank you!!

I originally planned this craft just for fun and to add some new decor to my Easter season, but it also turned out to be a perfect post for the #CraftyDestashChallenge! I had everything I needed for this craft! I raided the plastic eggs of Easters past, grabbed a skein of yarn, a can of spray paint from my stash, vinyl, and craft paper. Total cost – ZERO! (Obviously excluding when I bought all this stuff originally, ha!)
Buy Your Crafting Supplies Now at Dollar Tree starting at $1.25!
Supplies Needed to Make Your Easy Spring Banner
- Plastic Eggs
- Spray Paint
- Drill
- Yarn or String
- Hot Glue Gun
- Spring Scrapbook Paper
- Vinyl
- Cutting Machine
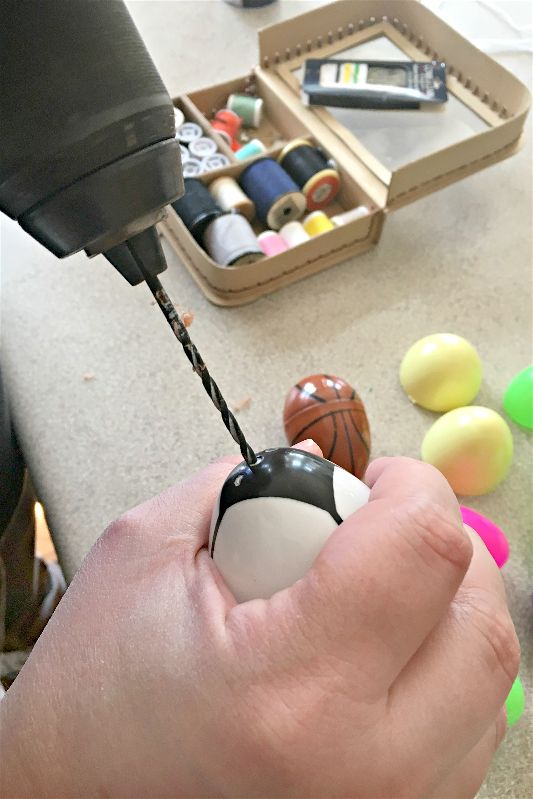
So my first step was to collect a bunch of similarly sized plastic eggs from our stash of Easter goodies.
I drilled tiny holes in each end of the eggs and then spray painted them. I opted for an aqua and gold color scheme for my spring banner color palette.
Don’t want to mess with spray painting?? Grab already gold eggs here!
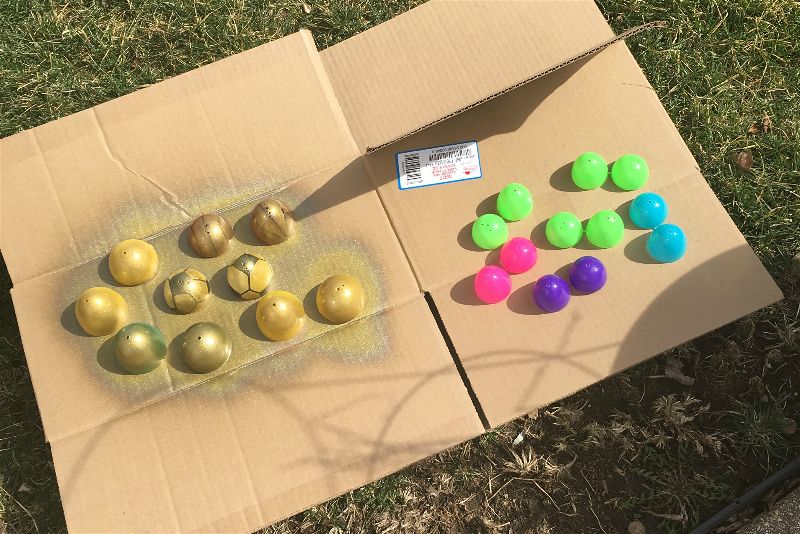
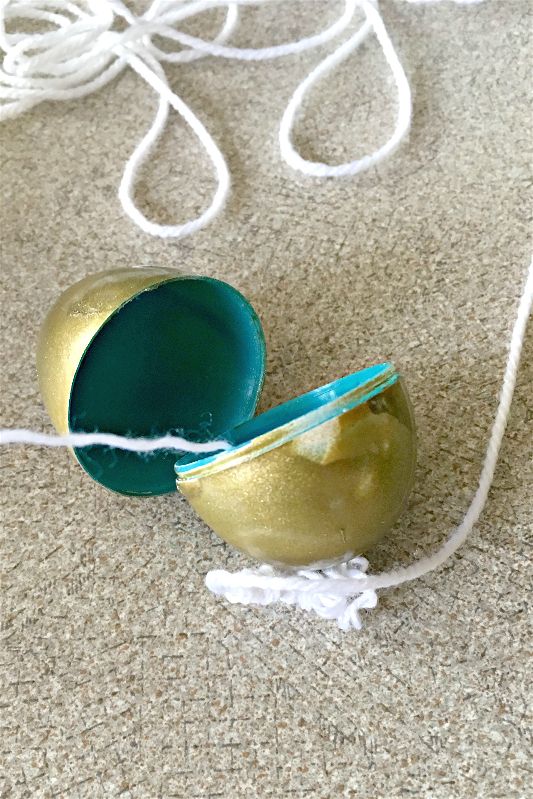
I had a skein of white yarn that I patiently threaded through the eggs. I spread them across a long line of yarn while spacing them to make room for the craft paper letters I created.
While your eggs are drying, prepare your sentiment.
For the sentiment part of your banner, first design the phrase in your preferred font and then cut out in craft vinyl or cardstock. Layer on top of craft paper, cut in your preferred shape. You can design in Word, Canva, Cricut Design Space, or hand-cut and freehand if you’re feeling old school!
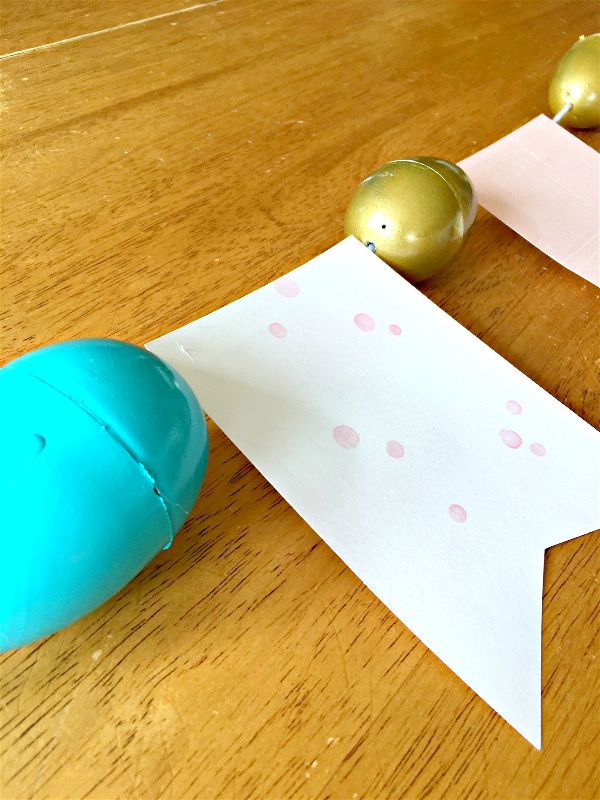
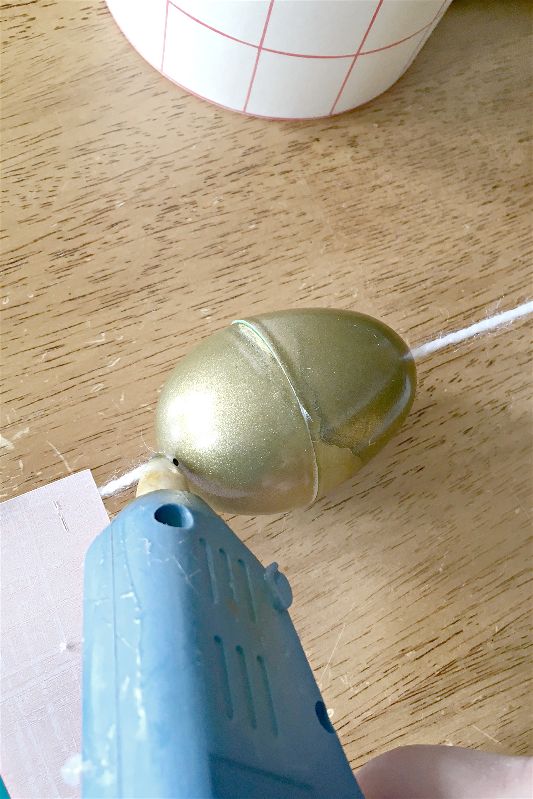
I dabbed a bit of hot glue on the ends of each egg to secure them to their space on the yarn, once I’d determined the correct spacing. The craft paper was also hot glued to the yarn once I had my letters adhered.
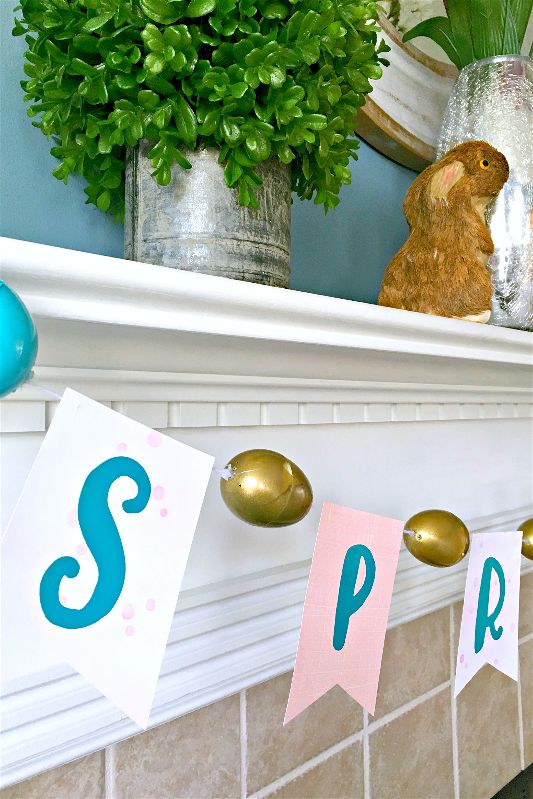
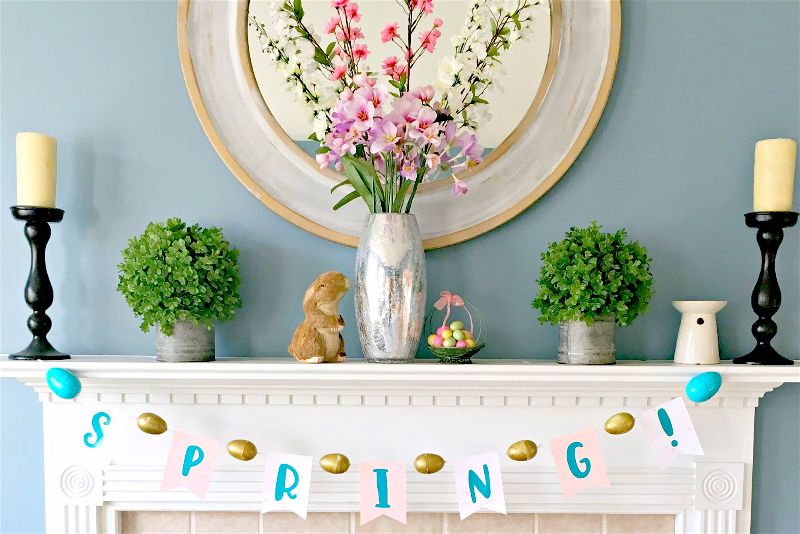
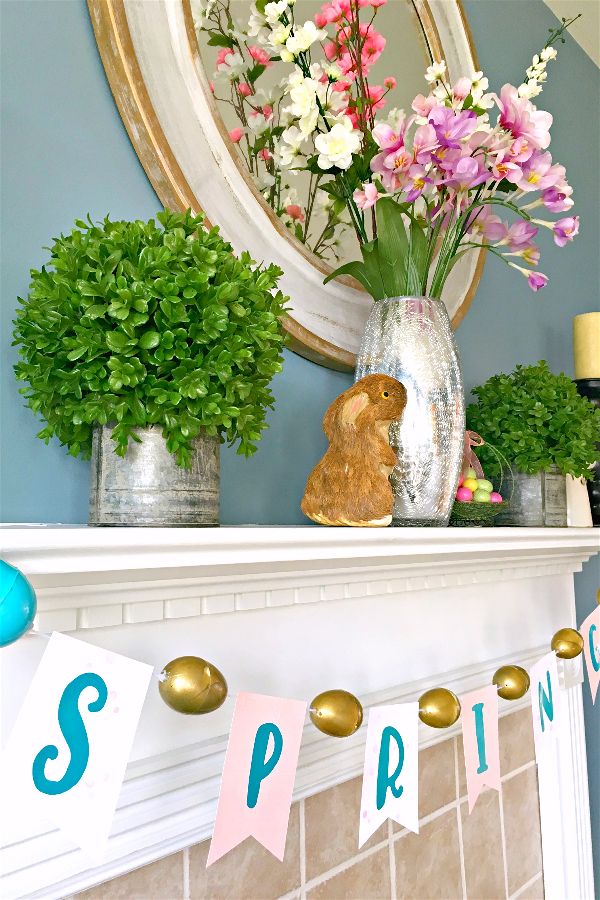
I very much enjoyed (and I’m still enjoying!) the pretty, bright, spring appeal of my easy spring banner. That’s saying A LOT, considering we had snow here today.

Hopefully my belated Easter spring banner will bring inspiration and joy to someone next year, in time for Easter! I still have my banner up, and I’m fervently hoping spring will show up and stay!!
Let’s see what the other Crafty De-Stashers were up to!
You May Also Like
Freshen Up Curb Appeal for Spring
Spring Bar Cart for Entertaining
DIY Spring Floral Wreath from Domestically Creative

So cute! Great way to use up all those extra plastic eggs laying around! I saw a big package of them at the grocery store the other day on clearance for 10 cents!
Your Spring banner is adorable. It is the perfect touch for your Spring mantel.
I wouldn’t say this cute DIY is too late, Megan! Easter may be already over, but it’s still spring and chicken are still laying an egg or two a day ;-)!!! Also, I am totally crushing on your fresh springy mantel decor! BTW, hot glue is my secret super power, too.
Well, easter bunny brought a whole stack of plastic easter eggs this year as a bit of a April 1 prank, and the kids were not so impressed. lol. But they would enjoy making something like this out of them to decorate with next easter. So thank you for a great idea.
This is so cute! I love how banners and garland can be both creative and unique no matter how you make them. Thanks for sharing.
This is so cute, even if Easter is over! Pinning for next year!
love, love love, such a creative idea