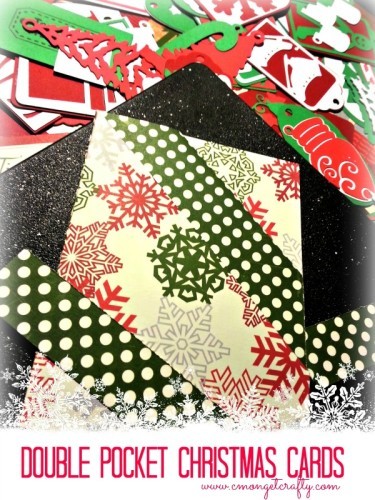
Today, I’m excited to show you how to make a super simple Double Pocket Christmas Card. It’s perfect for giving out gift cards or cash without all the fuss of a traditional card. And the best part? No previous card-making experience needed—so don’t worry if the last time you did anything crafty was in kindergarten.
PSST – I use affiliate links on my website, from Amazon as well as others – this means if you click my links, I may earn a little money at no cost to you! I appreciate your support of my blog, and if you have questions, you can see my disclosure policy here. Thank you!!
This quick and easy card is great for Christmas, but honestly, you could use it for birthdays, anniversaries, or anytime you need a cute way to hand someone some money. Let’s get started!
What You’ll Need
Before you get started, gather these supplies:
- Bone folder (or the nearest ruler) for nice, sharp creases
- Double-sided scrapbook paper (The double-sided part is key to making it look pretty on the inside and outside)
- Double-sided tape or Skor Tape
- Scissors or a paper trimmer
Step One: Trim Your Paper Down to Size
If you’re using 12×12 scrapbook paper, you’ll need to trim it down to 8.5×11. This size works best for folding without making it too bulky. I used a paper trimmer for this, but if you’re confident with a pair of scissors and a steady hand, you do you.


Once your paper is trimmed, fold it in half lengthwise (hotdog style, if that helps). Use your bone folder (or ruler) to make a nice sharp crease.
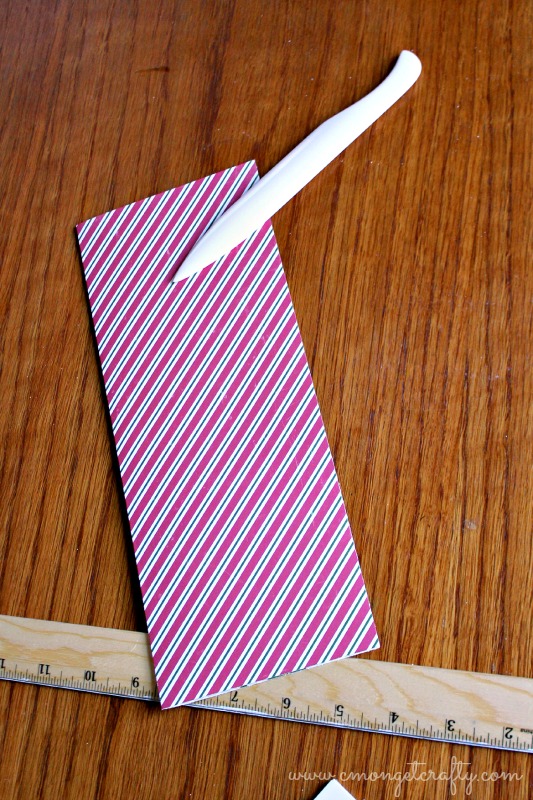
Step TwO: Fold Again, Width-wise This Time
Now, open up your paper and fold it in half width-wise (hamburger style). Again, press down the crease nice and tight. It should now look like you’ve got a piece of paper with four quadrants.

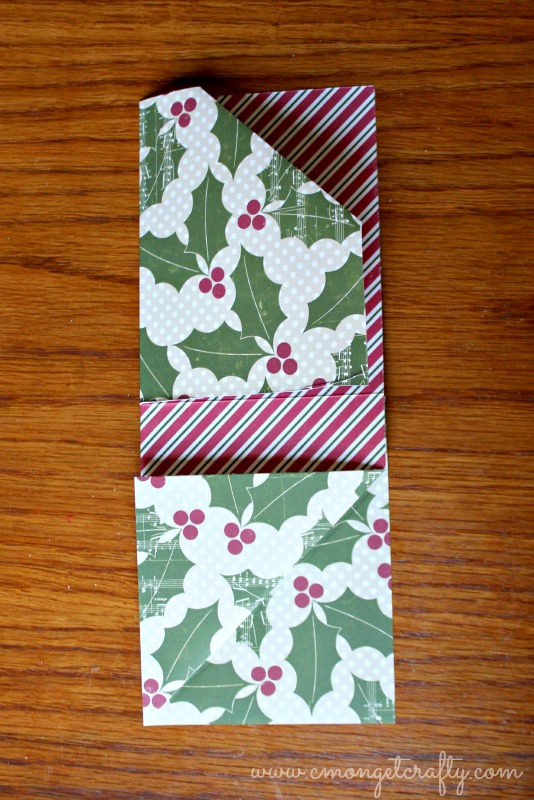
This is what your paper should look like when you are done.
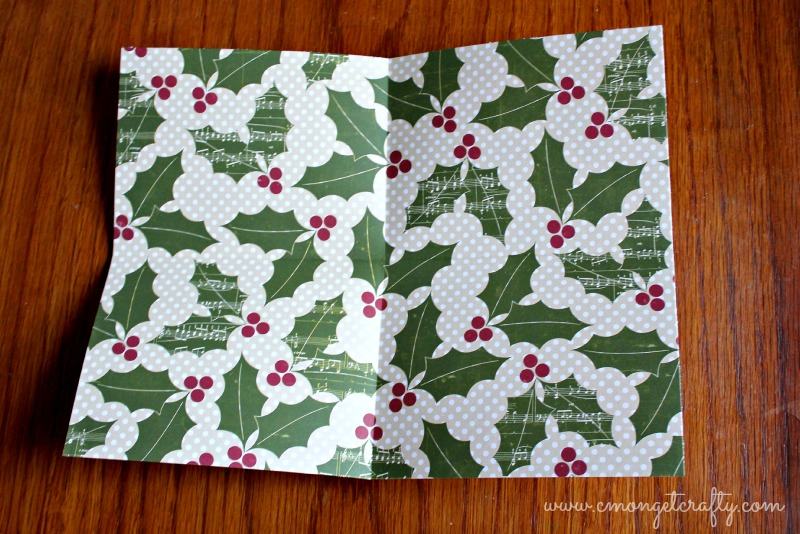
Step ThreE: Time to Flip and Cut
Flip your paper over so that the “inside” of your folds (the part you want to be hidden) is on the bottom. Take your scissors and make a cut along the left fold on the long side, cutting just to the center.

Step 4: Create Your Triangles
Now for the fun part. Take the bottom right corner and fold it towards the center lengthwise fold, creating a little triangle. Press down on the crease to make it sharp. Repeat this on the upper left corner above the cut line, making another triangle. At this point, your paper is starting to resemble some kind of abstract art piece.


Step Five: Fold and Tuck
Next, fold the top left corner across to the right side, keeping the triangle you just made at the bottom. Then, fold the bottom left corner under the bottom right corner. At this point, you should have some kind of folded masterpiece with little pockets forming.
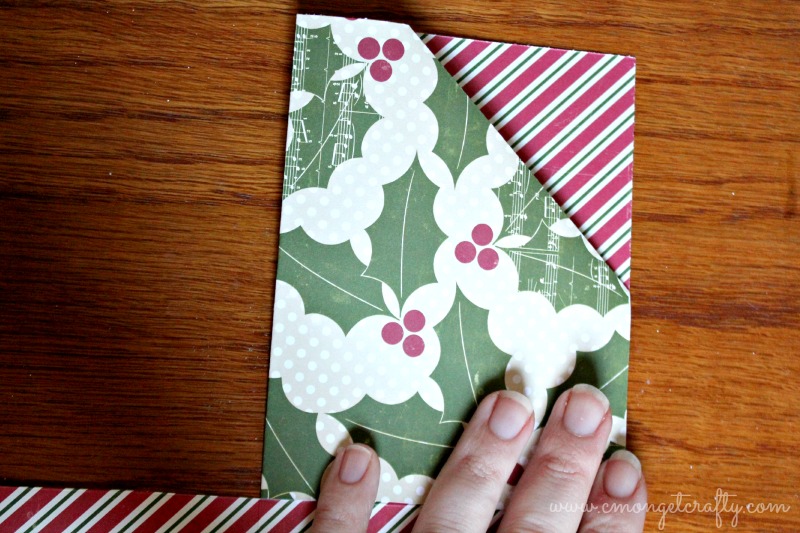
Step Six: Seal the Deal With Tape
Here’s where your double-sided tape comes in handy. Take the bottom right corner and fold it up and over the creased edge, forming a long triangle. Line the long outside edge of the triangle with double-sided tape (or Scor Tape, if you have it).

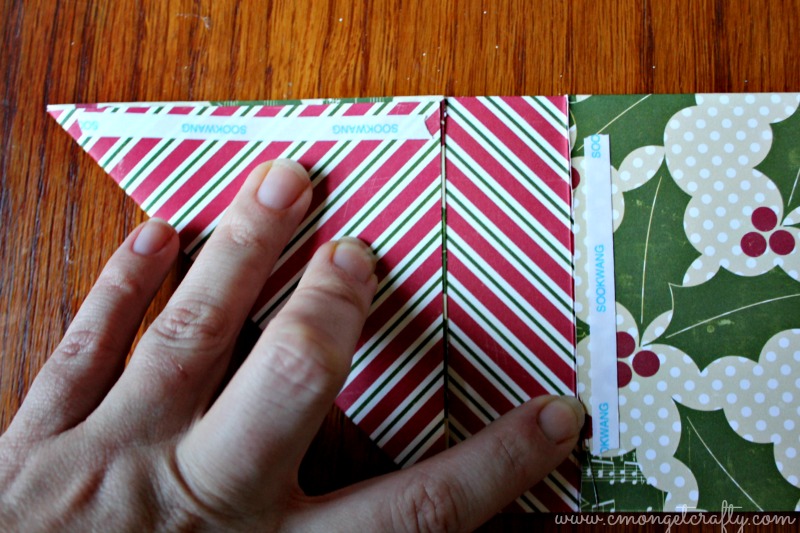
Peel off the backing and press the folded triangle over the top of the card, smoothing it down to make it stick.

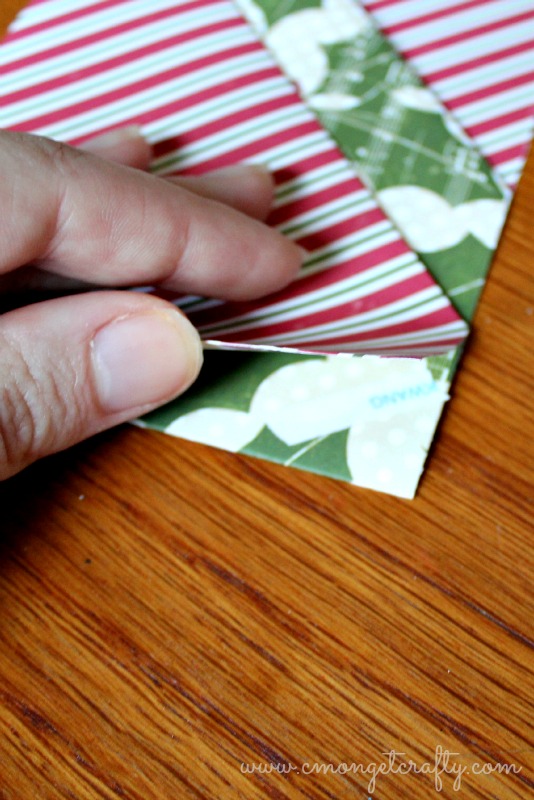
See those little pockets forming? That’s where your gift card or cash will go. Add some tape in the bottom corner too, just to make everything nice and secure.
Step SeveN: Decorate and Give Away!
Congratulations! You’ve officially created your double-pocket card. Now comes the fun part—decorating! You can go all out with stickers, stamps, or any embellishments you have on hand. It’s totally up to you. Slide in a gift card or some neatly folded cash, and you’re ready to gift away!


As you can see, the possibilities are endless!

Pro Tips to Make It Even Easier
- Use Heavy Scrapbook Paper: The double-sided part is essential for making the card look polished, but using heavy cardstock helps keep the pockets sturdy, so they don’t tear when someone eagerly pulls out their cash.
- Experiment with Different Sizes: While 8.5×11 works best for a simple gift card, you can experiment with larger or smaller sizes if you want to hold something a bit bigger (like concert tickets or multiple gift cards).
- Plan Your Design: If you’re planning to use stamps or printed embellishments, do that before you start folding. Trust me, it’s much easier to stamp on a flat sheet of paper than on a 3D card with folds and pockets everywhere.
I hope you get some great use out of these easy cards – they work perfectly for any gift occasion. I’d love if you’d check out some of my other tutorials as well! Just search, or click “Blog” at the top!

You May Also Like


