Creating your own custom craft supplies doesn’t just save money; it also adds a unique, personal touch to your projects. Foam stamps are a versatile and budget-friendly tool that can elevate any craft with ease. This works for ALL sorts of different crafting ideas, like homemade greeting cards, adding patterns to fabric, or creating handmade wrapping paper; foam stamps are a fun and easy addition to your crafting arsenal.
So let’s walk through how to make your own DIY foam stamps with simple materials you probably already have at home. Crafting just got easier, y’all!
I’m not sure I can pull that off, actually.

PSST – I use affiliate links on my website, from Amazon as well as others – this means if you click my links, I may earn a little money at no cost to you! I appreciate your support of my blog, and if you have questions, you can see my disclosure policy here. Thank you!!
Materials for DIY Foam Stamps
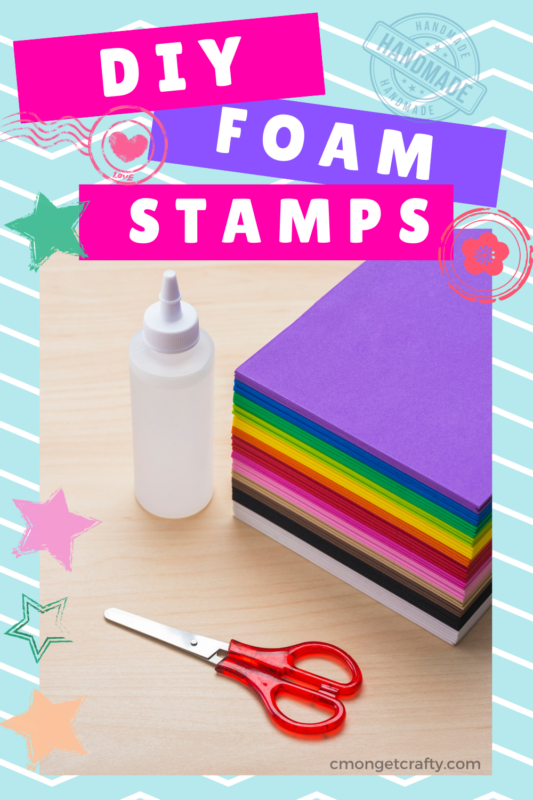
To get started, you’ll need a few basic supplies:
- Foam sheets (available in various colors and thicknesses)
- Adhesive (strong glue, hot glue, or double-sided tape)
- Scissors or an X-Acto knife
- Cardboard, wood blocks, or recycled materials for your stamp base and handle
- Marker or pencil for sketching designs
Another cool tool for these homemade stamps is to repurpose old pool noodles! (Or even new ones, they’re not terribly pricy.) They’re thicker than foam sheets and excellent for designs that need to hold more paint or ink. Use a serrated knife to cut and shape your pool noodle stamps.
Step 1: Sketch Your Designs
Start by sketching your desired designs directly onto your foam sheet or pool noodle. Simple shapes like stars, hearts, or flowers are great for beginners. For more intricate designs, use an X-Acto knife for precision cutting.
Step 2: Cut and Assemble Your Stamps
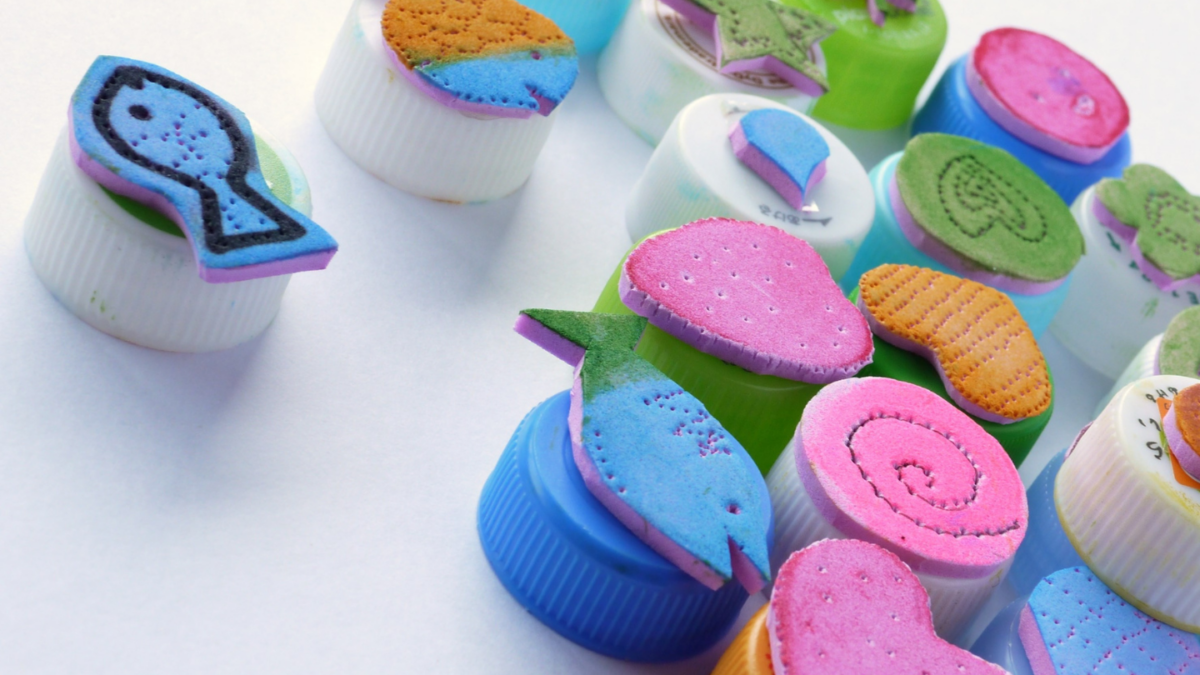
Once your designs are drawn, carefully cut them out with scissors or your X-Acto knife. Attach your foam cutouts to the stamp base using strong adhesive or hot glue. For added comfort and control, attach a small wooden block or recycled item (like a bottle cap) as a handle on the back of the stamp base.
Tip: If you’re using pool noodles, try cutting different depths for added texture in your stamps.
Step 3: Allow to Dry
Once your foam shapes are securely glued to the base, allow the adhesive to dry completely before use. This step is crucial for ensuring your foam stamps hold up during multiple crafting sessions.

Where To Use Your New Stamps
DIY foam stamps are incredibly versatile! Use them to:
- Decorate scrapbooks or journals
- Personalize gift wrap and cards
- Add designs to fabric for customized totes, t-shirts, or tea towels
- Create unique wall art or canvas prints
For even more creative fun, try layering colors or blending paints directly on the foam for unique effects. These stamps also make adorable additions to teacher appreciation gifts or homemade Christmas ornaments.
Bonus Tips for Success
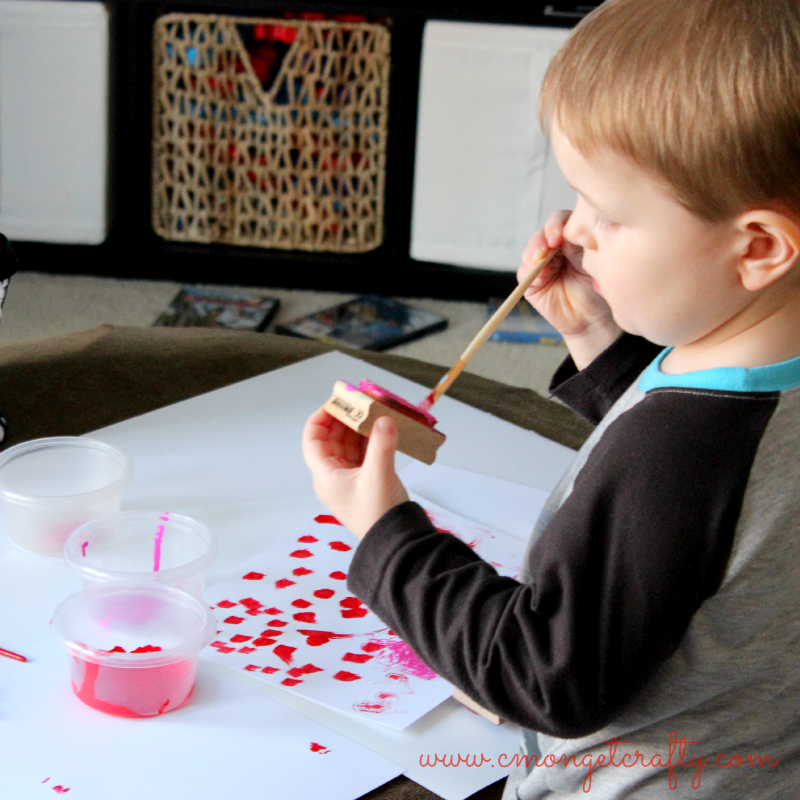
- For best results, use acrylic paint, fabric paint, or ink pads with your foam stamps.
- Wipe your stamps clean after each use to extend their lifespan.
- Store your foam stamps in a cool, dry place to keep them from warping.
Monetize Your Foam Stamp Creations
Want to turn this project into a profitable side hustle or blog feature? Here are some ideas:
- Create a digital template pack with pre-designed foam stamp patterns that readers can download.
- Develop a video tutorial series walking viewers through various foam stamp designs for seasonal crafts, gifts, and home decor.
- Offer custom foam stamp sets in your Etsy shop or as part of craft-themed gift bundles.
Crafting shouldn’t break the bank, and foam stamps are proof that a little DIY ingenuity can go a long way. The possibilities are endless, so let your imagination take the lead!


PSST!
If you’re interested in starting your own creative business, The Creative Edge might be a great fit for you! It’s my personalized creative business coaching program, where you can get 1:1 access to ME as you get started in your creative biz!

