The warm, summery vibes outside have got me thinking ahead to ALL THE ACTIVITES that we’ve got in the next few months. So many birthdays, some summer holiday get-togethers, and my new annual family reunion (more on that in an upcoming post!).
Anyway, all these events have my brain in overdrive with the logistics of each party and how to keep each one stylish and fun! That’s how I decided to put together a quick, no-sew party pack using this outdoor fabric from Fabric Wholesale Direct. It’s simple, sturdy, and reusable. These three DIYs are perfect for birthdays, graduations, backyard barbecues, or whatever Pinterest-worthy event you’re hoping to pull off this weekend!
Just scissors, heat bond tape, an iron, and your favorite playlist. Let’s go.
What You’ll Be Making
This no-sew party pack includes:
- A DIY party banner or fabric backdrop (customizable and reusable)
- A two-tone fabric table runner (easy centerpiece upgrade)
- A lined gift/card holder box (simple, clean, and not an afterthought)
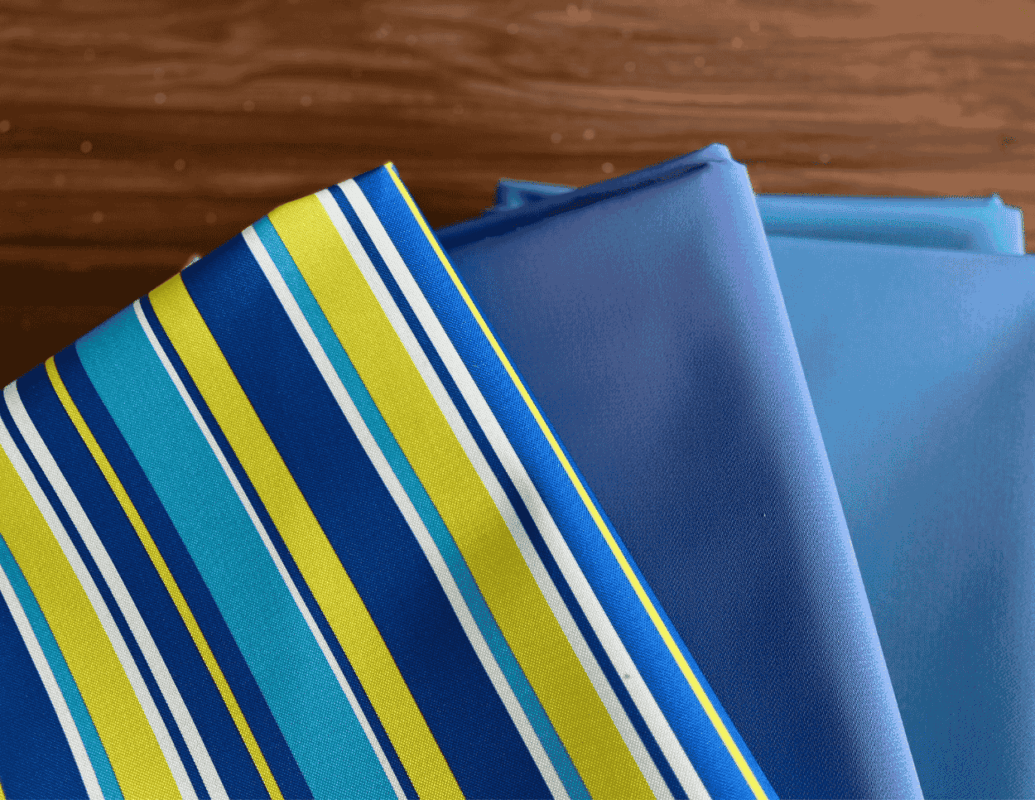
Fabric Breakdown: What I Used and Why
For this party pack, I used three colors of Ottertex® waterproof canvas:
- One striped pattern for high contrast and visual interest
- Two solids in turquoise and royal blue for structure and accenting
The 60″ width was a game-changer, especially for long cuts like banners or table runners. And since it’s outdoor canvas, you don’t have to worry about weather, wrinkling, or it falling apart halfway through the event.
Quick Tip: The stripes run lengthwise. Perfect for banners and runners without piecing anything together.
Project 1: No-Sew Banner or Backdrop
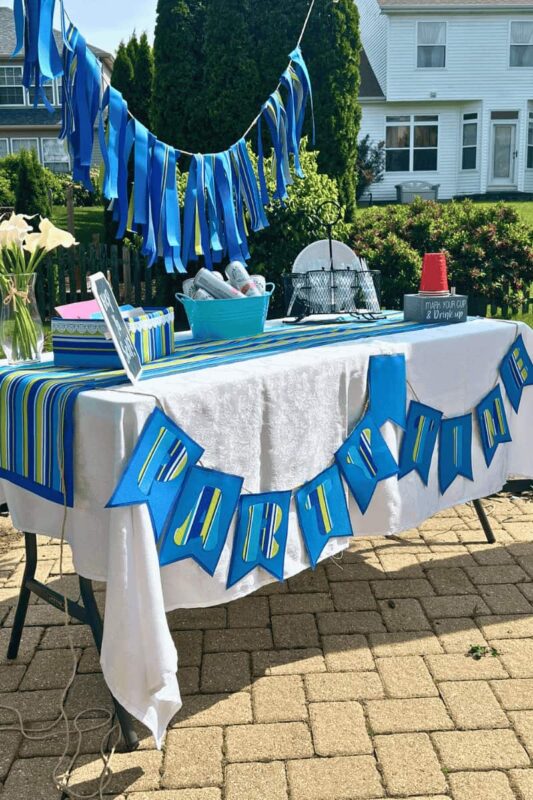
I wasn’t 100% sure on what kind of banner I wanted to make, to be honest. There’s the standard pennant style, or the simple rag style – and I ended up being able to make BOTH!
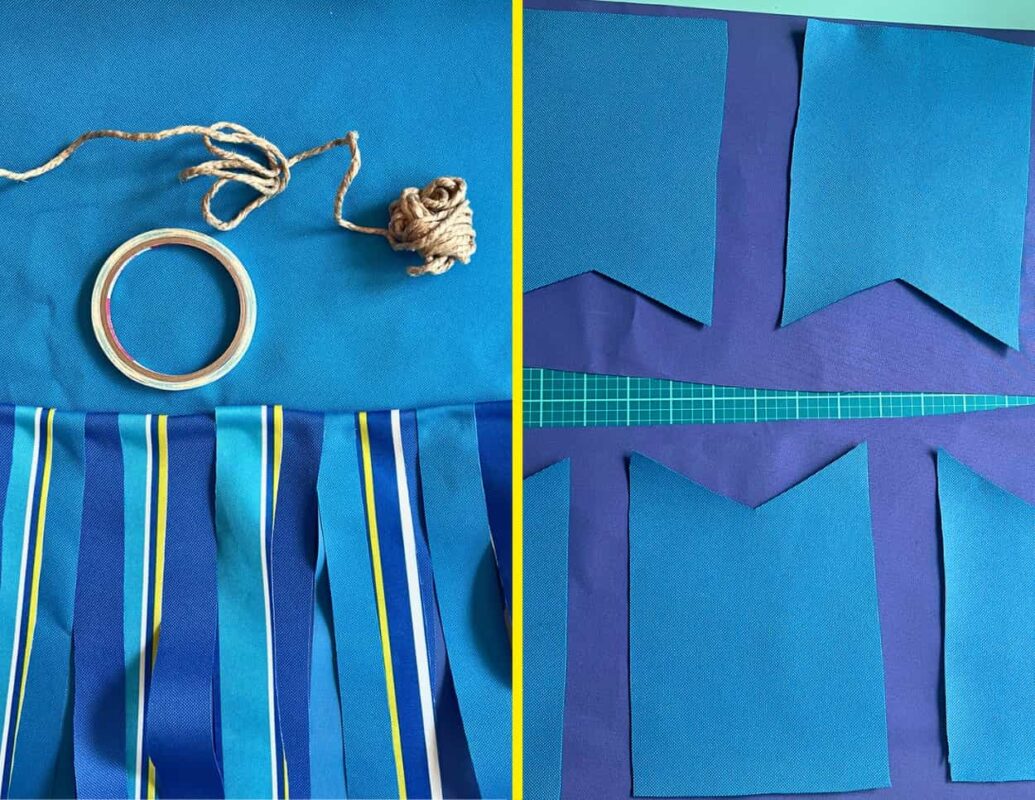
For Rag Style, You’ll need:
- Fabric strips of various lengths and widths (solids + stripes)
- Twine, jute rope, or yarn
- Scissors
How to Make It:
Normally with a rag-style banner, you’d just cut strips of fabric and knot them around your twine or rope – and then repeat over and over until you fill it as much as you like. (See how I made this summer rag wreath as an example.)
In this instance, the outdoor fabric doesn’t lend itself well to this method, being fairly thick and heavier than most fabric scraps. Tying it looked more like trying to tie a Windsor knot than anything else. So instead, I folded the strips over the twine and secured them with a strip of Skor tape, then kept going, alternating pattern and colors and overlapping here and there.
- Cut strips of fabric to desired length and width – remember, messy is encouraged for this look!
- Either tie strips to twine with a knot in the center of the strip, allowing ends to flutter freely, OR fold over and secure with a line of adhesive for a flatter look.
WHAT I’D DO DIFFERENTLY NEXT TIME:
I used my Skor tape, and it worked well at first, but if I were to do it over again, I’d go with the HeatnBond fabric adhesive or a fabric glue and just have more patience! The skor tape didn’t hold up as well against the wind of outside, which sort of defeats the purpose of outdoor decor!
For Pennant Style, You’ll need:
- Fabric swatches cut to banner template or with cutting machine – if layering, cut multiple sizes
- HeatnBond
- Twine or yarn
- Scissors
- Optional: ribbon, streamers, fabric flowers, iron-on vinyl
How to Make It:
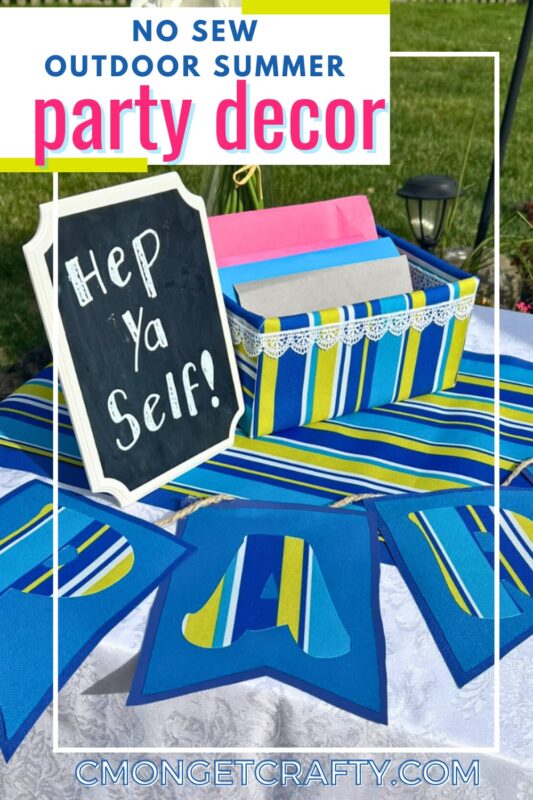
For the pennant style, you can sketch up your own outline, you can use a template or freehand if you feel like it! I ended up measuring out a basic pennant shape, then laying that first one over the secondary color and cutting a larger outline for the backing. I used my Cricut to cut the letters “P-A-R-T-Y-T-I-M-E” from the striped fabric, and secured all the layers with HeatnBond.
- Using a template or sketching on your own, cut your individual pennants from fabric of choice
- Cut slightly larger outline of pennants on secondary fabric choice, for outline and backing
- Using a stencil or cutting machine, cut out letters or embellishments on third fabric choice; could do CONGRATS, HAPPY BIRTHDAY, or the general use PARTY TIME that I went with, for reuse on multiple occasions!
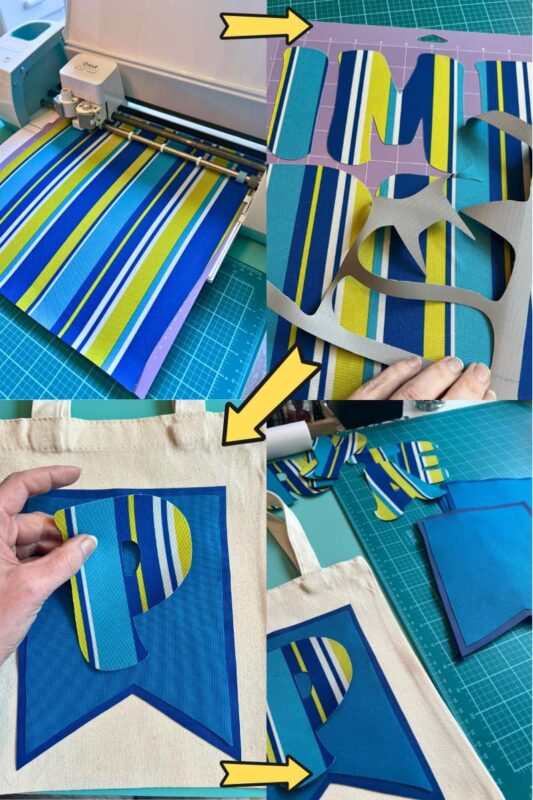
- For hanging the flat pennants, I I intentionally avoided sewing for this step. One, I don’t have a sewing machine, and two, I’m terrible at it even if I did. So instead, I cut small scraps of matching fabric and fused them into loops with the HeatnBond before securing them to the back of the pennants
- Thread the twine or yarn through the loops to hang your banner – I like to secure a piece of tape to the end in a point to help thread it through!
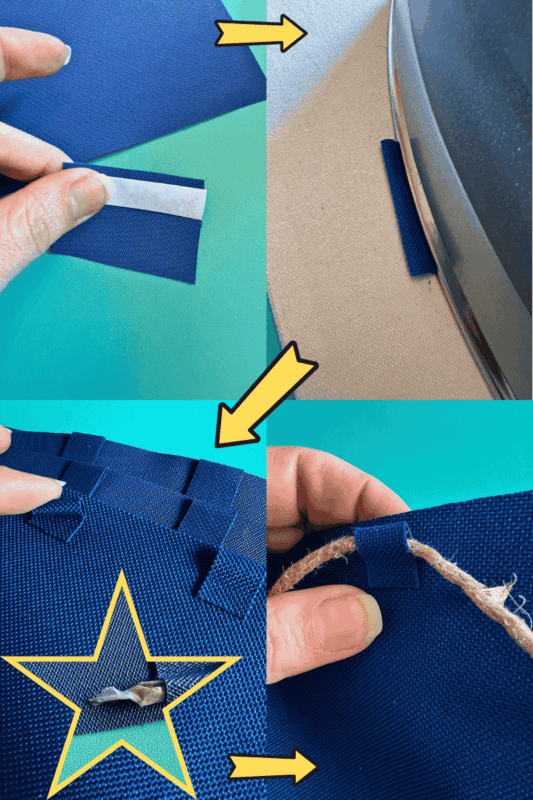
WHAT I’D DO DIFFERENTLY NEXT TIME:
I’d use a stronger version of HeatnBond for this or any other “secure” steps – the soft stretch kind I used wasn’t strong enough for the heavy weight of the pennants, and I ended up needing additional adhesives to keep it secure. Only a few came loose, so I’m pretty sure a stronger bond would have been sufficient.
Project 2: Two-Tone Table Runner
This one’s quick but pulls everything together on your table.
QUICK NOTE: Other than the rag wreath – EVERYTHING else I made for this required a LOT of measuring. Something I am not great at, and kind of loathe. It was mostly to make sure I had enough fabric for each project, but I needn’t have worried – I had PLENTY, with my 3 yards of each solid, 4 yards of the striped. I was able to make a complete backdrop in addition!
Materials:
- Striped fabric: 72″ x 14″
- Solid fabric: 74″ x 16″ (for a border effect)
- Rotary fabric cutter or scissors
- Ruler
- HeatnBond
- Iron
How to Make It:
Making the table runner was actually the hardest part for me, due to the length needed, and those stripes! I thought they’d make it easier, but I think they messed with my visuals, lol. The length needed for a table runner just meant that I was measuring like a maniac, to make sure I kept it straight!
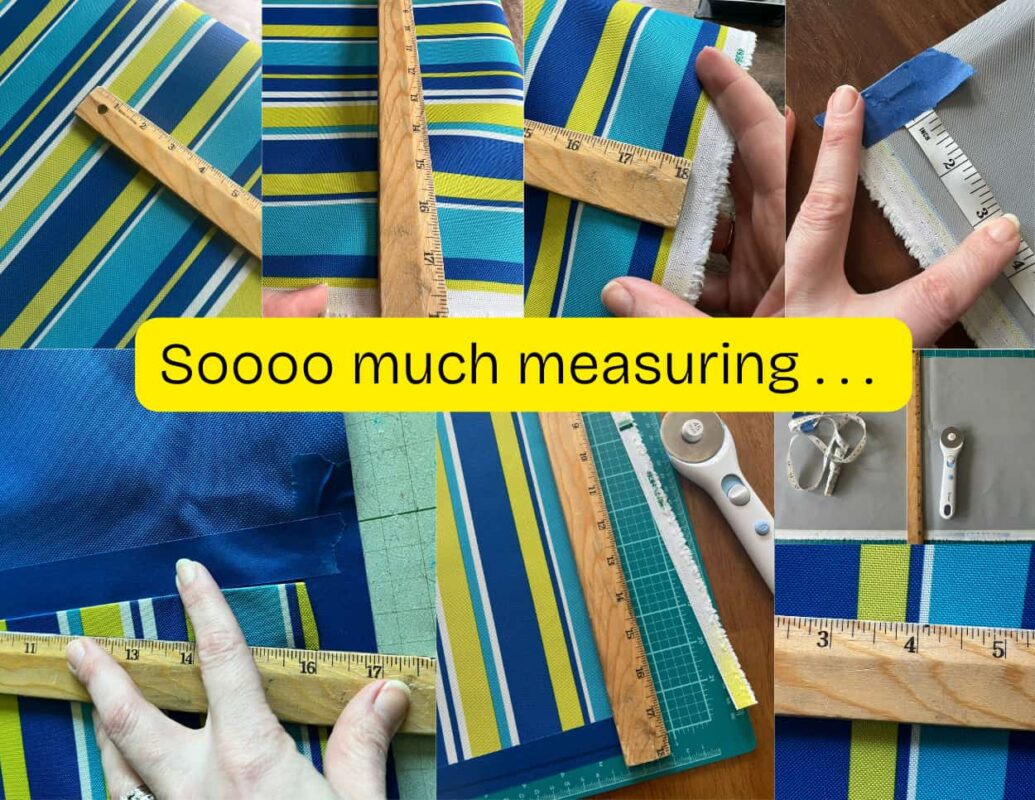
- Measure twice, cut once. (Or, in my case, measure a dozen times and wing it anyway, hoping for straight lines – you get me.)
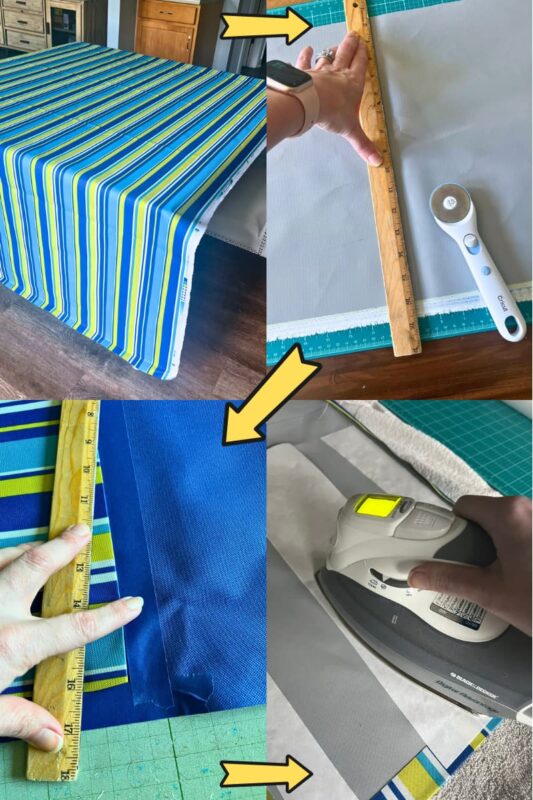
- Cut the length of fabric for the top layer (the striped fabric), leaving a bit of extra along the sides for cleaning up edges or folding over.
- Cut outline on backing fabric (solid color) – you can lay out the striped fabric over the solid and measure out a line to follow. I actually used painter’s tape to guide this process for myself!
- Using strip of HeatnBond, secure fabric swatches together with iron, following package instructions.
Project 3: Lined Card/Gift Box
Don’t toss cards into a random bin. Give them a home that matches the rest of your setup.
Use any box or container you have on hand:
- Repurposed shipping box
- Plastic bin from the dollar store
- Small wooden crate
Materials:
- Fabric (enough to cover inside and line the rim OR two swatches, for outside and interior lining)
- HeatnBond or glue
- Optional: vinyl labels, faux flowers, ribbon
How to Make:
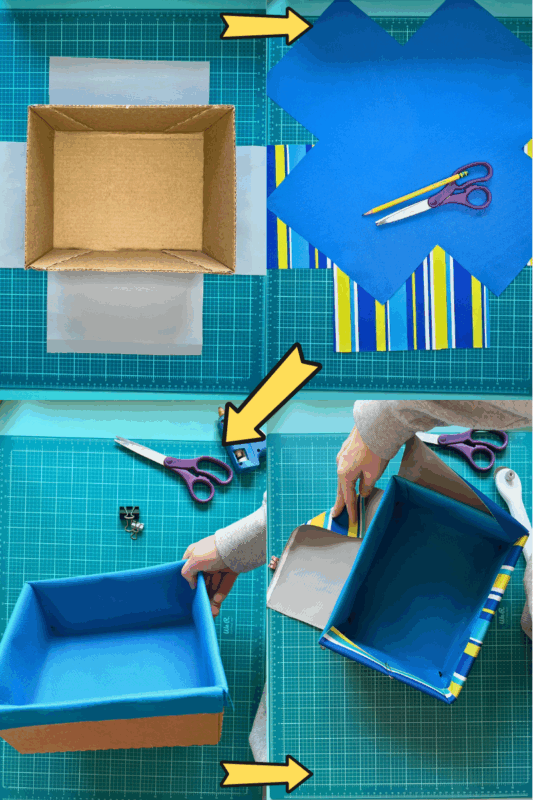
I used one of those hoarded cardboard boxes that my husband hates (victory!) to create this card box. I wanted to cover inside and outside of the basic box, so I cut two swatches of fabric.
I followed the more detailed instructions of this awesome creator for the box lining –> No Sew Fabric Covered Boxes Tutorial
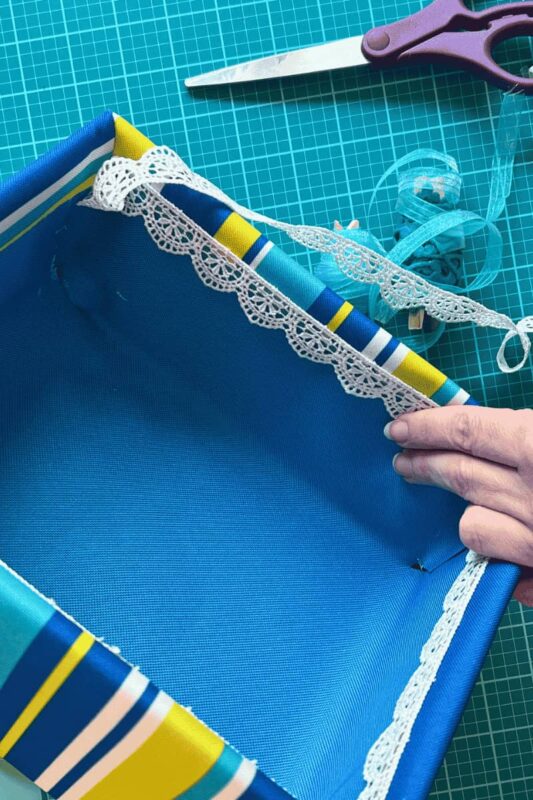
I also added an interior and exterior strip of this lacy white ribbon that I had on hand (yay for more de-stashing!). This is also a great way to hide any imperfections, like uneven lines or awkward corners. 😉
Wrap-Up
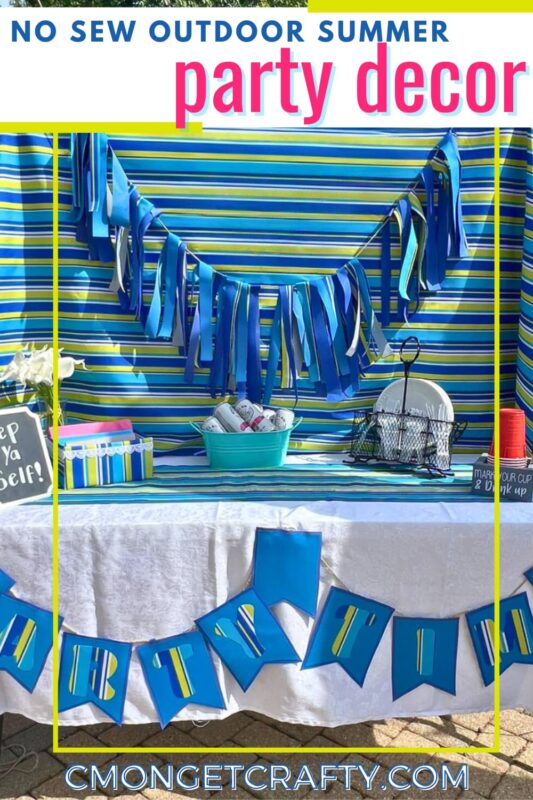
This no-sew party pack came together fast and held up great. It looked good, saved money, and didn’t involve dragging out a sewing machine (if I owned one!). I had more than enough fabric to set up a colorful summer-ready corner on the patio, just perfect for a BBQ or summer party!
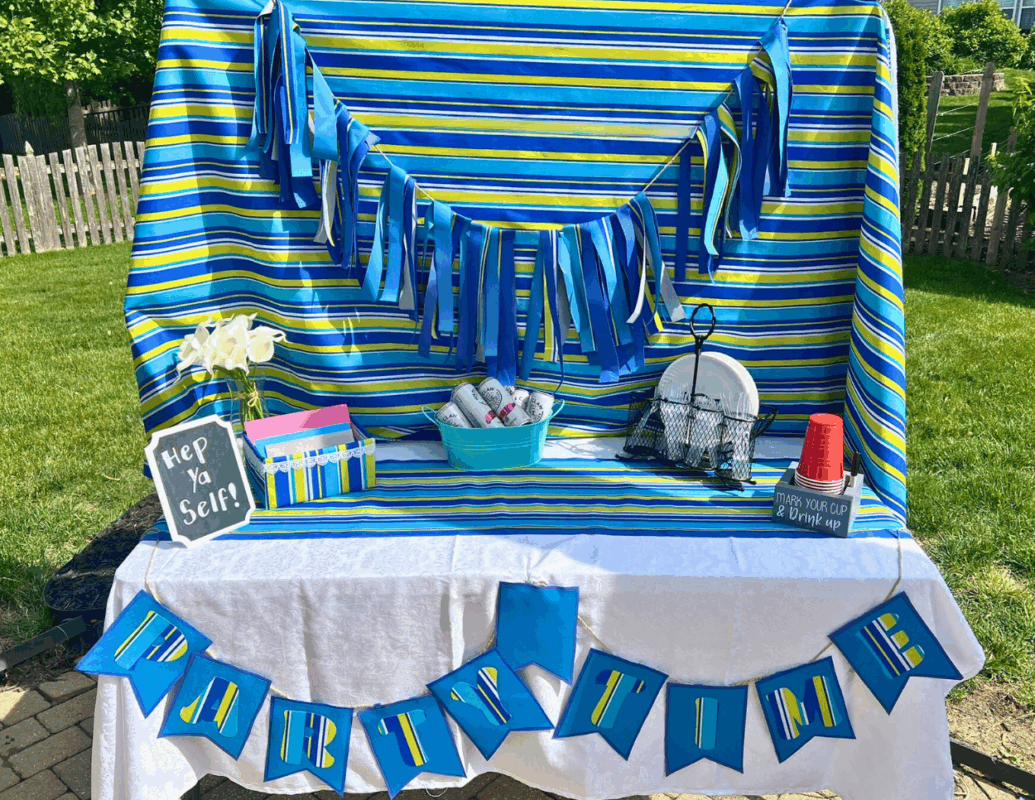
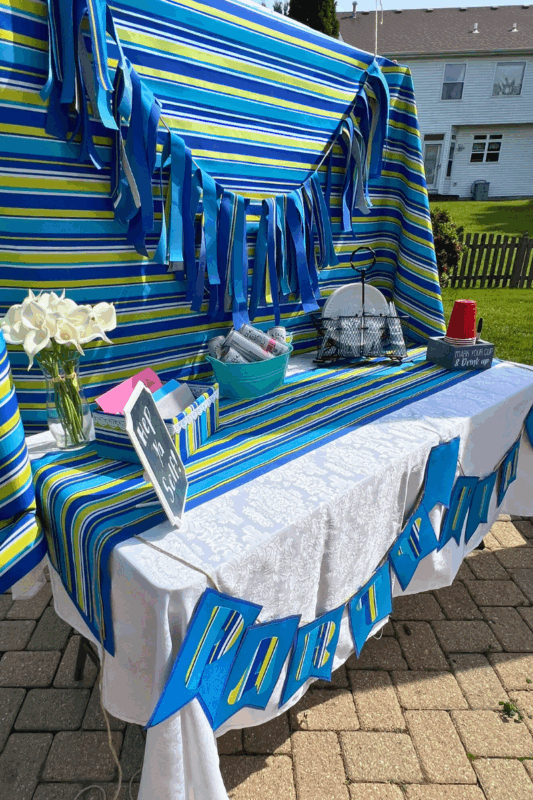
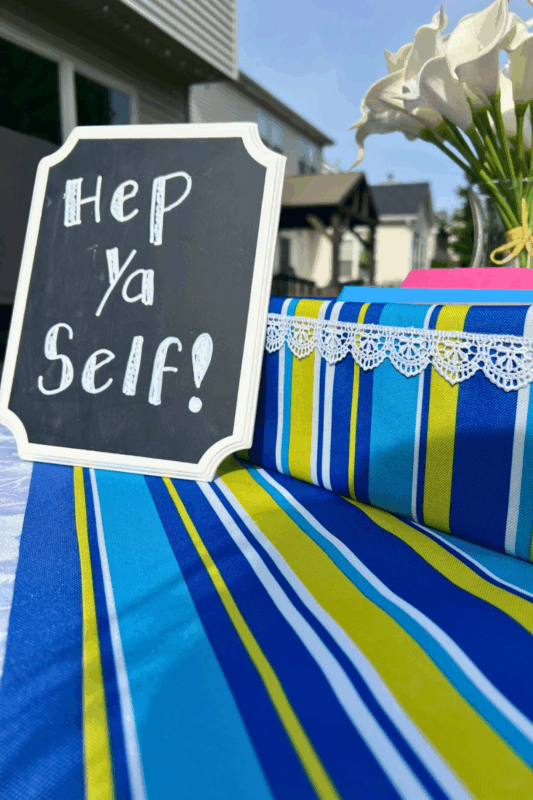
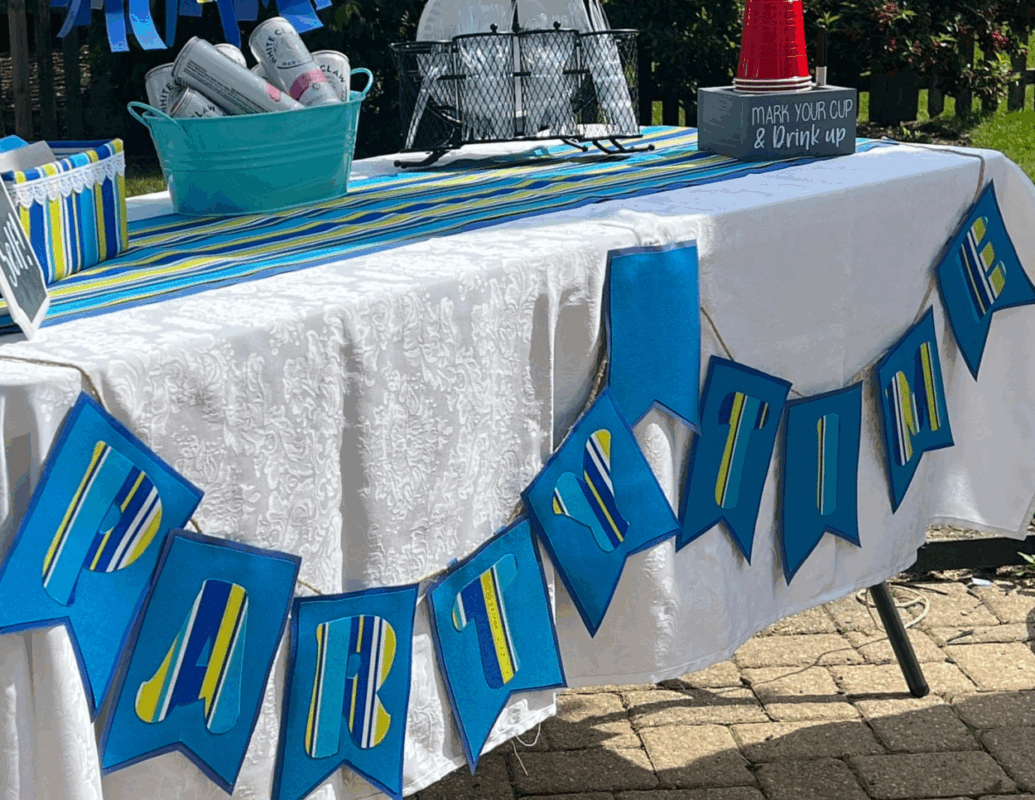
I did originally start out with JUST the rag banner as the hanging backdrop element, as you can see in the picture below. However, it lacked the grandeur and polish I was looking for, and when I realized I had enough fabric for a full backdrop, that clinched it!
Want to make your own? You can find the same Ottertex® waterproof canvas I used here, along with plenty of other options, and don’t forget to tag me when you share your party setup – I seriously love seeing your projects!
My Materials List
Ottertex® Waterproof Canvas – Multi Stripe Print
Ottertex® Waterproof Canvas – Royal Blue
Ottertex® Waterproof Canvas – Turquoise
Final Styling Ideas
Once your main projects are done, you can stop here—but if you want to kick it up a notch:
- Weave in streamers or ribbon to the banner for texture
- Add HTV phrases to the table runner or box (think names, dates, or “Treat Yo Self”)
- Use foam board or cardstock to make matching signage
- Coordinate paper goods or flowers for a polished look
What sort of summer parties do you love to throw or attend?

One comment