It’s the third Monday of April, and that means its time for another #CraftRoomDestashChallenge post!
This is sort of a version of a de-stash, anyway. I’ve been hoarding piles and piles of picture frames and other knickknacks for – I kid you not – at least nine months with the intention of updating my very bland gallery wall in my front room. Probably over a year, actually, as the pile was slowly added to with thrifty finds. I thought Mr. Crafty was going to murder me if I didn’t get them on the wall. Perfect timing!
The rules of the challenge are simple: create something using primarily your own craft stash, and up to $10 for necessities (glue, brushes, etc.)
Since I’d hoarded all of these items for so long, all I was out of pocket at crunch time was about $8 for nails and an extra roll of painter’s tape!
*Post contains affiliate links. For my full disclosure, see here.*

I’m no stranger to gallery walls, since I’ve created two in my upstairs hallway already. (Find one of them here!) I also helped my mom create a gallery wall in her narrow hallway, which I created a few tips for that you can find here.
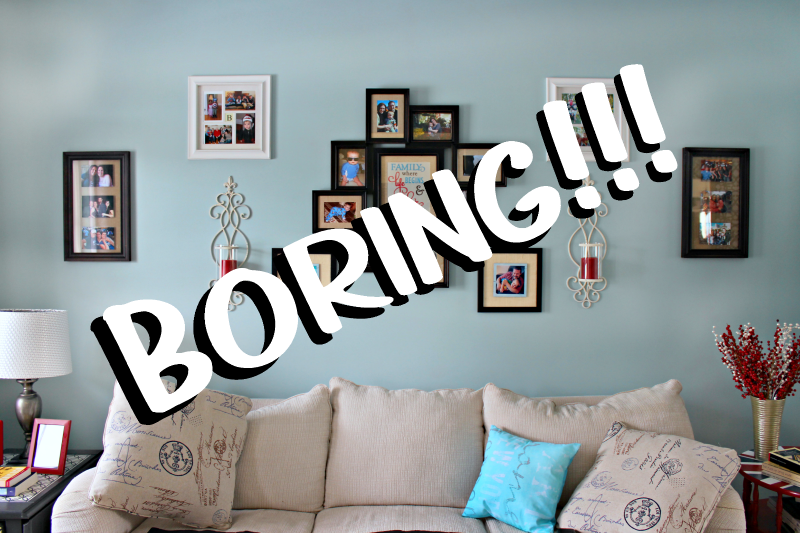
I was racing to decorate this room when we moved in, being very very pregnant and expecting loads of company; so I sort of just threw together a basic composite of pictures and hung them on the wall. My one non-photo addition to my display was a set of candle holders.
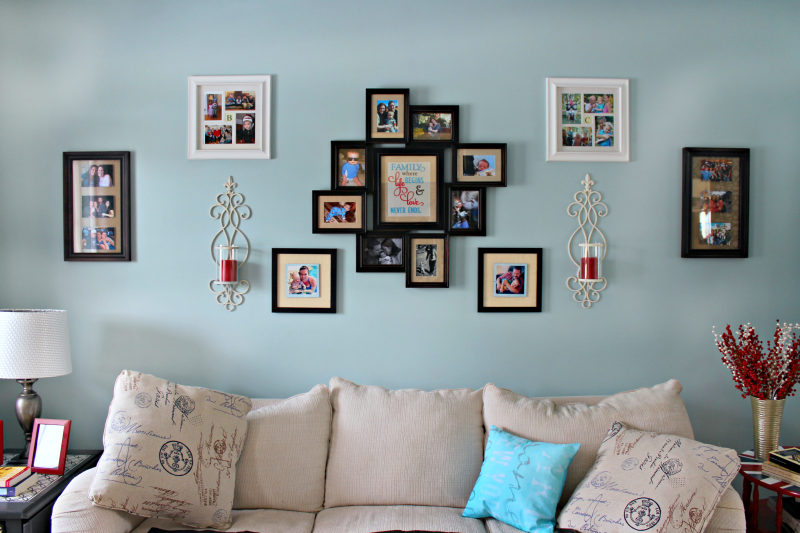
Now THAT is a bland gallery wall. In fact, I can’t justify calling it a gallery wall.
Hello, calling the 1990’s? I have a wall you’ll just LOVE.
I’d already added some interesting touches in this room, with my three different table projects (find those here, here, and here!) and this boring old wall was just bugging me. Time to pick up that pile of goodies and get to work!
First rule of hanging anything?
Measure, measure, measure!
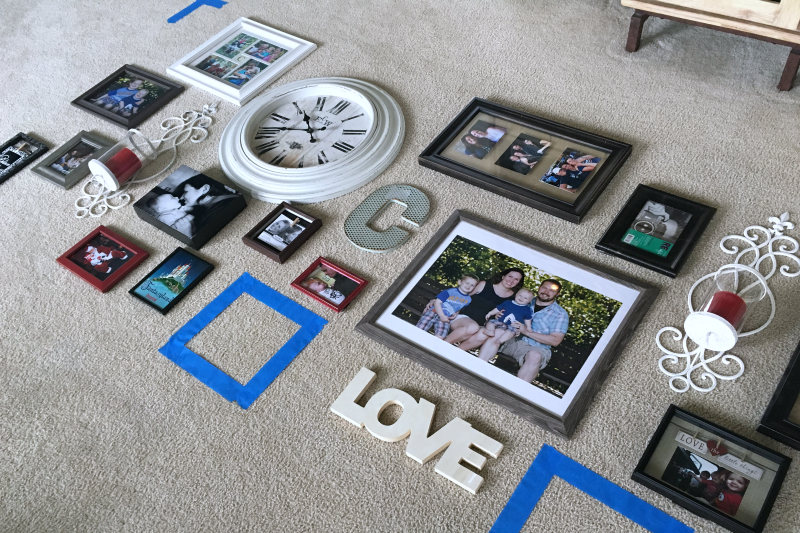
Especially when hanging an array of things, like for a gallery wall, you want to make sure you have it planned out before pounding a bunch of holes in your walls. (If you’re about to say, “Oh, but command strips!”, I’ll get to those in a second.)
Measure your wall space, then tape out the same area on the floor. This way, you can play with your arrangement until you are satisfied with the layout of your gallery wall.
Another trick I use is to tap off a corner or two of each picture frame and hang the entire outline on the wall to ensure correct placement.
See those two painters tape boxes on my floor layout? Yeah, the two picture frames that were already on the wall were hung with command strips – and they did NOT want to come off without my paint and plaster as well. So I included them in my layout. I do like using command strips for light projects, but I guess after three years on the wall, they were a little too attached. :/
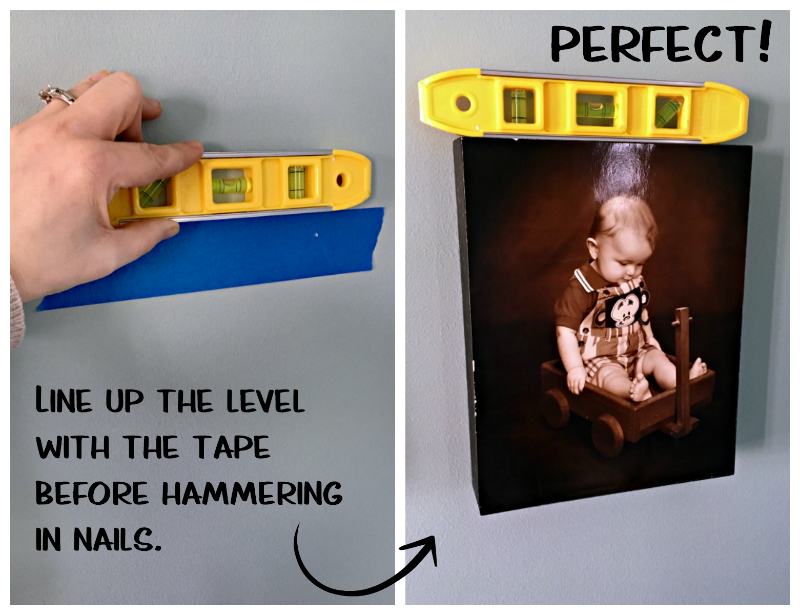
Now, here’s my simple trick to hanging things, since it’s kind of a PITA. Lay painters tape across the back of the frame or item you want to hang, over the holes. Poke the holes with a pen or the nails and peel the tape off. Then simply place your tape on the wall where you want to hang it. I use a small level on the top line of my tape to make certain my picture will hang correctly.
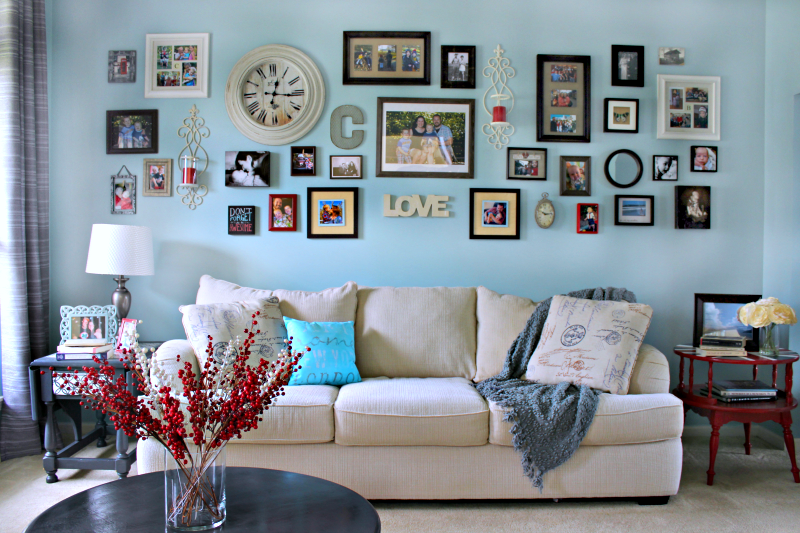
I love this SO much more than before!!
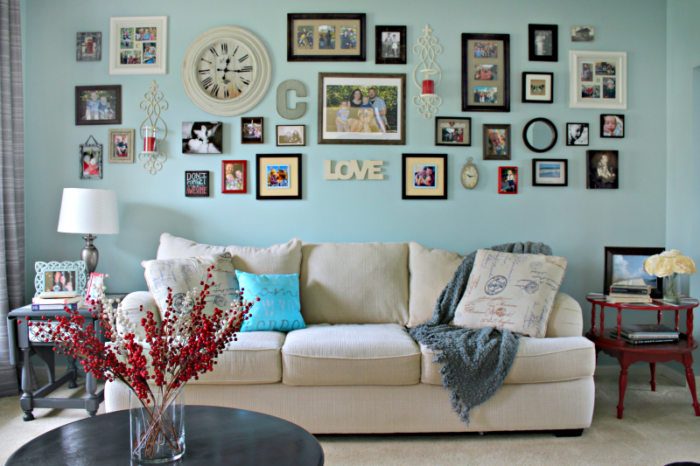
And after a long time of hoarding frames and clocks and other goodies, I have my finished gallery wall. Sigh of contentment.
[clickToTweet tweet=”Tips for organizing & updating a bland gallery wall for this month’s #CraftRoomDestashChallenge” quote=”Tips for organizing & updating a bland gallery wall for this month’s #CraftRoomDestashChallenge”]
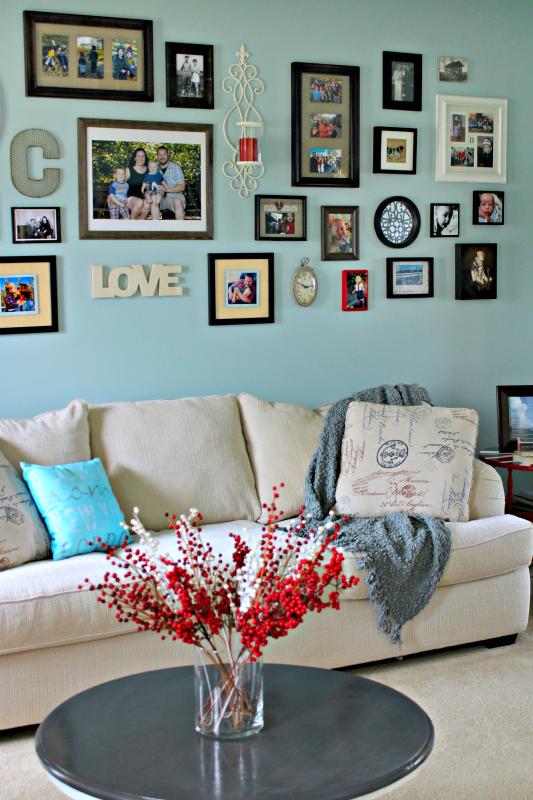
I mixed together a large amount of photos, but I changed up how they were displayed; a few in nice frames, a few mounted to board boxes, a few clipped to glass-less frames.
I sprinkled some non-photo items, such as two clocks, a mirror, our last initial in metal , and the word “love” in unfinished wood. I set the large clock to Chicago (local) time, and the small one to Vegas time. One clock for the two places we’ve lived as a family!
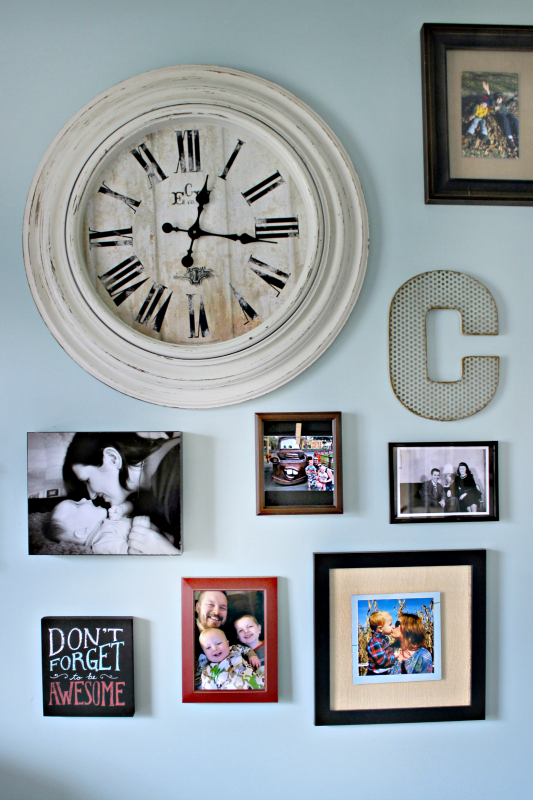
I also kept my photos from all being the same, while trying to at least pay equal homage to both of our boys. (The first wall went up before the birth of my youngest, and he was no where to be found!)
We have some black and white, some old photos of our grandparents, and of course baby and current photos of the boys.
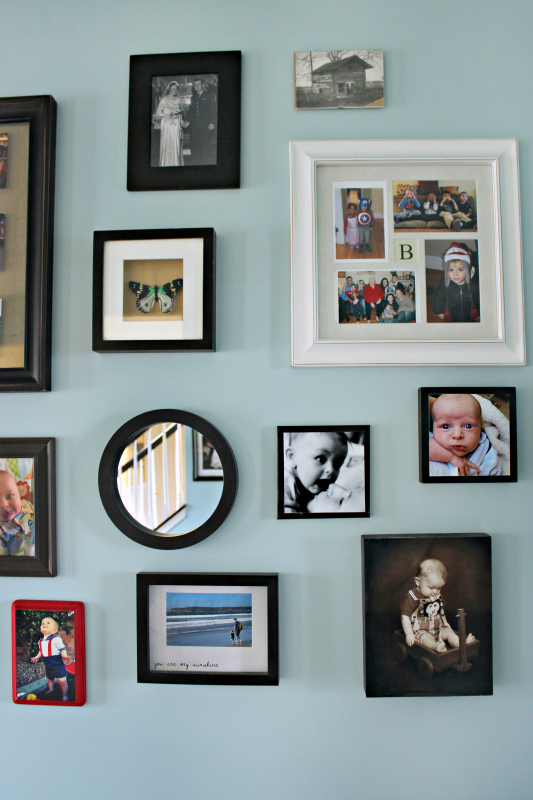
I’m sure in another year I’ll find something wrong with it, but for now, I am quite satisfied with the results of my updated gallery wall!
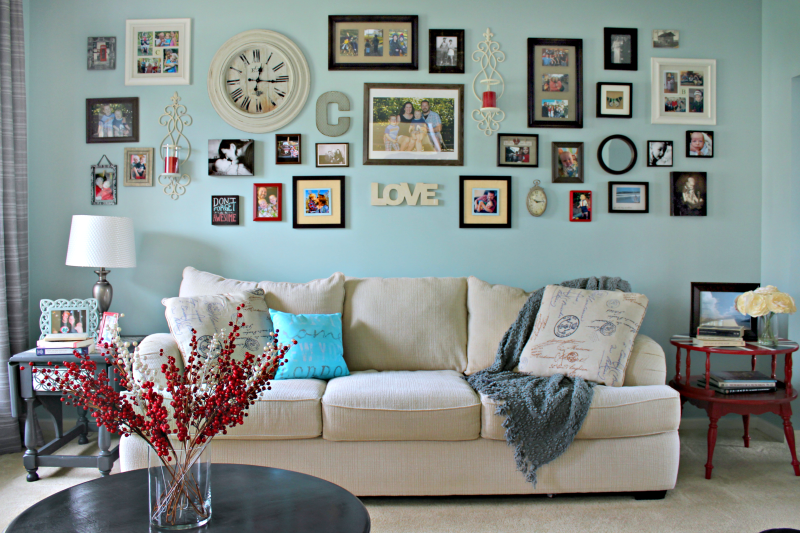
Here are some ideas of the items I used:
Don’t miss the other great posts in the link up below!
![]()

If you’d like to join in the Craft Room De-Stash Challenge, you can request to join our Facebook group here!

I love the new look and the tip of how to hang the pictures is fantastic.
Your gallery wall looks great Megan!! Love the new updates & great tips as well!
Your updated Gallery wall turned out awesome Megan! Great tip on the tape! I will be using your trick for sure!
Love how you used the level and tape first! So smart!
Love the new gallery wall! I’m still working on putting some together since we moved to our new house.
It was pretty before, but your additions took it to a whole new level! I love the tip about taping an area of the floor to practice the layout, I’d have never thought of that, and instead make 1,000 holes in my wall. I don’t have a gallery wall, but this inspires me to give it a try. Like you, I have so many pics and frames laying around that I need to do something with. Great tips, pinning!
I think this looks fantastic! My DH surprised me after I was gone for the weekend with gallery walls going up the stairs. But I like this idea for behind the couch, too. We already have all the framed photos and nicknacks we could possibly need for it, lol.
Wow! What an amazing transformation of your gallery wall. Great job friend!