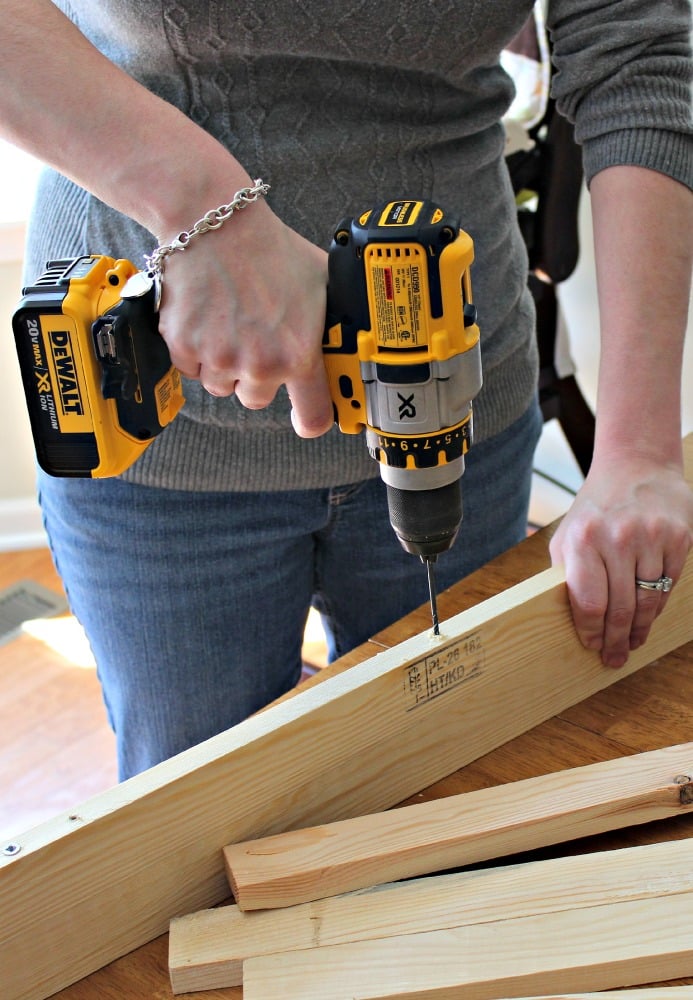
So, I’m not sure if you are new here, or a longtime reader…but I don’t build things. I’m crafty, yes (I can paint, Cricut, and Mod Podge with the best of them), but not when it comes to using drills or screws or wood, outside of a basic paint job upcycle.
It is a skill I’ve been meaning to learn, but up until now, nope. So even though this was a simple project, I was still pretty nervous about my first time. (And all that that implies.)
PSST – I use affiliate links on my website, from Amazon as well as others – this means if you click my links, I may earn a little money at no cost to you! I appreciate your support of my blog, and if you have questions, you can see my disclosure policy here. Thank you!!
The Backstory: Free Wood + A Toy Car Problem
When our new dishwasher was delivered, the packaging included six nice, uniform wood slats. And because I’m me, there was no way I was letting perfectly good wood hit the dumpster.
They sat in my garage for a while (you know, where all good intentions live) until I hit my breaking point; literally stepping on yet another one of my son’s diecast cars.

If you’ve been around a while, you might remember the toy car rail I made from Ikea ledges when we lived with my mom. Well, fast-forward to our new house, and between Cars, Cars 2, Planes, and Planes: Fire & Rescue, my son’s collection had exploded. The one shelf we had just wasn’t cutting it anymore.

Why DIY?
I had sort of re-done that in the new house, but with a long grey ledge I bought at SmartFurniture.com. (We left the existing ledge and Book Nook at my mom’s for sleepovers).
Sure, I could’ve bought another ledge like the $35 one from SmartFurniture.com. But I hate spending on something I can make for next to nothing – especially when it’s going to be painted to match anyway. The Ikea options were too short for what I needed, so DIY it was.
How I Made the DIY Picture Ledges
Supplies I Used:
- Six wood slats (rescued from the dishwasher packaging)
- 3″ wood screws
- Drill + drill bits
- Sandpaper
- Grey paint (leftover from another project)
- Triple Thick by Decoart
- Anchors for hanging
- Cricut + vinyl (optional, for labels)
Step 1: Build the Base
All the pieces were of uniform size, and I planned on a very basic concept; screw two together and slap a back on them. Two shelves from six slats.
I paired up two slats at a time and fastened them together with wood screws. My husband (a step ahead of me in the power tool department) insisted I pre-drill the holes. This prevented most splitting—though one board still cracked a little.
My moronic self would have learned the hard way not to try to just drill a screw in on its own. Cuz that’s how I would have done it. True story.
Free wood isn’t exactly premium grade, so I wasn’t too shocked.


Step 2: Sand Like You Mean It
These slats were splinter city. I gave them a good sanding to make sure little hands could grab cars without getting poked.


Step 3: Paint + Protect
I painted the shelves grey to match the existing one in his room, then sealed them with Triple Thick by Decoart for a smooth, splinter-free finish. I still had some of the sample grey paint leftover from another project, so that did the trick. After painting, I coated the shelves in to help avoid any splinters I might have missed.
Step 4: Add a Personal Touch
Above the shelves, I recreated my old “Jameson’s Garage” sign with my Cricut. Vinyl letters make it look polished without requiring artistic freehand skills.

Step 5: Hang ‘Em Up
In another moment of Superwoman-ness (well, ok, by my standards. I TOLD YOU, I don’t build things), I hung the shelves myself. Me. All by my onesies. With a drill and anchors, no less. RAWR.
Ok, I’m a little lame, and probably an insult to feminism, but hey, I’m honest! 😉


The Finished Look
The ledges perfectly store his cars, match his room decor, and cost me exactly $0 thanks to repurposed materials. And for those of you paying attention, I recreated the Cars Wall Art that still hangs in J’s old room at his Nana’s house. This time I skipped the canvas and vinyl and painted them directly onto 12 x 12 wood canvas.
Moral of the Story: If I can build these, anyone can. And if you don’t have toy cars to store, these ledges work beautifully for framed art, books, or collectibles.
What new technique or task have you taken on recently?


What a great idea and tutorial to follow. I’ll be featuring this tonight at Merry Monday.
How much weight can these shelves hold?
My mother makes framed stained glass that is 30″ wide and 33″ long .
This piece weighs about 20lbs….
She wants to have hold this on the wall “as brackets ” one on bottom and one on top over lapping the 1 1/2 “thick frame . I know i would have to put holes in the back board so I could but large anchor screws in to wall. Would a ledge that is made from solid board be stronger? Or do you know where I could buy that form of bracket?