This shop has been compensated by Collective Bias, Inc. and its advertiser. All opinions are mine alone. #BDayOnBudget #CollectiveBias
Having two boys with birthdays almost exactly two months apart means one thing: I get stuck in crazy party madness for a while.
I’m sure someday soon I’ll stop feeling like each party has to be insanely adorable or clever, but it hasn’t happened yet. I don’t even do it for the “Supermom” or “Pinterest win” glory, I’m just straight up crazy. 😉
I’ll be posting a week’s worth of ideas on the first birthday party I just threw my youngest soon, but now I’m in planning mode for my firstborn’s fifth birthday. Despite having an Avengers birthday party last year, he already requested another one for this year.
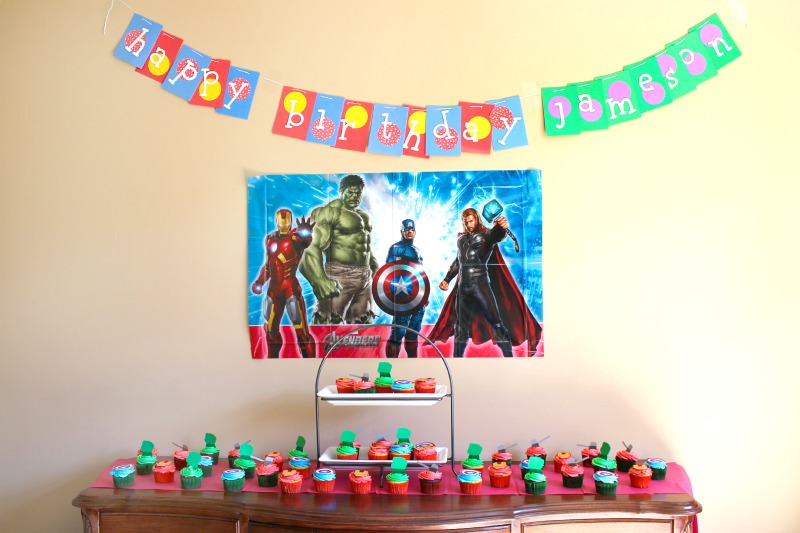
Last year’s birthday display wasn’t really my favorite:

We hadn’t done much of anything with the dining room as yet, and I sort of threw this together. It was pretty plain, IMO. This year, especially since he is requesting the same exact theme, I want to step up my game. I realized our foyer actually makes a perfect set up for a birthday display/gift table.

With two boys and two parties every year now, I need to keep my costs down. I sort of went all out insanely over the top on H’s first birthday a few weeks ago. Poor second child, we barely do anything for him like we did for his brother, so I felt like it had to be a big occasion.
{You know, since he’ll remember so much of it.}
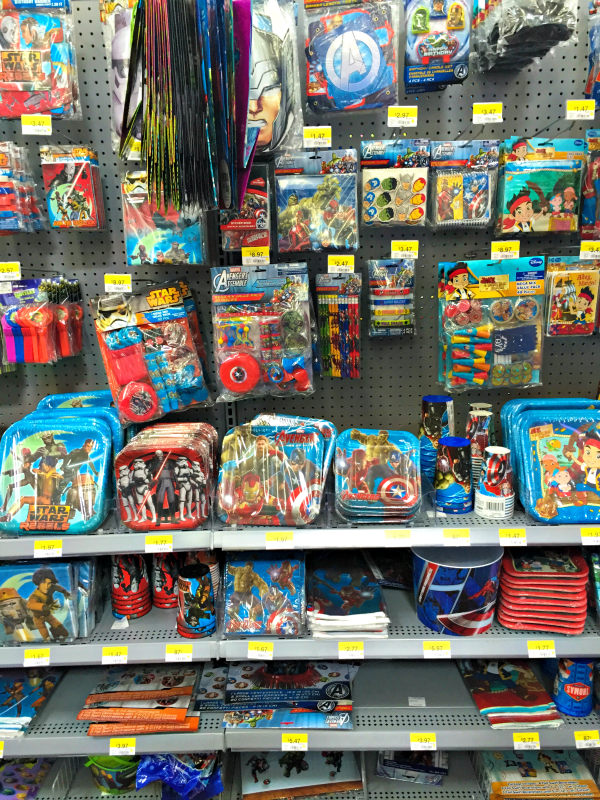
Anyway, older brother J is going to have to deal with a cheaper bash this year. In planning mode, I headed to the ultimate land of frugality – Wal-Mart.

Party aisle!

Jackpot!
I love how easy Wal-Mart makes it to load up. Rather than spend forever trying to DIY stuff, I decided to budget this one, and grabbed a bunch of ready-made MARVEL decor to design a fantastic birthday display.

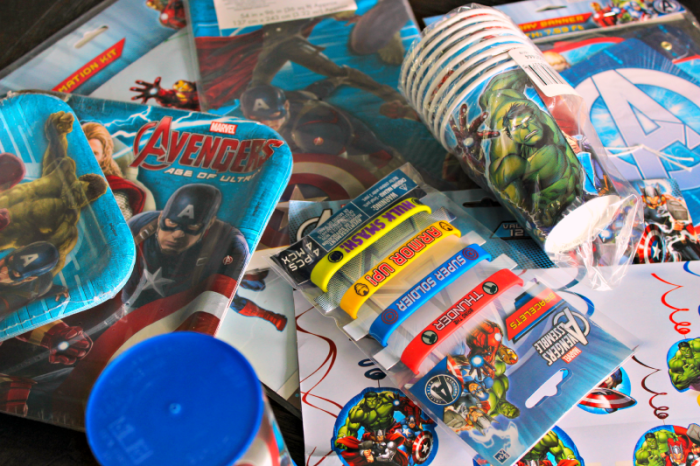
The haul!
So now I needed to figure it all out. What I bought (for less than $50, mind you!) was:
- One Room Transformation Kit
- One set (8) dinner plates
- One set (8) dessert plates
- Three 16oz stadium cups
- One set of (8) 9oz cups
- One set Swirl Decorations
- One Happy Birthday Banner
- One Tablecover
- One package rubber wristbands (ok, these were really just for J. He loves ’em.)
Even though I’d resolved to do this set up “by the books” as it were and not DIY, I couldn’t help myself. I kept looking at the small dessert plates and thinking they’d make a super simple and personal banner to add to the Happy Birthday banner I’d bought. {Sigh. Here we go again.}
Actually, this was as simple as I expected. For once.

I really just took white index cards and cut (by HAND! No Cricut!) funky looking letters for J’s name. Then I adhered them to the plates with folded over Scotch tape. (Mostly since I loaned my Skor-tape to my cousin. Blast it!)

Once I had all the plates done (and I think most people could do a name in one set of dessert plates, unless their child named is Princess Consuela Bananahammock), I taped the backs together, overlapping from left to write, and set it up under my happy birthday banner on our front foyer wall. I had to remove my large canvas print that normally hangs there to make room, but all moms make sacrifices, right? 😉

The Room Transformation kid contained the swirl decorations and the Avengers figures you see here. I didn’t even have to open the extra Swirl Decoration kit I got for this table, which means more decorations for the rest of the house with no extra spending. Yay!!

These swirl decorations are supposed to hang from the ceiling. Well, I don’t always follow the rules, and I thought they were PERFECT in front of the table, just taped to the table cover and adding some dimension!

The personalized banner for J turned out awesome as well, and I was able to use the Avengers symbol from the Room Transformation kit for the A! Win!!

All in all, I have to say this turned out much nicer than last year’s boring set up.

And of course he can add all these fun touches to his playroom when the party is over!
What’s your favorite part of planning a child’s party?


I love linking up at these parties!
