I have embraced the pumpkin season, everyone. The heat has dissipated, the crisp chill air is here, and it is time. Sure, it’s only like a week and a half to Halloween, but I FINALLY succumbed.
Our friends invited us to a fantastic dinner recently, which they delightfully named “Dinner in a Pumpkin”. They weren’t kidding! They literally made dinner IN A PUMPKIN! It was a delicious stew sort of concoction served in an actual pumpkin! It was also a great reunion of friends I’ve known since I was in high school, as well as the first time my post-college roomates and I were all in the same room in fifteen years!

They broke all of my rules by not allowing me to bring ANYTHING to this party, but I wasn’t having it. In addition to some wine, I decided to also bring a small gift – in perfect time for my crafty destash challenge!

Every month a group of bloggers are challenged by C’mon Get Crafty to create a new craft or project from their own stash of goodies! Everyone is allowed a $10 allowance for necessities to complete their project (i.e. paint brushes, glue, etc), but the bulk of it must be created from their own stash of goodies.
Let’s meet this month’s bloggers!!
C’mon Get Crafty | Purple Hues and Me
Domestic Deadline | Across the Blvd
This Autoimmune Life | Modern on Monticello
I was able to spend ZERO dollars on this and still feel like I made a nice gift for my friends. Look, this is not me being cheap, this is me PROCRASTINATING, lol.
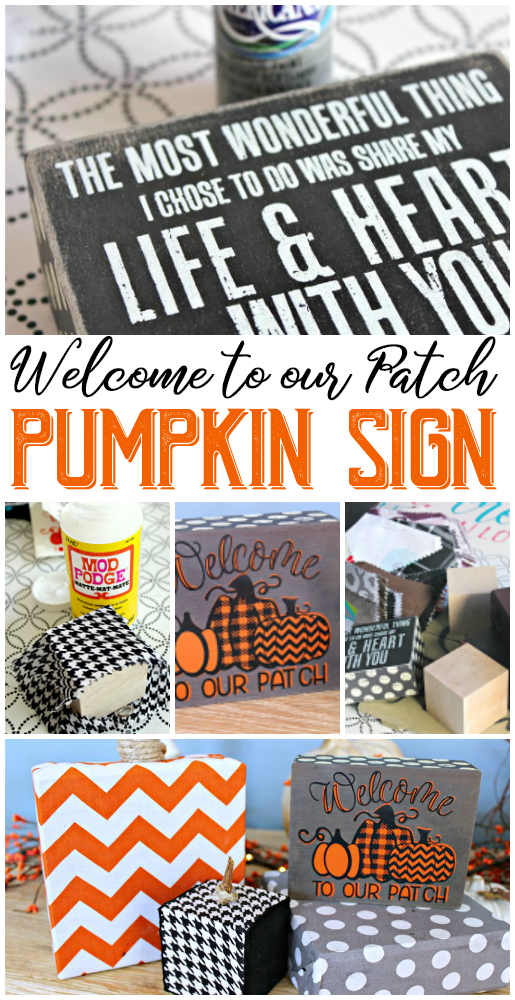
I had this wooden sign, along with a few wooden blocks in my hoarding stash of things on clearance at Hobby Lobby from every day ever for the last decade.

I love signs, and phrases. (In case you’re new to my site.) I get so many of my crafty goodies from my favorite sites like Creative Fabrica and Design Bundles (they have freebies for you to try out, or paid subscriptions for addicts like me!). My friends have three adorable kids and also grow their own veggies, raise chickens, etc. So I thought this one looked like a good find for them!
So with a little time, some leftover fabric and vinyl, I totally knocked out a sweet little sign. I changed the colors from pink (which normally would be great for Breast Cancer Awareness!!) to orange with PicMonkey. With a few layers, it worked well as a sign!

I had some leftover fabric that I used with Modge Podge on some leftover blocks. I love this houndstooth pattern! I wanted to make a simple but country style pattern.

A bit of modge podge and some fabric with a bone folder to seal it up – done deal! I added some twine and twigs to make stems.

It’s always important to layer vinyl, so I did a flat cut in orange and then the cut out in black.
(If I’m honest……I think the black is pretty by itself. A total PITA to cut out, but pretty.)
Layering vinyl can be a bit tricky but I love how it turned out! I did a full cut in orange on my Cricut and then an intricate cut in black. With my forever love in transfer tape, I was able to make this!

A little grey paint on a cheap Hobby Lobby sign with some layered vinyl and some cloth blocks….Welcome to our Patch!
See what tools you need to create your own Welcome to Our Patch Sign!
Shop My Affiliate Links (no extra charge to you, and a little bit of help to me!)
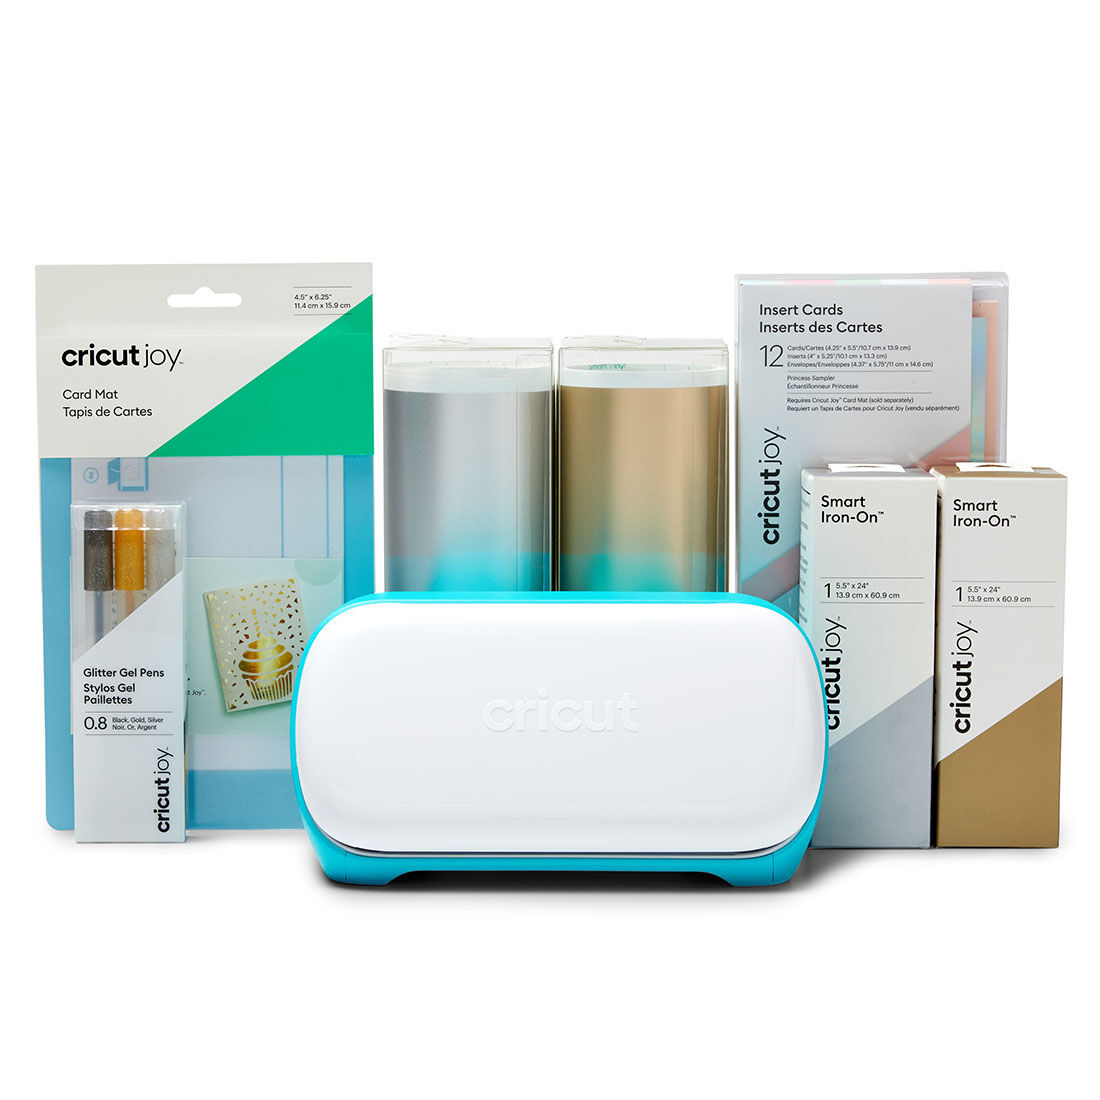
- Cricut or other cutting Machine
- SVG or PNG design (find the one I used here!)
- Vinyl of choice
- Wooden Blocks
- Modge Podge
- Fabric or paper scraps
Now Let’s See What Everyone Else is Up To!


Your sign turned out great and the layering looks perfect. I struggle with that with my Cricut projects. What a sweet gift to bring to the party!
I love the Welcome to Our Patch sign! So cute! I love how you layered the vinyl.