This closet makeover is brought to you by my UTTER FRUSTRATION with my laundry room this winter.

When we first moved in to our new home two years ago, the first thing I tackled in a makeover was our laundry/mud room. You can see how I updated the space here.
Well, two years of living in the space can cause you to find some function issues, and we were not immune.
Don’t judge too harshly! {Cringe}
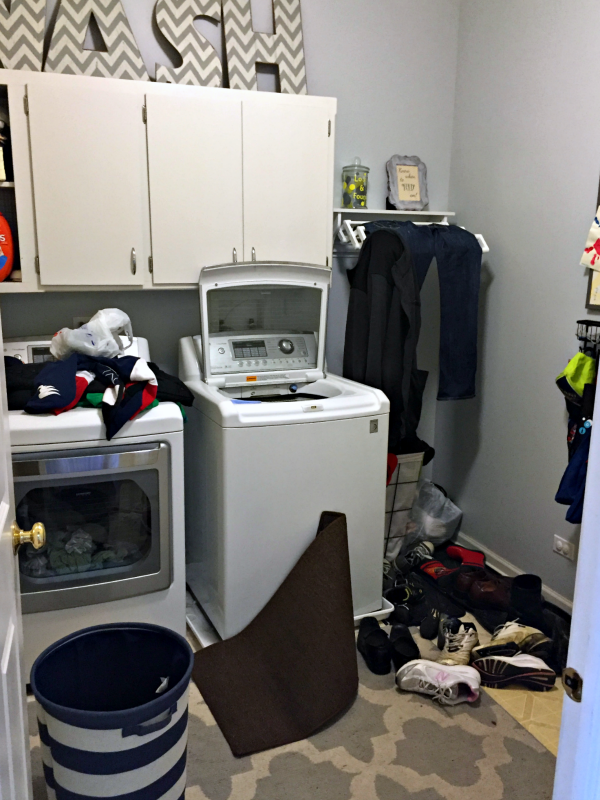
I’m so embarrassed.
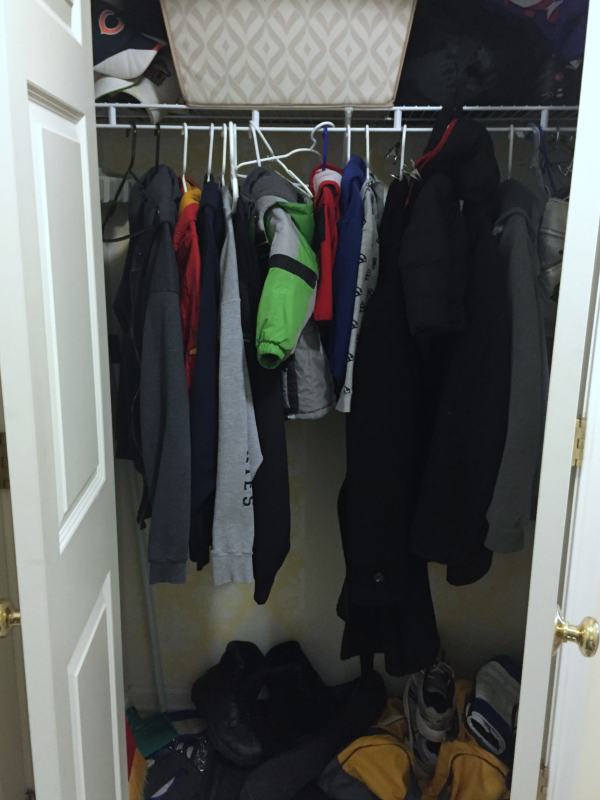
Clearly, we have lost all semblance of function in this room. Too many coats/hats/shoes/crap in general. It got to the point where we were just tossing things around, rather than bothering to put anything away.
Seriously, I’m SOOO embarrassed.
About the time I was ready to tear my hair out over the state of this room, I was notified about Good Housekeeping’s Spring Cleaning Challenge! They wanted photos of your worst disaster spaces, and if selected to participate, you would get free advice on updating and organizing from a professional organizer. Sure couldn’t hurt!
My organizational guru turned out to be Amelia Meena, founder of Appleshine. Here’s what she had to say about my cluttered mess:
1- Make that closet work for you with more shoe shelves. Leave the top shelf for boots since they’re the tallest shoe.
2- Include a boot tray below the hooks on the side wall. The tray limits the sloppy mess and keeps the rest of the area clean(er).
3- Instead of one big bin, include multiple smaller bins on the closet shelf: one for hats + gloves, one for scarves, one for tote bags (etc)
4- The back of the door can do more work, too. Add baskets for laundry/cleaning supplies or an overdoor ironing board holder.
5- There’s some unused space by the hamper. Either get a larger one that uses the whole area or mount a tool holder for mops and brooms in the corner.
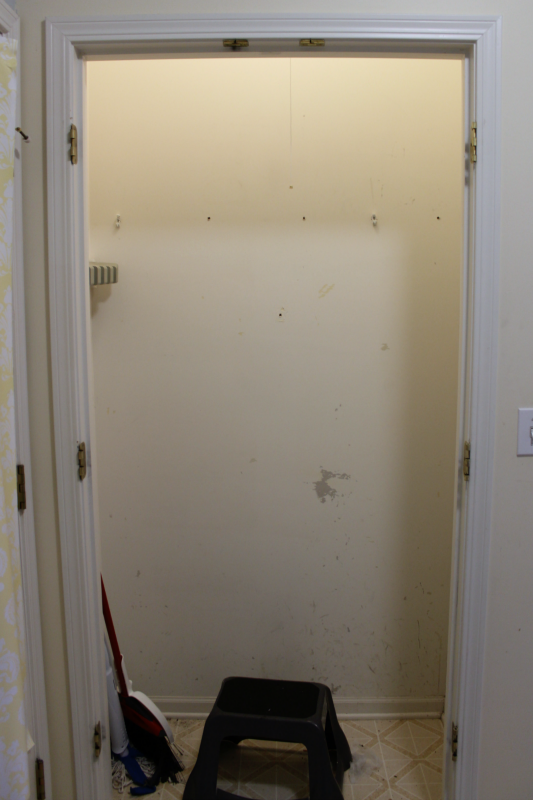
So, the first order of business was to take off the closet doors. That alone made the space feel so much bigger. Next I pulled out the basic wire shelving.
These suckers are a PAIN IN THE BUTT.
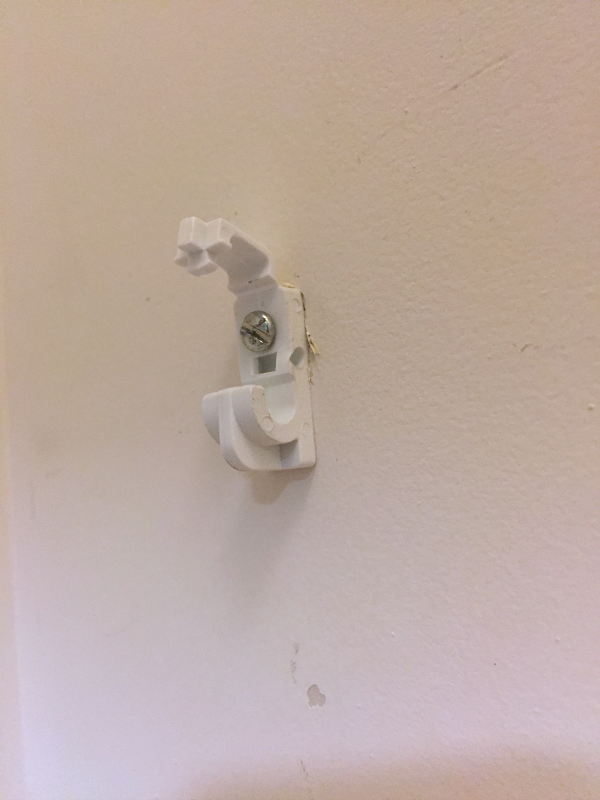
Following the shelf removal, I needed to spackle and sand the holes in the drywall from the shelving brackets before I could paint.
For the paint, I went with the Nautica At Home I had left from my bathroom update. Of all my painting projects, this was definitely the easiest! Three coats up in a snap!
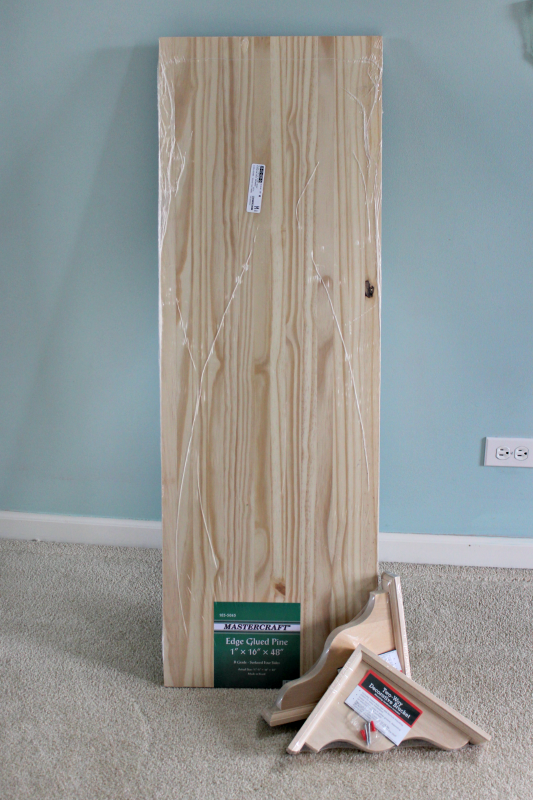
Thanks to the helpful staff at Menards, building my new wooden shelf for my closet makeover was not nearly as daunting as I feared. They had this excellent pine shelf that was only marginally too long for the space. However, that just gave me a great reason to use my portable table saw again! I shaved off an inch and it fit like a glove.
I painted the shelf and wooden brackets white, and my sweet hubby hung them for me. I keep him around for these sort of tasks! 😉
And now for the pretty finale of my closet makeover. . . . .
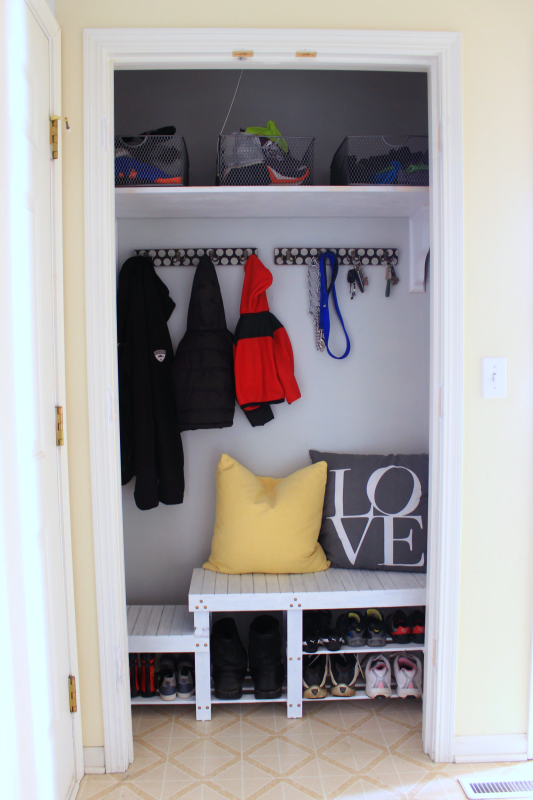
Ta da!!!
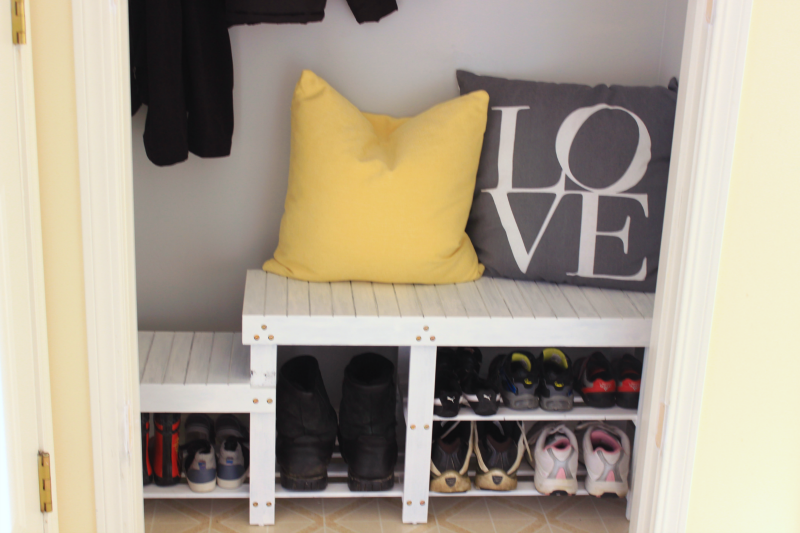
I’d originally planned on building a bench for the closet from scratch, something custom and built-in. However, with a full-time job and a family, time ran short on that idea. {I’ll ignore my procrastination in starting the project due to fear of failure out of the equation.} So this one was an Amazon purchase. This model only came in black, so I painted it white.
I followed Amelia’s advice and picked up a few smaller bins for the closet shelf, to hold the numerous ball caps, winter hats, and sports odds and ends that litter our laundry room daily.
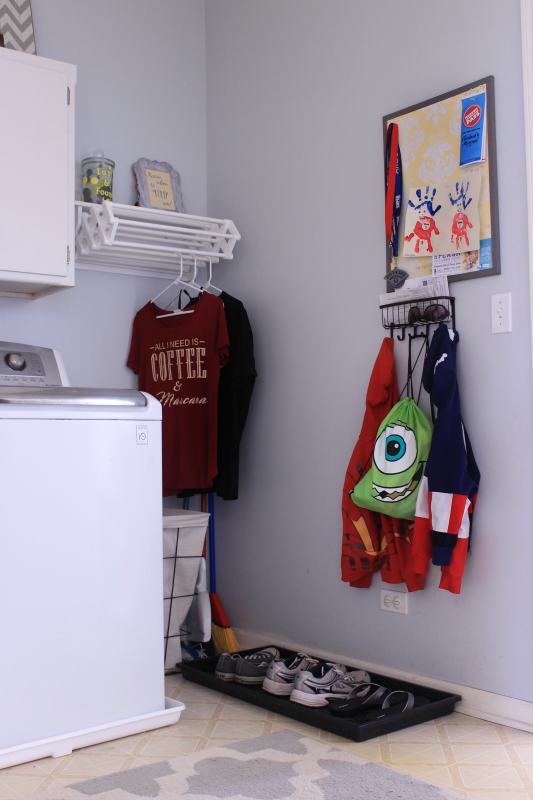
We actually already had the suggested boot tray by the door, you just couldn’t see it under all the shoes! With the bench allowing so much storage space, we only needed a few for this tray, which made it look much cleaner.
I also leaned our mop and broom in the corner by the hamper, having vacated them from the closet.

Sigh of pleasure. I LOVE how this turned out!!!!
What space would you need help with for the Good Housekeeping Spring Cleaning Challenge?


One comment