I love that my son is now of an age where he can actually make his own Father’s Day gifts for Daddy. I’m sure my husband enjoyed my attempts at child-made stuff in the past (it is ALL about the backwards ‘e’ when signing the card), but how much sweeter is this year going to be with his present actually made by little hands?
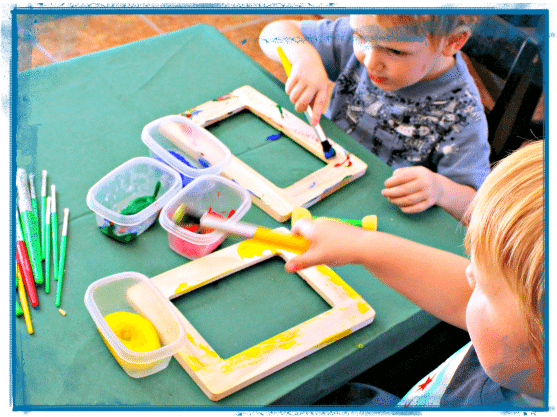
This year, we went for a super simple and fun idea: DIY fingerpaint picture frames. It’s creative, affordable, and makes for a sweet, handmade gift that Daddy can keep on his desk.
The other fun part to this was getting a great excuse for a playdate with one of his buddies! Win-win.
PSST – I use affiliate links on my website, from Amazon as well as others – this means if you click my links, I may earn a little money at no cost to you! I appreciate your support of my blog, and if you have questions, you can see my disclosure policy here. Thank you!
SUPPLIES NEEDED:
$1 wooden frame from Michaels
Collection of paint brushes and sponges
Kid’s finger paints or acrylic paints
Dropcloth/tablecloth/newspapers
Kid’s imagination!!
How We Made OUr Father’S Day Frames
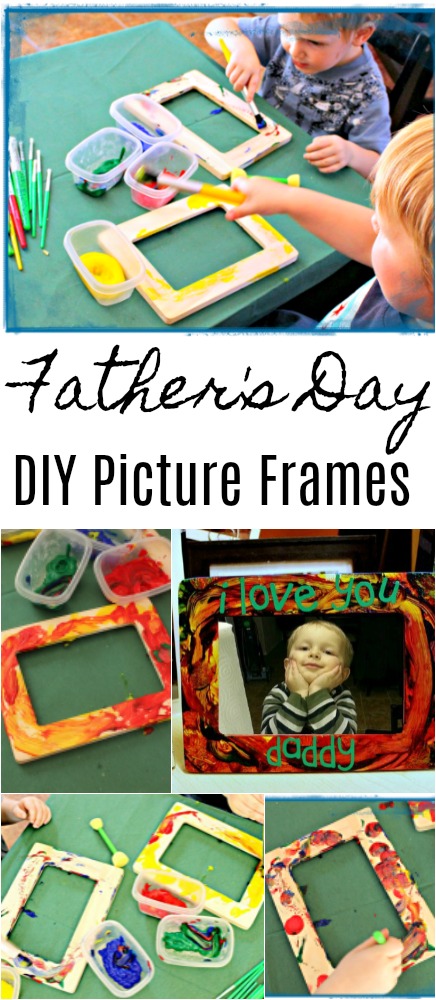
We basically set up the table and let them have at it!! We covered the table with an old vinyl tablecloth and set the boys loose with brushes and paints. Every few minutes we handed them a new sponge shape or brush size to test out, but mostly they just did their thing – mixing colors, stamping patterns, and generally having a blast. NThe boys got a kick out of mixing all the colors and the neat shapes they could make by slamming the sponges down on the frames.
Boys will be boys!
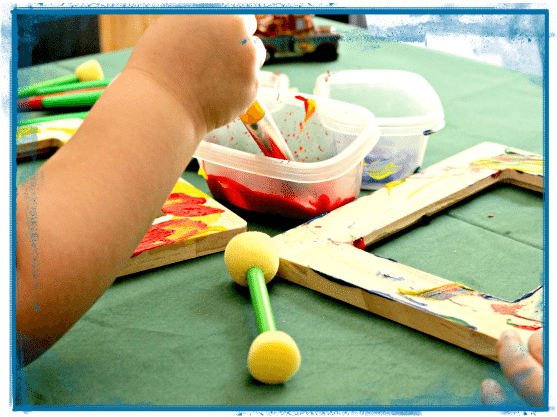
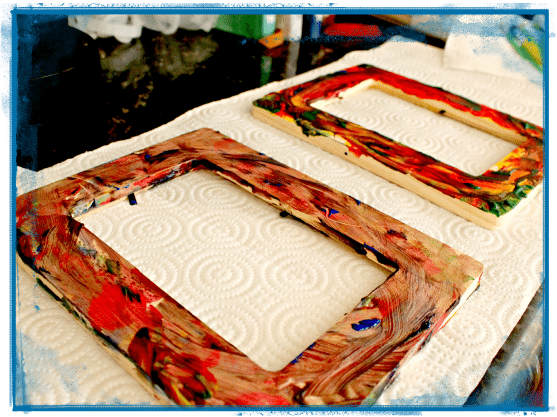
The fingerpainting turned into full-on abstract art pretty quickly, but that was part of the charm. (And yes, eventually all the colors leaned toward mud brown. Classic.)
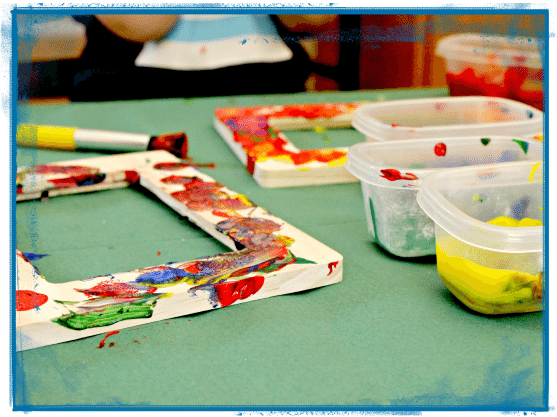
They were having so much fun!
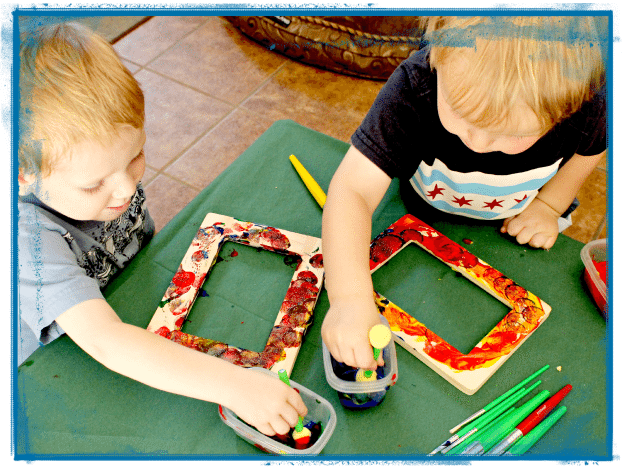
Before things got too murky, we redirected their energy with water guns and pushed ’em into the backyard. Then we laid the frames out to dry in peace.
Finishing Touches
Now, the kid did the bulk of the work, so there’s no harm in Mom adding a finishing touch or two, right? After all, J can’t write yet, so I decided to help him out in the sentiment department, to make it feel a bit more complete. For my son’s frame, I cut letters with my Cricut using the Pooh Font to spell out a short message.
“I love you Daddy” – The letters were cut on my Cricut, using Pooh Font.
You could also easily have the kids to this part too, with foam letters or stickers! Once everything dried and the letters were added, we popped in a favorite photo of Dad and J together.
Simple. Sweet. And guaranteed to melt hearts. I think Daddy will be pleased with his gift this year!! (As long as he doesn’t read this post between now and Sunday!)

What are YOU planning for Father’s Day?

You May Also Like

2 comments