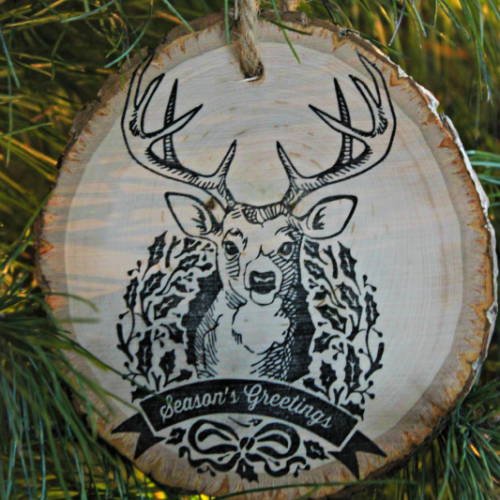
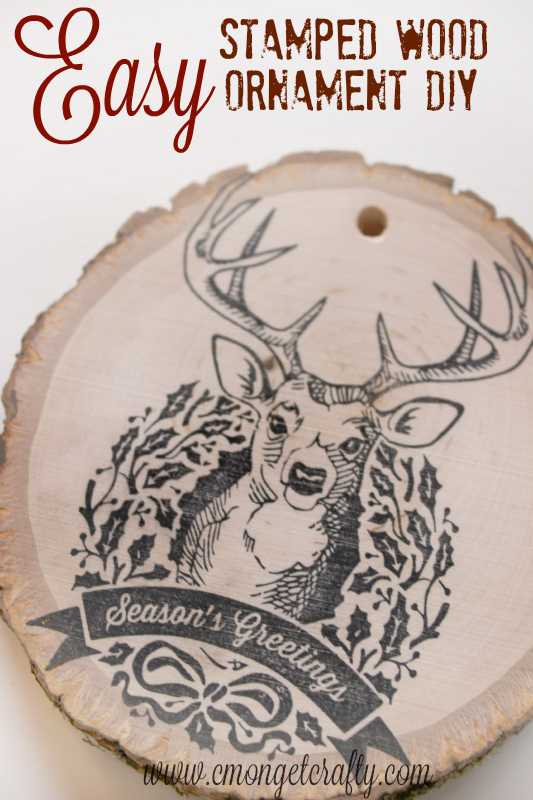
This post almost feels like cheating, because it doesn’t get any simpler than this stamped wood ornament DIY. Seriously.
In case you missed it, I went a little more complex for the first ornament exchange I participated in. This time, for my ornament exchange with my Social Fabric buddy, simple felt perfect. The only clues I was given as to what kind of ornament my friend would like was “Horses, Western, Rustic”.
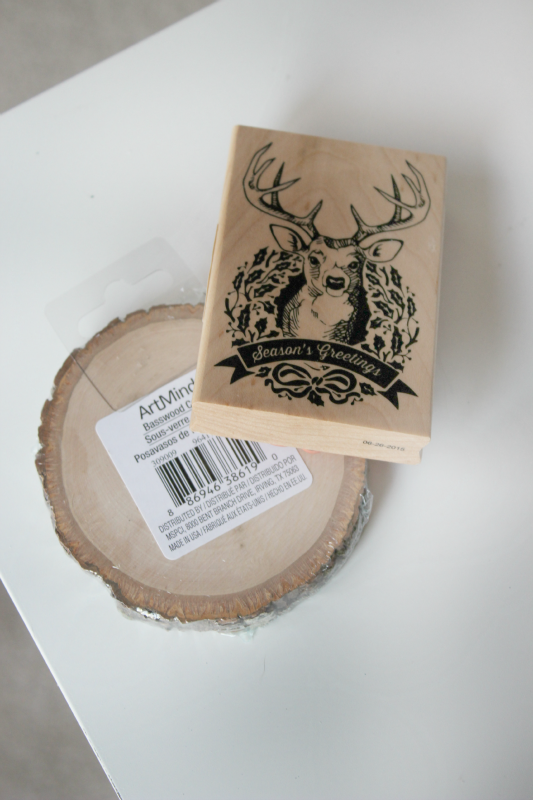
That immediately made me think of using wood in the craft. When I spied these little wood slices at Michaels, along with this gorgeous Christmas stamp, light bulbs flashed.
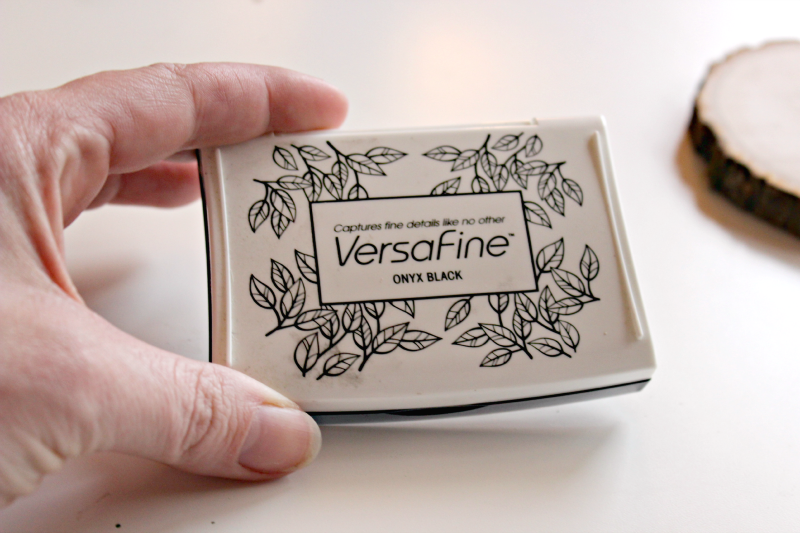
I have been neglecting my stamps and ink pads lately, so it was a lot of fun to bring them out again. If you are ever interested in using stamps for cards or crafts, this Versamark ink pad is the best one ever for fine lines and words. I love it.
I took my pretty new stamp and applied a solid coat of the ink. Take a glance and make sure you don’t have any bare spots.

Lay the stamp down carefully, and give it a nice strong press, making sure you’re applying pressure to the entire image. Pull off and see the results!

It transferred beautifully! Next, I used a drill to drill a small hole in the top center, so I’d have a way to hang it. When doing this, lay the ornament on top of another block of wood so you don’t drill a hole in your table when you get through the other side! (Some people – aka ME – need this kind of advice. Not always the brightest.)

To complete the “rustic” look I was going for, I used twine to create a hanging loop. Once I’d knotted it off, I snipped off the ends. Not bad!
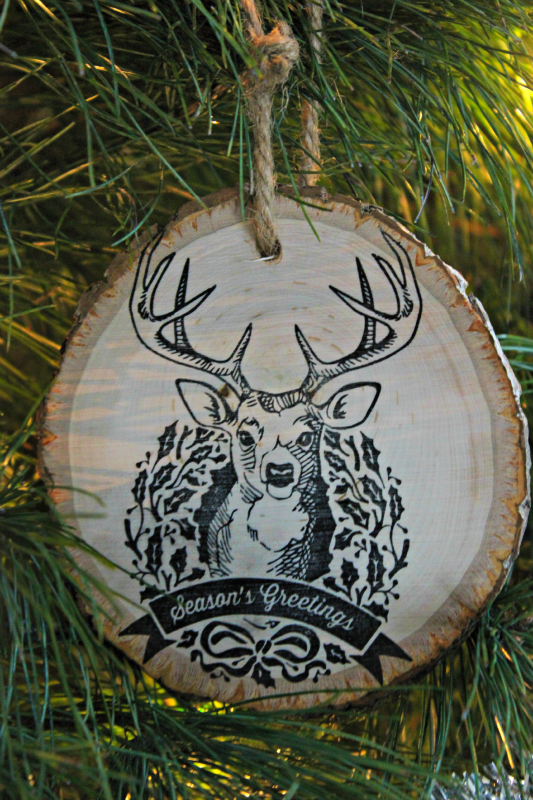
And there you have my easy peasy stamped wood ornament DIY. How simple was that?
I hope my ornament exchange partner likes it! (I nearly wanted to keep it!)
What is your ornament style?



I love linking up at these parties!
