ON THE LAST MONDAY OF EACH MONTH, I HOST A GROUP OF BLOGGERS WHO PARTICIPATE IN A #MOVIEMONDAYCHALLENGE! WE DECIDE ON A TOPIC, GENRE, OR SPECIFIC MOVIE TO USE FOR INSPIRATION AND EVERYONE GETS FREE REIGN TO CREATE SOMETHING WONDERFUL! THIS MONTH’S THEME WAS MOVIE MUSICALS!
*Post contains affiliate links. Please read my full disclosure here.*

Do you love musicals? I fell in love with movie musicals as a kid, and followed my passion through college, where I was a theatre major. This month’s theme was movie musicals, which made me ecstatic.

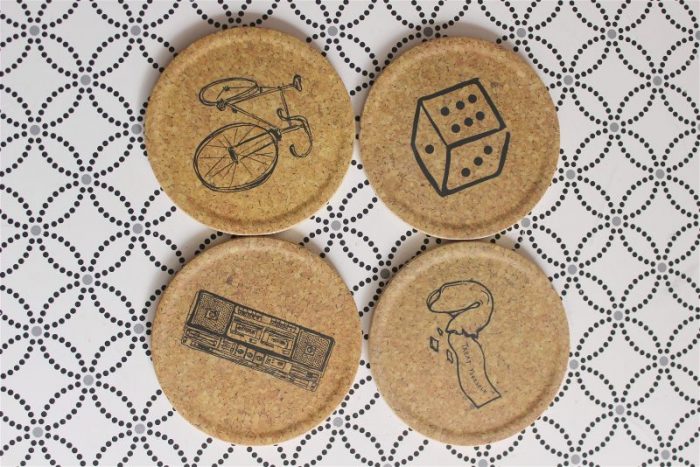
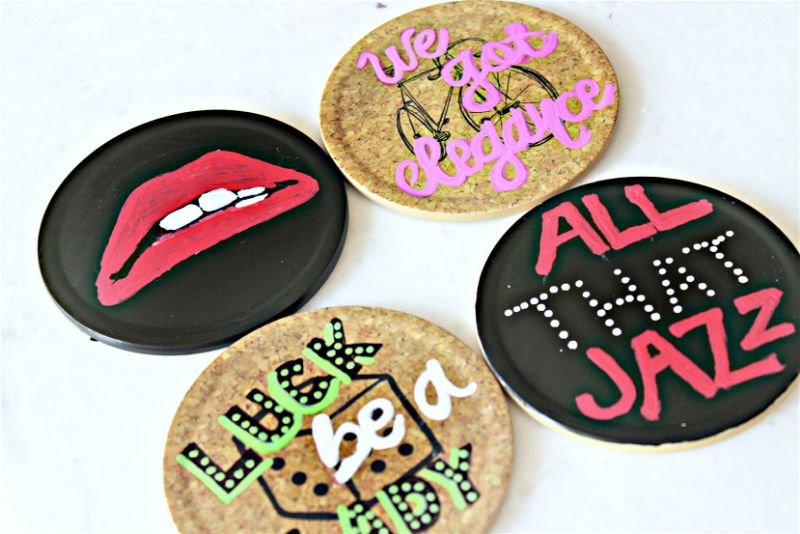
I couldn’t pick just one musical so I ended up finding inspiration from four of my favorite musicals: Hello Dolly!, The Rocky Horror Picture Show, Chicago, and Guys and Dolls. Some of the inspiration for which musical to use came from the coasters themselves, which I picked up for $5 at Target. I didn’t realize they had images on them already (way to pay attention, Meg) so I tried to think of ways to incorporate some of them. The bike made me think of Hello Dolly! and the dice block naturally brought to mind Guys and Dolls.

I designed most of my art in Picmonkey first, but I am super proud to say I did all the artwork freehand! I’ve been trying to work on my hand lettering lately, and these painted coasters made for excellent practice.

First I used dry erase markers to sketch my design and be sure of placement. The nice part is how easy it is to wipe away the design letter by letter with a baby wipe as you move along with the paint pen.

Sharpie paint pens are a perfect way to get detailed lettering on something as small as a coaster. Fortunately they have a wide variety of colors to choose from. To get the right look, I did need to add multiple layers, but the end results were worth it.

Supplies and How to Make Painted Coasters
- Coasters to repurpose
- Dry erase marker
- Sharpie Paint Pens
- Modge Podge
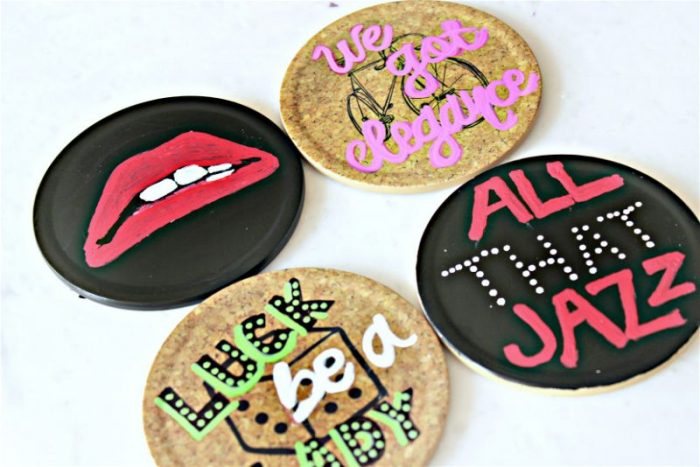
- First step of course is to decide what you want them to look like! You could do ANYTHING, including stripes/dots/words/etc. How I made my musical themed painted coasters was to decide on the lyric that best summed up the show (or the iconic red lips in the case of Rocky Horror).
- Feel free to draw/write freehand of course, but if you have a specific look in mind, I suggest designing it in Picmonkey or similar to give you a vision to replicate. You could also use stencils.
- Once your design is decided, make a sketch of it in dry erase marker (only works on coasters that will wipe off easily – no cork!) to be sure of the placement.
- When you are happy with it, little by little wipe off the dry erase marker and fill in with your Sharpie paint pen! If you’re doing layers of colors for your design, make certain to let each layer dry completely before making the next one. My “Luck Be a Lady” and “Rocky Lips” took the longest to complete due to their layers of paint.
- Once completely dry, apply a few thin layers of Modge Podge to seal. Let dry for 24 hours before using.
That’s it! Five easy steps for making your own painted coasters!

Now let’s see what everyone else was inspired to create for #MovieMonday!


Cute! Great job on the freehand! Pinned