
Welcome back lovelies! I hope you all had a wonderful and merry Christmas! I very much enjoyed the “time off”, but I’m also happy to be back at blogging. One of the perks of doing something you love, right?
While relaxing and spending time with family was just the ticket, I couldn’t very well stop crafting altogether could I?
Of course not!
Especially not since I had a wonderful new toy to play with…merry Christmas indeed!
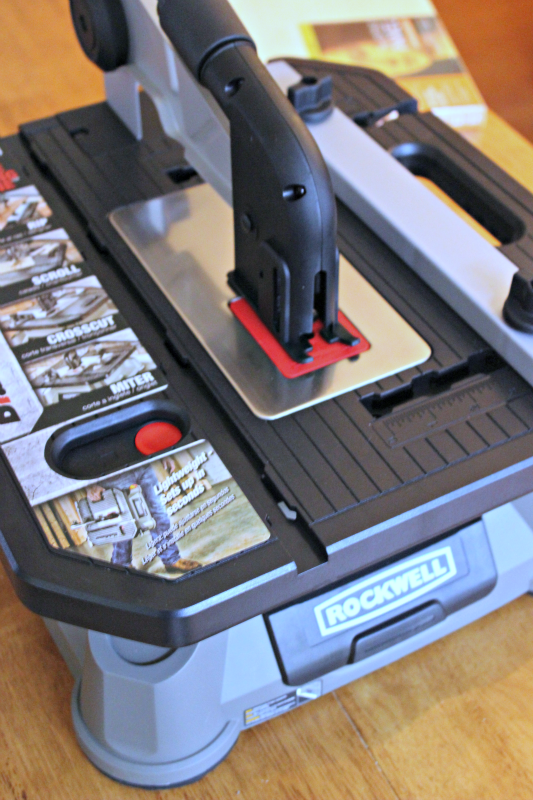
You guys have NO idea how happy I was to partner with Rockwell Tools for this post. While they have a ton of awesome tools and accessories I could have happily played with, I was instantly in love with the BladeRunner X2.
Portable table saw!? Umm, yes please!!
As I’ve been upping my DIY skills, I’ve been longing for some of the “scarier” tools of the trade – saws, nail guns, etc. Things I never before thought I’d want to use are suddenly on my ultimate wish list. I honestly was overwhelmed with ideas of what to make first with my pretty new partner.
Being that the holiday craziness isn’t exactly over yet over here (and was just beginning when my BladeRunner X2 arrived), I decided to keep it simple. We had some leftover trim still from my $5 yard sale score over a year and a half ago, and it gave me an idea.
I’d long held onto this large frame from a broken picture in my hoarding stash, intending on creating a picture frame wreath of some sorts. Evidently, I actually did the unthinkable and threw it out at some point! So, with my trusty new table saw, I decided to build a replacement and finally get the project done.
With Christmas over, I figured I’d need a non-holiday wreath replacement for the front door. Illinois winters are nothing to sneer at, so it made perfect sense to focus on the cold we can expect for the next few months.
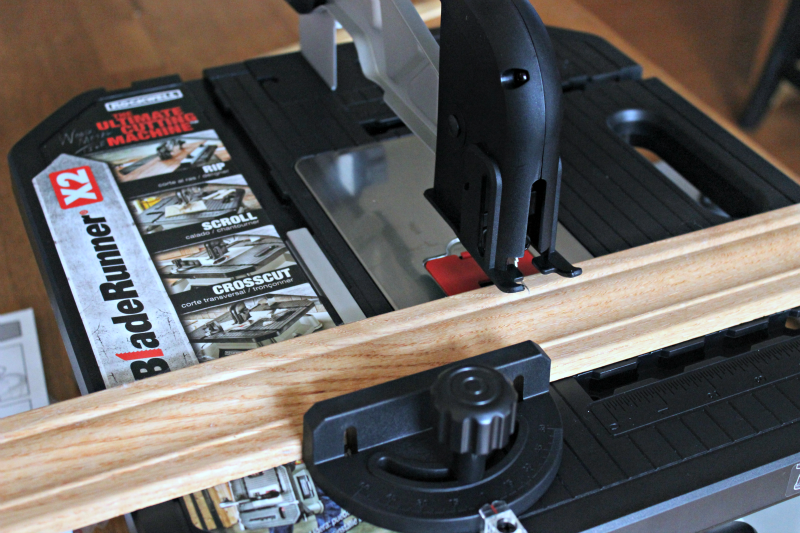
First up, I measured out the trim to 2 ft long and cut them down to size. (Yes, I did this in my kitchen. My kids were gone for the day with their Nana, and it was DAMN COLD here in Chicagoland. Cleaning up sawdust sounded better than freezing!)
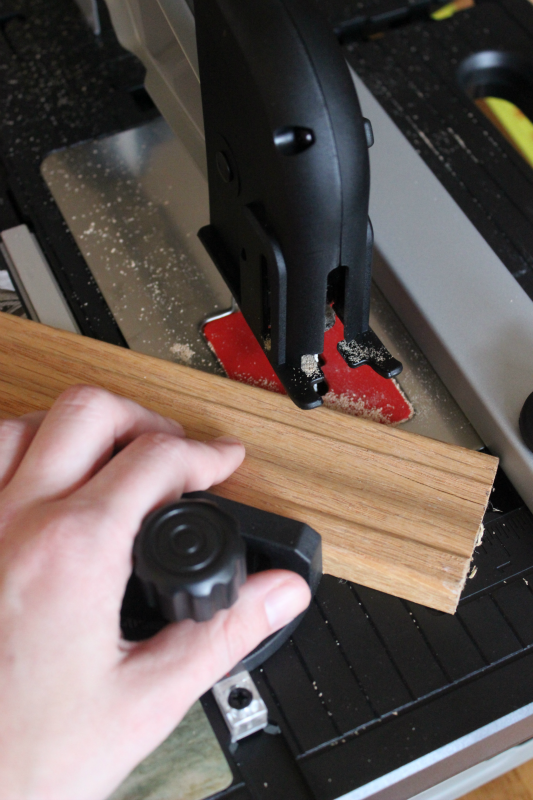
Then came the scary part – cutting the trimmed pieces into angles to fit together and build my frame. Frequent readers will likely already know this about me – I DON’T MATH. I am not good at it, and I tend to eyeball everything. That technique doesn’t exactly work on this sort of project.
Luckily, my BladeRunner X2 has a nifty little slider/stabilizer that set the angles for me! Hard part done, woo-hoo!
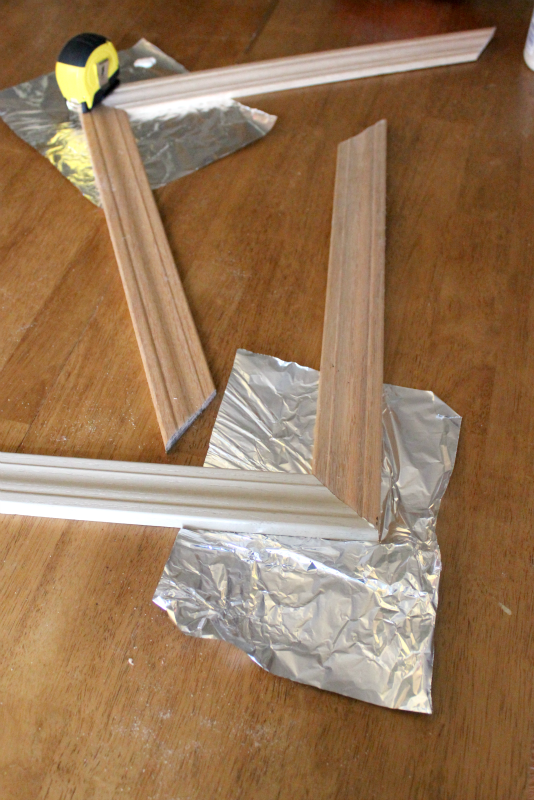
I used a bit of wood glue first to secure my corners together. Not going to lie, I got a tiny little thrill at seeing those pretty edges line up!
Once the glue dried, I flipped the frame over and secured it further with a few staples at each corner. Time to decorate!
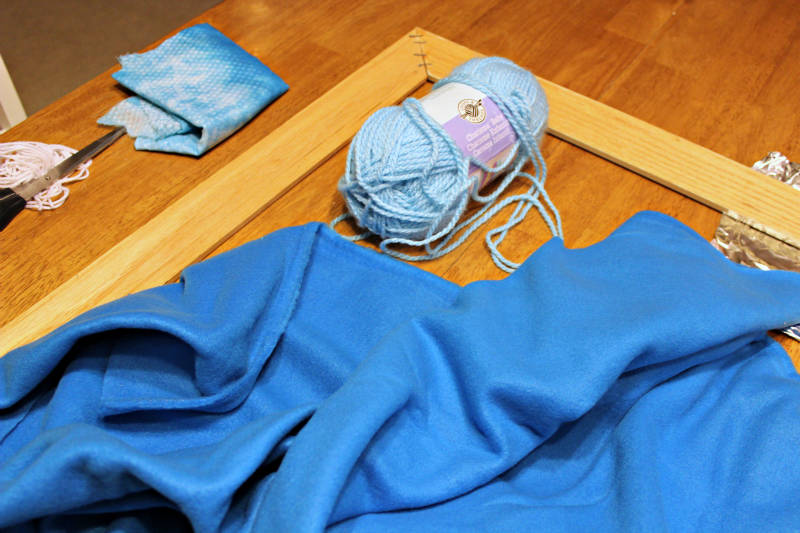
I’d intended to wrap the frame in yarn, but at the large size of my frame, that would have taken forever. No thanks!
I had a large section of blue fleece in my hoarding stash, so I decided to try that instead. I snipped off strips of the fleece and wound them round and round the frame, securing them in the back first with hot glue and then a few extra staples.
Also from my stash were large wooden letters, blue snowflake ribbon, and small cardboard letters. The large letters were from a failed project years ago, and still had bits of scrapbook paper stuck to them. I spray painted them silver to cover it.
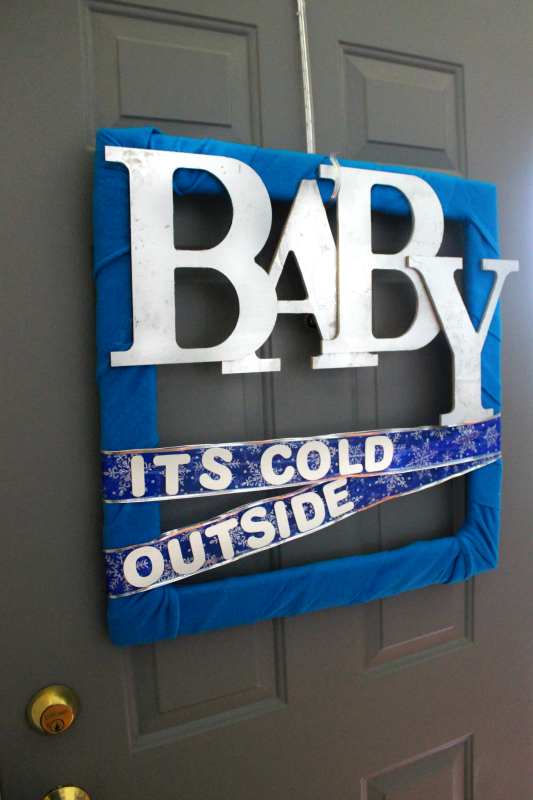
Not too shabby! It certainly tells the truth, especially with the snowstorms we can expect soon. BRR!!!
A “happy accident”, as I like to call them, was that the bits of paper still clinging to the letters gave a frosted, icy effect under the spray paint.
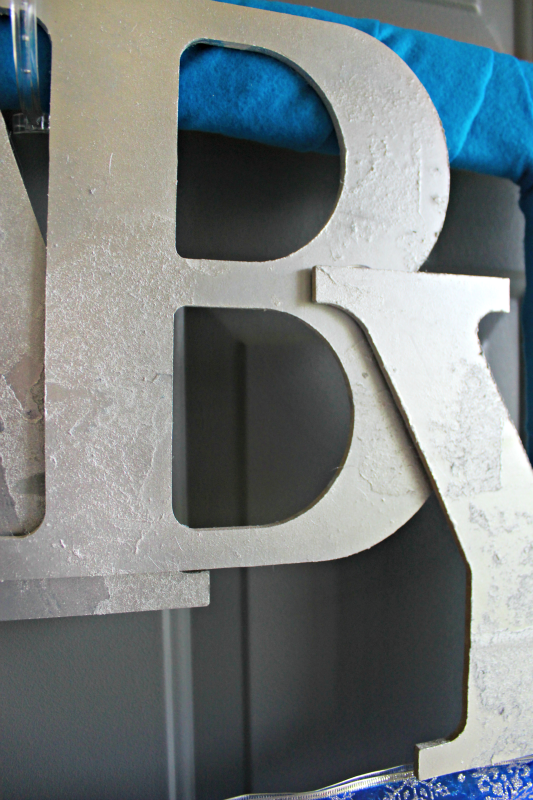
It’s a pretty cool effect that I never could have conceived originally!
Now, if you’d like to recreate my wreath – or do ANYTHING cool – you are getting your chance! The great people at Rockwell Tools are offering you a chance to WIN your very own BladeRunner X2!!
You guys, my picture frame wreath was the TIP OF THE ICEBERG for what you can do with this beauty.
This baby cuts METAL, TILE, WOOD . . . it does rip cuts, scroll cuts, miter cuts, even cuts inside the wood. I have some seriously grand intentions for my 2016 diy projects now.
**Thank you to Rockwell Tools for sponsoring this post and giveaway. While I did receive the product mentioned above to facilitate my review, all opinions are mine. **
Enter below for your chance to win – You’ve got until Noon EST on Monday, January 4th!
One comment