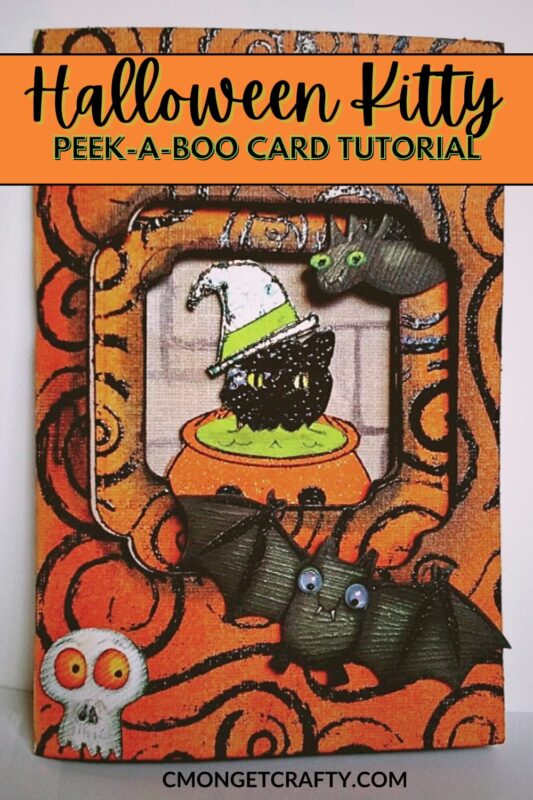
While not really the time of year you might think of to send cards to people, Halloween can be a great excuse to whip up some fun cards! Between all the spooky, playful themes and bold color palettes, it’s the perfect excuse to dive into your craft stash and make something fun.
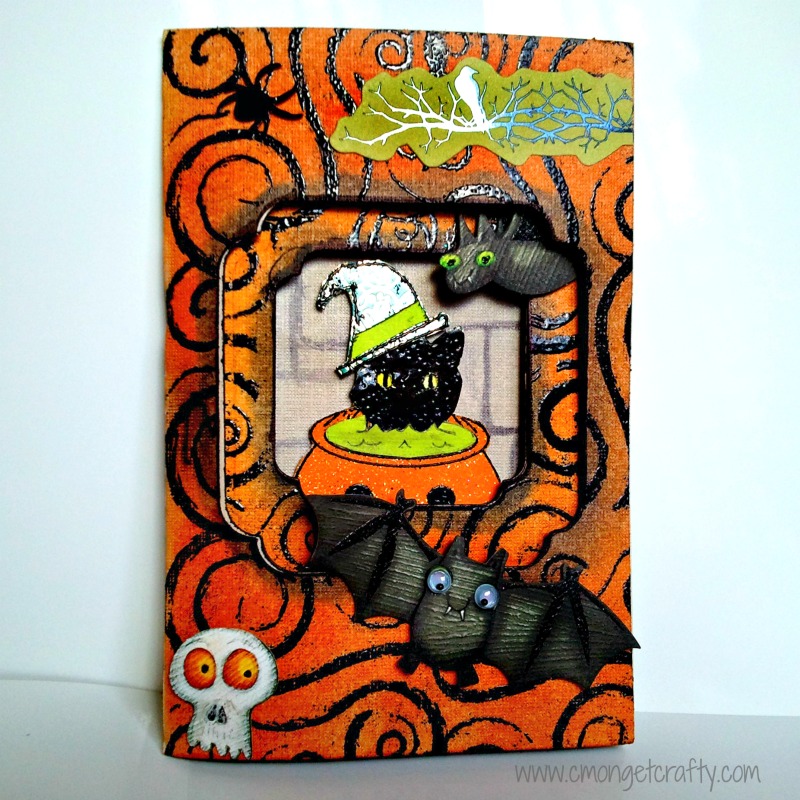
I’ve built up quite the collection of Halloween stamps and stickers over the years (surprise, surprise), so this time, I decided to mix a few techniques and make a handmade Halloween tri-fold card that’s full of texture, layers, and personality.
Ready to get crafty? Let’s go!
PSST – I use affiliate links on my website, from Amazon as well as others – this means if you click my links, I may earn a little money at no cost to you! As an Amazon Associate I earn from qualifying purchases. I appreciate your support of my blog, and if you have questions, you can see my disclosure policy here. Thank you!
Time to Get Crafty with Cards!
Materials You’ll Need
- Cardstock
- Embossing powder
- Heat tool
- Large Swirls stamp (found this one similar to mine for you)
- Versamark clear inkpad
- Versafine Inkpad in black ⭐<– My MOST FAVORITE BLANK INK PAD EVER!!
- Digital stamp (or any stamp you decide to use – I used my kitty from the Graphics Fairy)
- Cauldron digital stamp
- Halloween spider stamp
- Colored pencils
- Halloween stickers
- Watercolors
- Spellbinders Nestabilities Labels 12 (or any version of cutting plates you like!)
Step-by-Step: How to Make a Halloween Tri-Fold Card
Step 1: Build the Card Base
A lot of work went into this one. I started with two pieces of cardstock – orange for the outside and beige for the inside. I adhered them together to create a thicker, more durable card base. This gives your tri-fold card that nice professional feel.
If you’re new to card making, just score and fold your cardstock into three equal sections (like a brochure).
Step 2: Create the Background
Using my large swirls stamp and black Versamark ink, I stamped the orange outer panel to add some visual texture. I sprinkled clear embossing powder over the design and heat-set it for that glossy, raised finish.
If you’re new to embossing, Versamark ink is a great option for clean, detailed results. And once you get the hang of it, you’ll want to emboss everything. Trust me.
Step 3: Cut the Windows
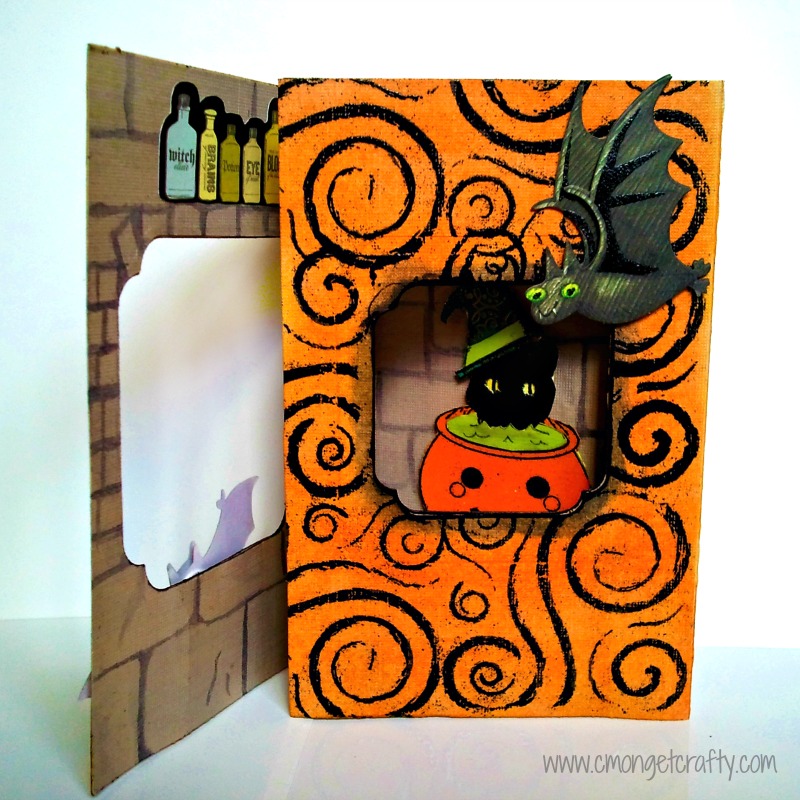
To create the peek-a-boo layers, I used Spellbinders Nestabilities Labels 12 dies. I picked two nested sizes – one slightly smaller than the other – so my top layer had dimension.
Run your cardstock through your die-cutting machine (or carefully trace and hand-cut if you’re old school). Ink the edges of the windows with black ink for that polished, finished look.
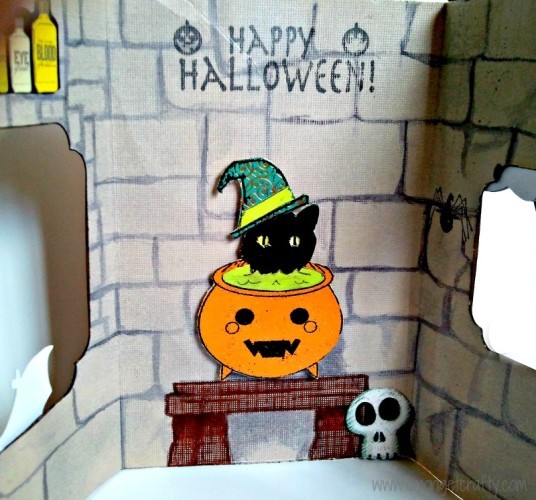
(The row of potions about the window on the stone shelf were cut from a stickers strip, and the bat is a sticker as well. I also ran black ink along the edges of the “windows”.)
Step 4: Add Details and Layers
This is where you get to play.
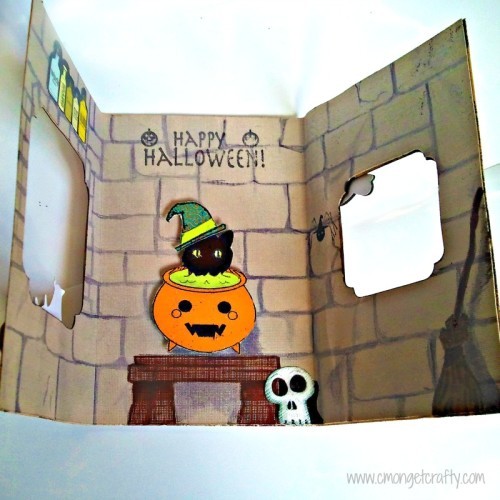
I used Halloween-themed stickers – like a row of potion bottles and a bat – to add texture and dimension above my window cutouts. You could also use die cuts, patterned paper scraps, or even small pieces of ribbon.
Step 5: Create the Center Design
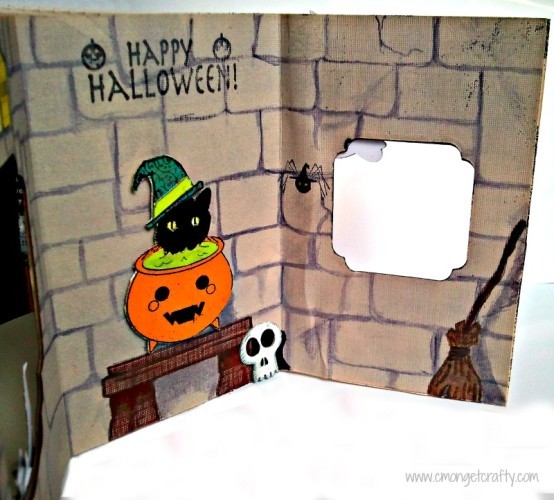
The focal point of my card was a cute black cat sitting in a cauldron. The kitty and cauldron are digital stamps – I found the kitty here at the Graphics Fairy, and the Cauldron here.
I merged the two images on my computer so the kitty looked like she was sitting inside the cauldron. Then, I printed them on different patterned papers for a paper-piecing effect. (That’s why the cat has such a stylish little hat!)
The stone walls of the dungeon were just hand drawn on and inked. Once everything was cut and layered, I used colored pencils and watercolors to add shading and highlights. You could also use markers or ink blending, depending on what you have.
I also drew the little bench and the broom, and used colored pencils and watercolors to finish the look. The Halloween sentiment and spider were stamps.
🕸️ The Finished Look
A lot of effort for one card, I admit, but I love the end result!
The glossy embossing, hand-drawn background, and little layered elements make it something special. It’s the kind of card you might actually want to display on your mantel instead of mailing away.
This is a fun project if you love to experiment with textures and mixed media – or if you just want an excuse to play with your stash of Halloween supplies!
Which of these techniques would you want to try?

You May Also Like:
First New Post – aka My Favoritest Wedding Card!
Get Crafty with Cards: Shabby Chic Wedding Card
Get Crafty with Cards: Pop-Up Card with Winnie the Pooh
