*Post contains affiliate links. Please read my full disclosure here.*
Sometimes I feel like I’m the last person in the world to hear about things. In this case, I’m talking about chalk paint.
Have you heard about chalk paint? Caught any of the ninety gajillion posts on Pinterest that show you how to update your furniture/cabinets/life with chalk paint? Or even how to make your own?
Well, you probably found them before I did. But what an eye opener!!

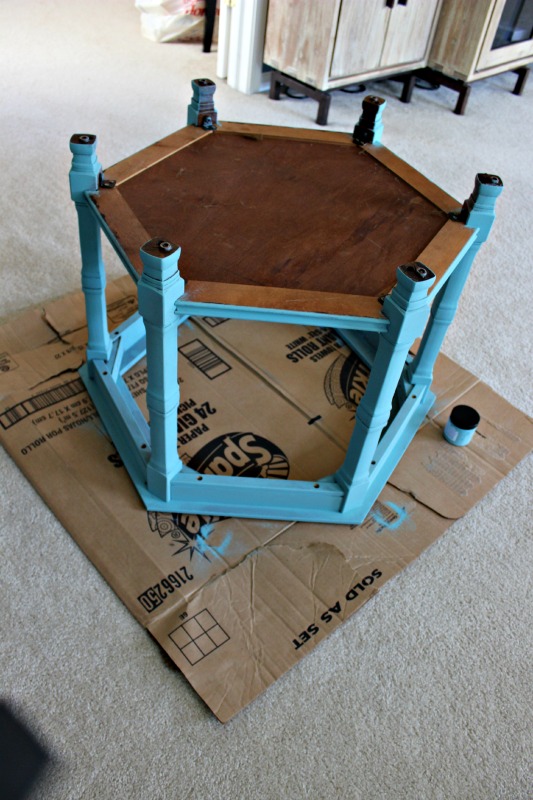
When I did finally uncover this beautiful little trick, I decided to try it out on a small project first. The guest room in our new house already had a pretty nice paint job, so all it really needed was furniture and a little decor to finish it off. We had a bed and we added my rehabbed hutch, but a chalk paint side table seemed like a great cap to the room. I nabbed a pretty ugly but sturdy side table for $15 that would serve as the perfect first attempt at this whole chalk paint world.

This table needed a serious face-lift.
The only chalk paint I heard anything about at first was Annie Sloan. (I’ve since heard of others, and more posts are coming with some other options.)
My first issue was that Annie Sloan paint is NOT easy to find. It only comes from certain retailers, and I had to drive an hour to an antique store to locate mine. (Note: Now available at Amazon!)
It also wasn’t cheap. I ended up buying the sample jar (which is pretty tiny) just to try it out. Fortunately for me, the sample jar was enough to do my entire table! I bought a sample of Provence.

The nice thing about chalk paint? NO SANDING. You know I hate sanding!
You can do one to two coats for a distressed look, but I wasn’t really going for that on this project. I used three coats, which consisted of the entire jar of paint, to try for a smoother finish.
I also bought the Annie Sloan chalk wax to coat the table, and rubbed that on liberally with a rag.

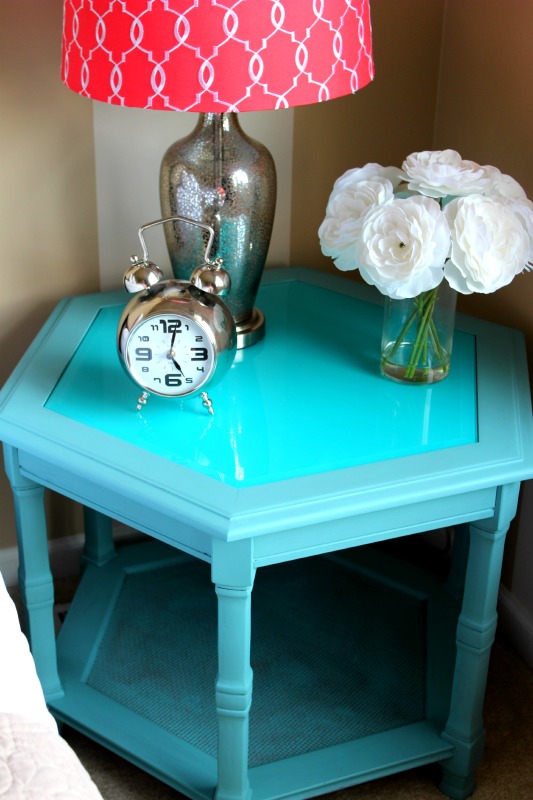
I removed the glass top and flipped it upside down on a large piece of cardboard in my garage. I debated a few ideas, but decided to just go basic and spray painted the underside of the glass with Rustoleum Satin Lagoon. It took several coats to fully cover the underside of the glass, but when I flipped it back over and settled it on the table, I LOVED the result.

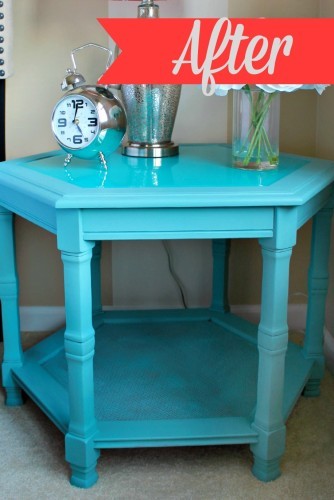
A $15 jar of chalk paint (plus another $40 for wax and brushes) and the $5 spray paint can netted me a beautiful table and conversation piece in our new guest room. Overall, that is not the cheapest table in the world, but the brushes, wax, and spray paint will last for several more projects, so I’m getting more out of it than that.
(Stay tuned for the rest of my projects using those materials!)
More Fun Furniture Makeovers:
Steamer Trunk Makeover from Two Purple Couches
Supplies:
Annie Sloan Chalk Paint in Provence


You May Also Like


One comment