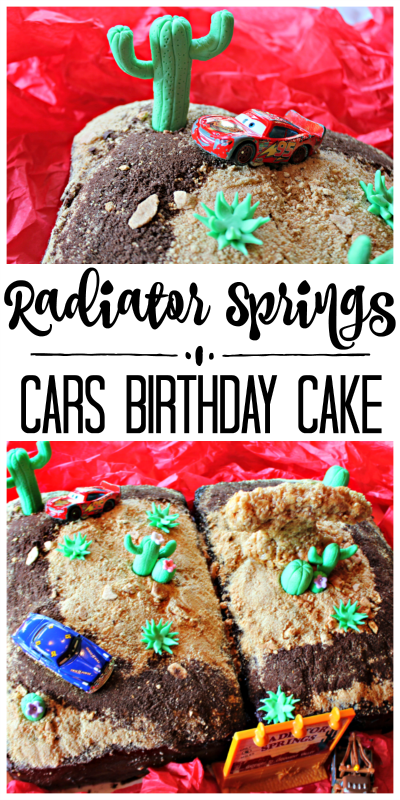
My boys are both huge fans of the Pixar CARS movies, and I had a BLAST making this Radiator Springs birthday cake for my youngest!
Now, I will be the first to admit that I do not bake, nor do I create fancy cake decor. (If you have the talent to apply for one of those amazing cake decorator jobs on Jooble, my hat’s off to you!) However, I’m experimenting with my craftiness . . . and getting tighter with my budget.
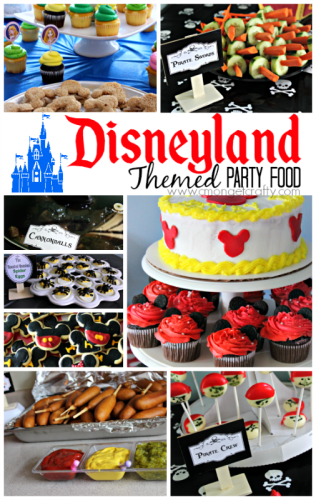
After my previous Finding Nemo birthday, Avengers birthday, and Disneyland birthday parties, I was happy to phone it in this year. I went with simple Cars birthday decorations, and made my own Radiator Springs birthday cake. Well, with a little help from my more talented cousin.
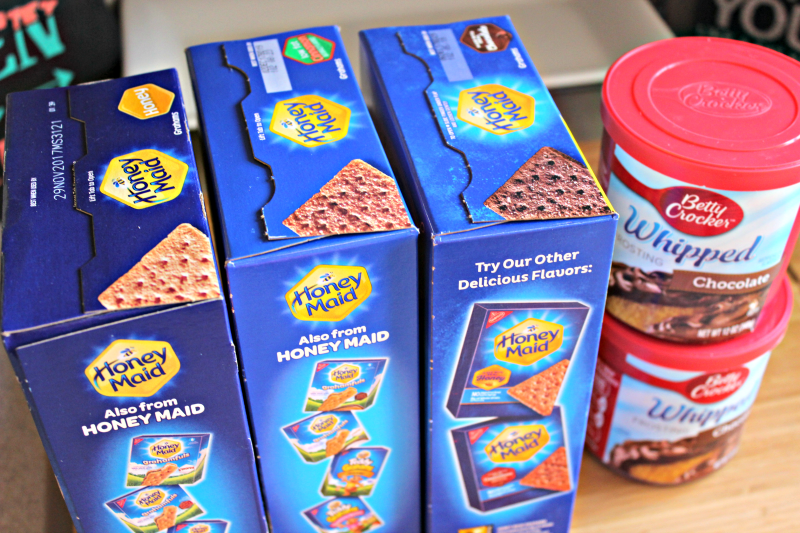
This cake came about from my personal vision, and a LOT of Pinterest insight. Props must also be given to my cousin’s husband – he came up with the graham cracker crumb idea! Before I get to that though, here’s the shopping list.
*Post contains affiliate links. See my full disclosure here.*
What You Need To Make a Radiator Springs Birthday Cake
- Four Packages Box Cake Mix
- Cinnamon Graham Crackers
- Honey Graham Crackers
- Chocolate Graham Crackers
- Four Containers Chocolate Frosting
- Rice Krispies
- Marshmallows
- Butter
- Toy Cars
- Cake Release Spray
- Cake boards
So, I’m going to run this down the same way I made it – sort of on the fly! I’ll skip the most boring parts – I took four box cakes (2 chocolate, 2 vanilla) and baked them. Okay, that’s a lie. I baked FIVE cakes, since I screwed up one. That hot mess was all my fault. I’ll explain.
My cousin had given me an excellent tip for baking my cakes by recommending I get Cake Release Spray to help the cakes pop out neatly. You simply grease the cake pan with it prior to baking and the cakes slide out nice and neat.
However, if you happen to grease the pan, mix the batter, fill the pan, and THEN realize you forgot a key ingredient in the batter mix and have to pour it back out and remix it but now it is combined with cake release spray and you bake it. . . well, that isn’t quite so neat.
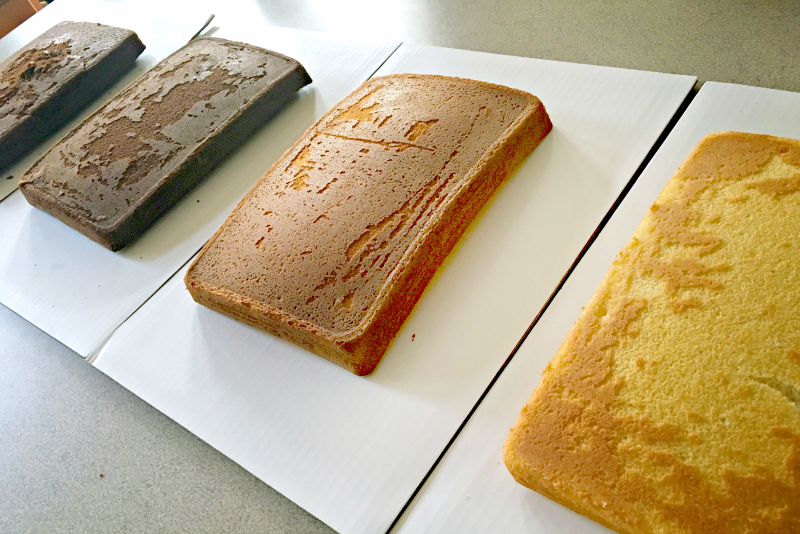
I had to scratch that cake, run to the store, and buy another box of mix. But finally I ended up with four nice neat cakes. The Cake Release works really well, especially if you’re not the best baker.
Stacking and Frosting
I didn’t take pictures of this process, but essentially I frosted the tops of two cakes (1 chocolate, 1 white) and flipped the dry cakes over on top of them to create my stacks. Then you frost all around the top and sides.
Now, my other mistake here is that I didn’t put my stacks on one board, together, since the cake boards I bought weren’t big enough. Each stack was on one board. But I decided to make it work.
Creating the Topping
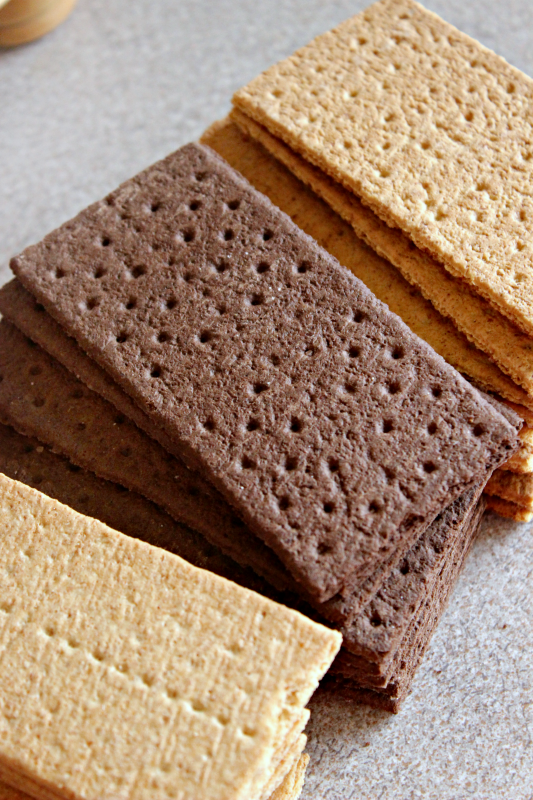
My cousin’s husband had the brilliant idea to use crumbled graham crackers for the “dirt” track at Willie’s Butte in CARS. I decided to get three flavors/colors in order to better achieve the affect of the desert and the outline of the dirt track that I wanted. I crumbled each flavor individually in my Cuisinart food processor, but you could do the old rolling pin and Ziploc bag trick. I’m not normally all about the latest gadgets, but I’d be lying if I didn’t say making my cake batter in my Christmas gift Kitchen Aid mixer wasn’t AWESOME.
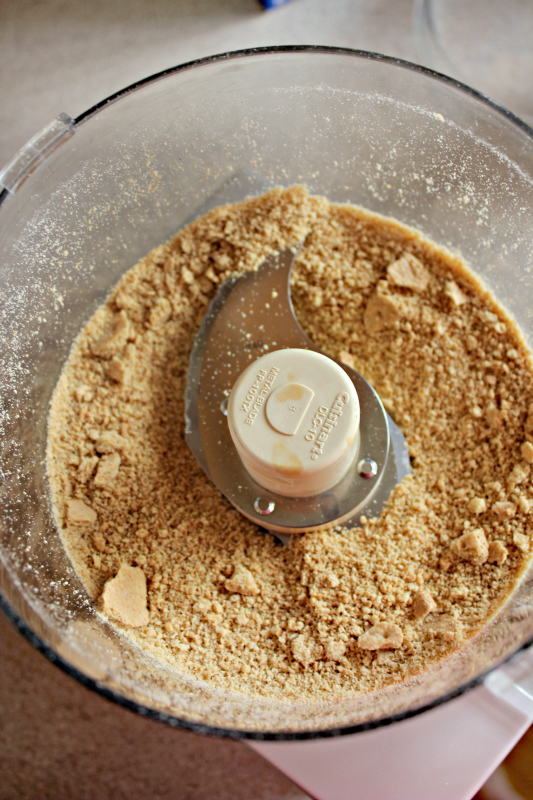
Using a spoon, cover the top of the cake in the lightest colored crumbs in the thickest layer. Follow up with sprinkles of the medium color all over, and lay out a thick line of the chocolate crumbles to create your track. My cousin showed up with these adorable gum paste cacti she had made at my request.

Now, I have no concept of how to do this, but I did get a small rundown from her as to her process, so I can share that. According to her, she bought white fondant and colored it green with food coloring. She then added some Tylose powder to work it into gum paste and shaped the various cacti. A few she topped with candy flowers. The results were awesome!

Once I was happy with with my dirt cover, we used toothpicks and skewers to place the cacti. I cleaned off my son’s toy Lightning McQueen and Doc Hudson and set them up on the dirt track.

Naturally, Doc is winning! (He’s my personal favorite.) With the throwback to the first movie in Cars 3, this cake works perfectly for either theme!

It was important to me to create Willie’s Butte – the radiator shaped rock formation in the middle of the dirt track of Radiator Springs. That we were at a loss with, until we decided to try Rice Krispies! The Rice Krispies worked perfectly as a rocky centerpiece! (Word to the wise – the long end of the butte drooped a bit in the summer heat, so keep that in mind and get pictures in first!)
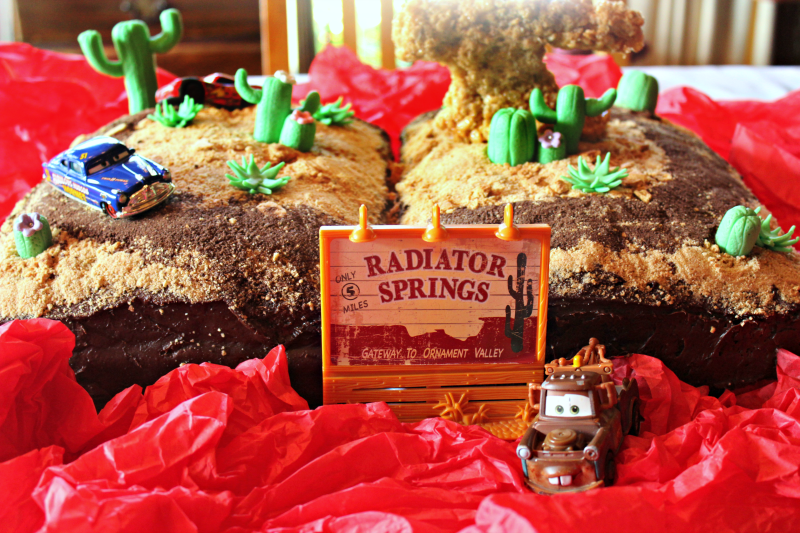
The Radiator Springs sign was a nice added touch, and “borrowed” from the boys’ Radiator Springs Geotrax set.
So what do you think?? With a frugal budget and some time, I think we pulled off a pretty fun Radiator Springs cake!
Admittedly, knowing someone proficient in gum paste didn’t hurt, but as the cacti are not exactly the most edible items, you could just as easily use toys, like I did for the cars!

[clickToTweet tweet=”You’ll LOVE this Radiator Springs Cake from box cake mix, frosting, & creativity! #disney #CARS” quote=”You’ll LOVE this Radiator Springs Cake from box cake mix, frosting, & creativity! #disney #CARS”]

I can assure you, the cake was just as delicious as it was fun, and my cousin and I received a decent helping of “ooh, wow” accolades. Now I feel like I need to one-up myself on my eldest’s September birthday cake!
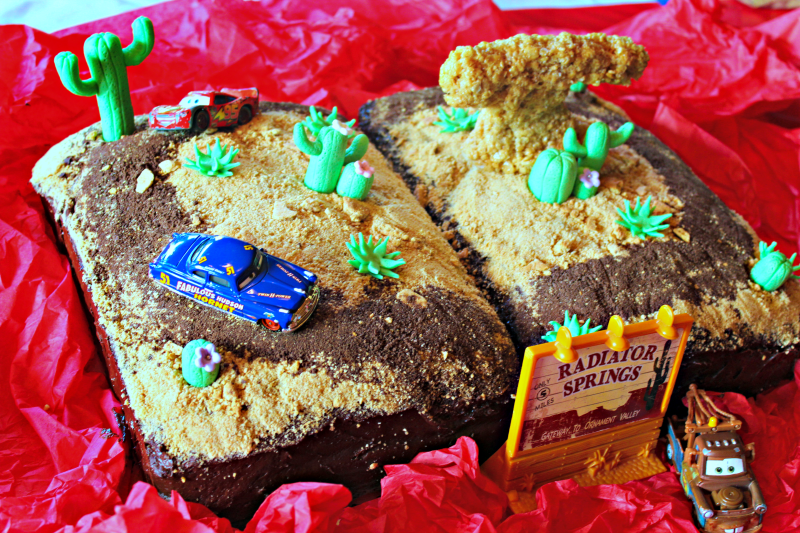
I had a lot of fun creating this Radiator Springs birthday cake, and I hope it inspires you to get creative with your baking!

You May Also Like

4 comments