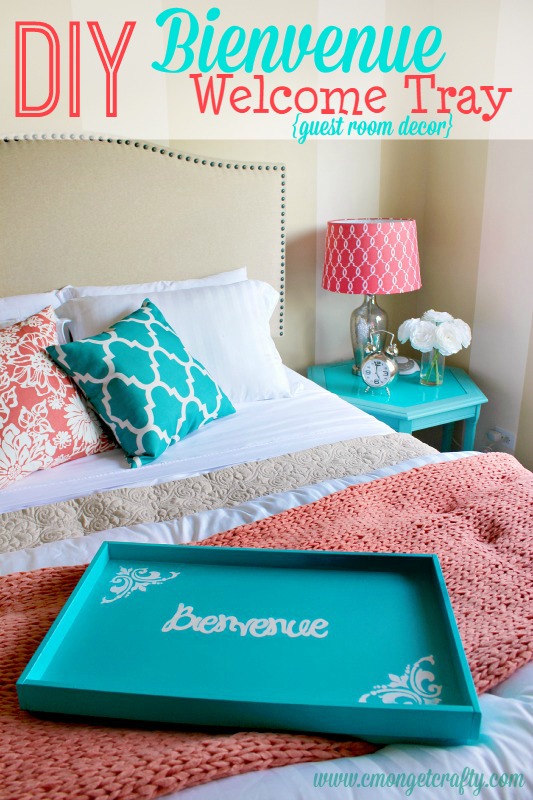
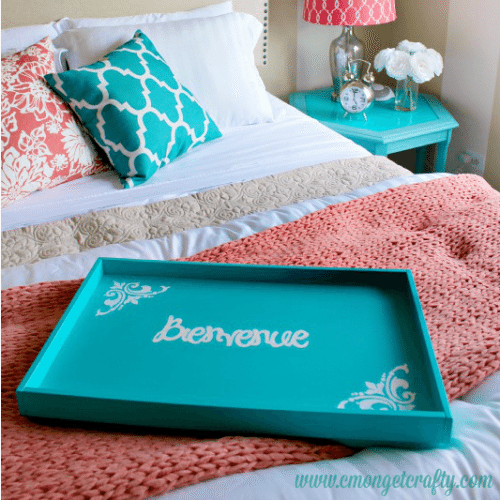
When you’re looking for a simple craft to elevate or accentuate a space, this one works beautifully! Here’s a fun Crafty Quickie project that’s ridiculously easy, budget-friendly, and makes you feel like you live in a chic Parisian loft (minus the croissants and existential ennui).
This is so incredibly simple, and cheap! We’ve had this wooden tray hanging around for as long as I can remember, and I knew I could transform it into a guest room showstopper.
So let’s see what it looked like first.
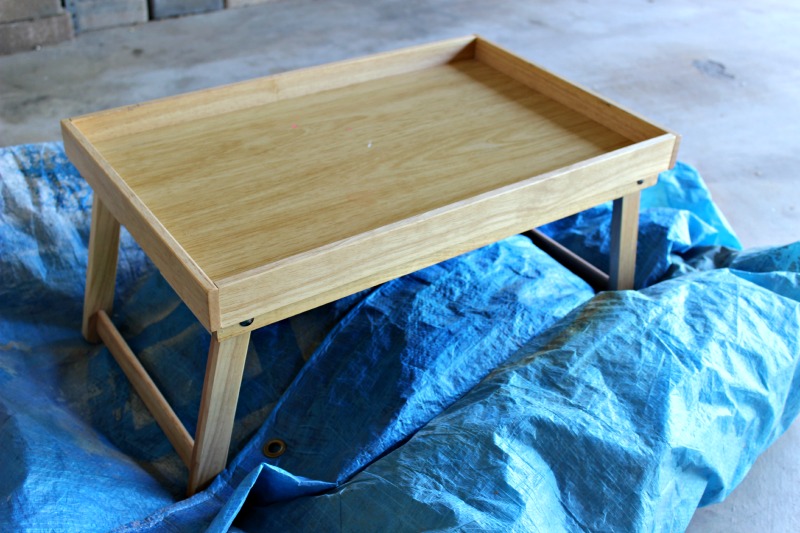
Step 1: A Sad Tray’s “Before” Moment
Yep, pretty dull. No flash, no flair, no. . . nothing. Boring. We can’t have that! Time to give it a glow-up. I grabbed my favorite spray paint shade (also a match to my chalk-painted table!) and got to work.
PSST – I use affiliate links on my website, from Amazon as well as others – this means if you click my links, I may earn a little money at no cost to you! I appreciate your support of my blog, and if you have questions, you can see my disclosure policy here. Thank you!!
Materials Needed
- Wooden tray (bonus points if it’s been gathering dust for years)
- Rust-Oleum Ultra Cover 2X Spray Paint in Seaside
- Painter’s tape
- Acrylic paint (lighter shade to complement your spray paint)
- Stencils (cut with Silhouette or plastic stencils for corners)
- Clear vinyl (for DIY stencils)
- White craft paint
- Small paintbrushes
Step 2: Paint Like a Pro (Or Pretend To)
Now for a few coats. Anyone out there like me, with little patience? I know I’m supposed to use light coats, over and over, for nice even coverage – and yet I frequently find myself with finger clamped down on the nozzle, dosing the hell out of my subject. Try your best not to be like me, you’ll have much better results. Light coats = smooth, drip-free tray.
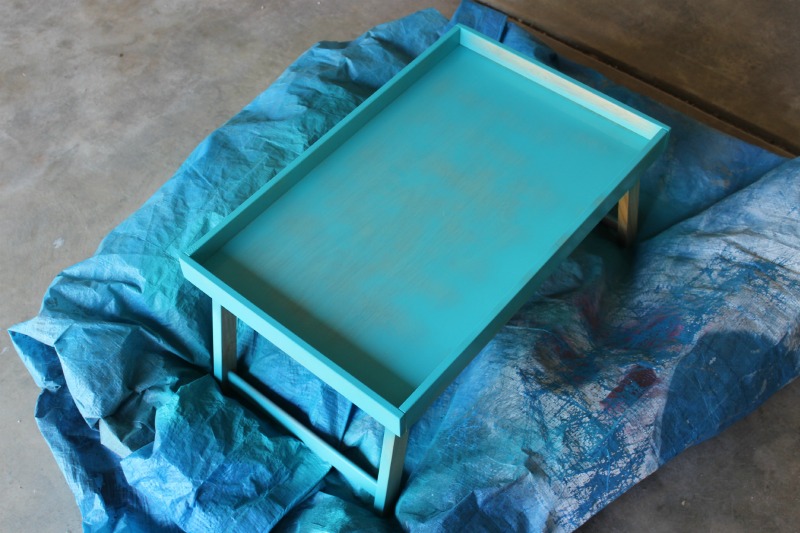
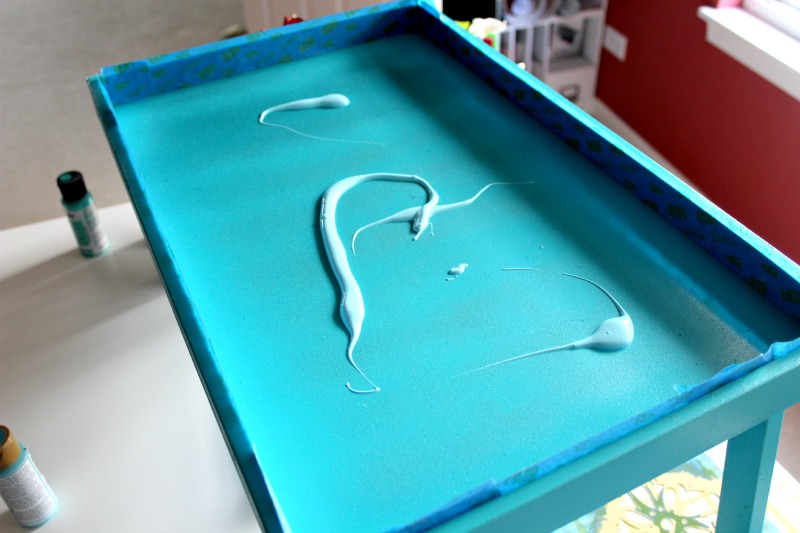
Once I had a lovely even coat of Seaside blue with no wood peeking through, I taped off the sides of the tray and brushed on a slightly lighter shade of acrylic paint inside. It’s a tiny detail, but it draws your eye to the center — like the fancy plating they do at bougie restaurants.
Step 3: Stencil Shenanigans
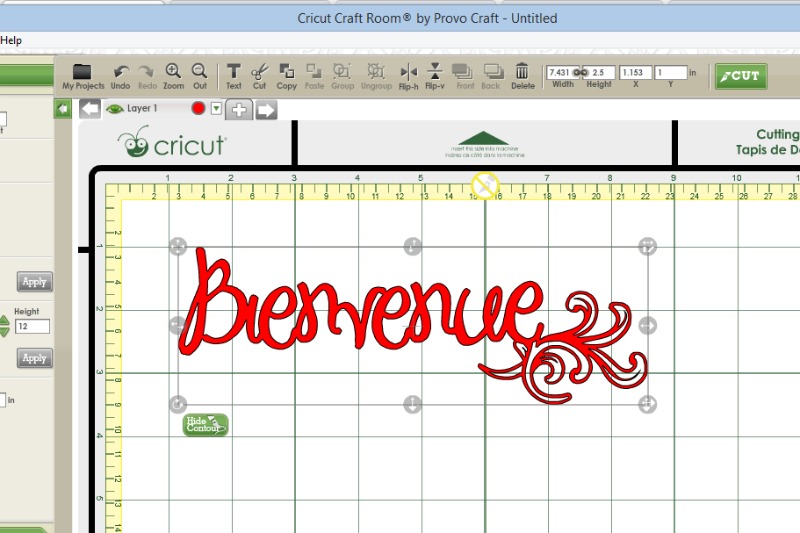
Next stop: stencil city. I fired up my Cricut to cut out “Bienvenue” (French for “Welcome,” because I’m classy like that) from the Summer in Paris Cricut Cartridge. I cut this on clear vinyl to create my own stencil, not trusting my freehand skills for this job. After I applied my stencil to the tray, I began filling it in with white paint. The swirls were a bit much on the end of “Bienvenue”, so I trimmed them off and just left the basic word. I also unearthed some old plastic stencils for the corner designs.
The Big Reveal
Et voilà! My guest room now has a little splash of “I’m a Pinterest mom, not a regular mom” energy. It’s a small touch, but honestly, those little extras make guests feel like you have your life together — even if you definitely had to shove three loads of laundry into a closet first.
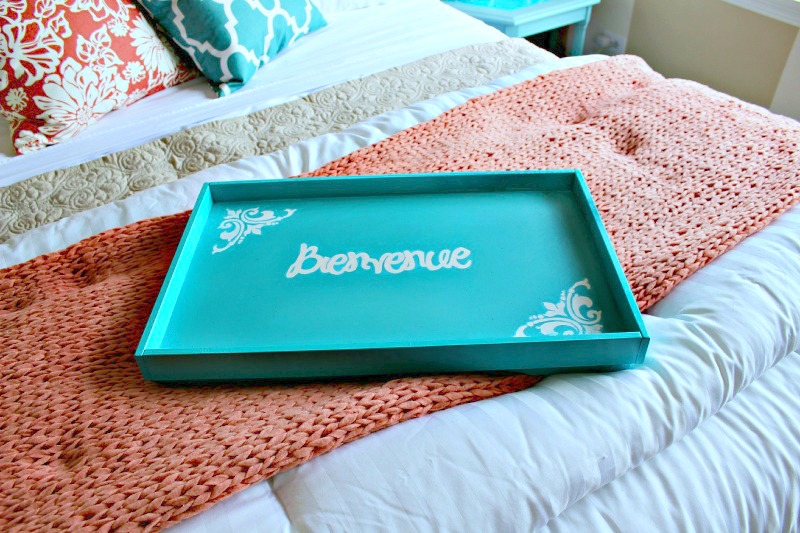
I love the little something extra it adds to my guest room!
What’s a small touch you love in your house?

