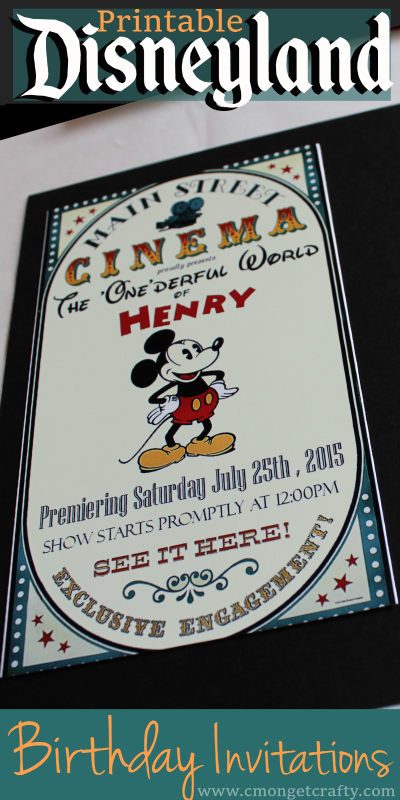
I am so excited that I am finally getting to share my Disneyland themed posts with you guys! This was such a fun celebration to plan for my son’s first birthday, and I’ve been waiting to bring all the ideas, photos, and printables to the blog. Let’s kick it off with where it all begins: the invitations.
Welcome to my Disneyland Series!
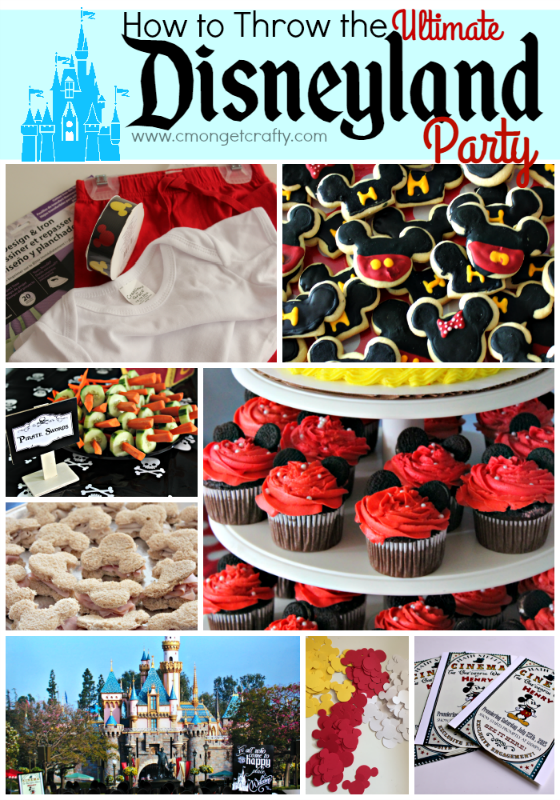
Every day this week I will be posting a different aspect of how I threw my son a Disneyland themed birthday party for his first birthday. There will be posts on decorations, food, birthday outfits, and plenty of free printable goodies for you! You won’t want to miss any of it, so make sure to subscribe so you can catch each post as it goes live!
PSST – I use affiliate links on my website, from Amazon as well as others – this means if you click my links, I may earn a little money at no cost to you! I appreciate your support of my blog, and if you have questions, you can see my disclosure policy here. Thank you!

First Stop: The Invitations
It has been quite some time since I made any cards, and I have missed the fun. I fully intended on handcrafting the invitations for H’s big bash and making them as cute as possible. But, like many of you know, time has a way of speeding up right when you’re trying to be crafty. So I went digital.
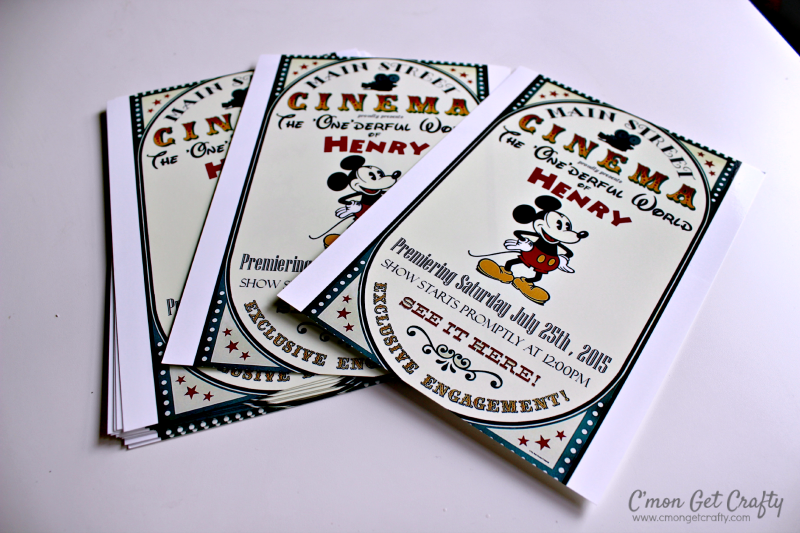
I created a digital invitation to post in a Facebook event and printed a few copies to send to non-Facebook friends and family. (I did get my paper craft fix later with the thank-you cards!)
Finding the Right Look
Since the party was inspired by Disneyland, I didn’t want it to lean too heavily on just Mickey Mouse. I wanted something that felt a little more vintage Disneyland – and a Pinterest search led me to the perfect retro park image.

Perfect!
I saved the image, and uploaded it to Picmonkey to get started personalizing it.
UPDATE: Picmonkey was my go-to tool prior to becoming acquainted with Canva - you could absolutely do all of the edits I discuss in Canva also.

How I Customized It:
- I used the Overlay tool to cover up the parts of the image I didn’t want. (In Canva, you could try Magic Edit, or – in a similar fashion to what I did, use Draw or a shape element to cover the undesirable sections.)
- The eyedropper tool helped me match the color so everything blended cleanly.
- Then I added my own text using PicMonkey’s fonts and a few of my own, including a Disney-style font for that magical touch.
***Remember that you have more freedom when you’re designing for personal use, but you wouldn’t want to try to sell anything using licensed images or fonts.
The end result felt perfectly themed and totally unique to our party.


Printing + Mailing
I printed the finished invites and mounted them to black cardstock for a clean, finished look. Then popped them in the mail for a little extra magic. Done and done!
I love how they turned out!!

Bonus: DIY Thank You Cards
Later, I did get to play with paper and glue again for our thank-you cards. (Sometimes, you just need to cut something by hand, right?) I kept the theme going with color and font choices, and it was a fun project to wrap things up. It let me use my Mickey punch and Mickey ribbon!

Want to Use This Invitation for Your Own Party?
I’ve got you covered! You can grab the same template I used by clicking the link below. Open it up in PicMonkey or Canva (or your preferred editing tool), add your party details, and you’re ready to go.
These printables are for personal use only. Please don’t sell anything from this site, and if you share them, I’d love it if you link back to this post!
So there you have the first post in my Disneyland Themed Birthday Series!
This is just the beginning, so stay tuned. Next up: the decorations (aka the moment I turned my house into Disneyland!).
The birthday boy himself doesn’t want you to miss out!

If you’re a Disney lover like me, you’ll definitely want to follow my Disney Pinterest Board for even more ideas!


8 comments