I have had a hard time deciding my fall decor this year. I’ve been fighting between fall and Halloween decor and couldn’t decide what to do.
So I did both.
I’d like to introduce you to my REVERSIBLE Fall and Halloween Wreath. I decided to kill two birds with one stone.

PSST – I use affiliate links on my website, from Amazon as well as others – this means if you click my links, I may earn a little money at no cost to you! I appreciate your support of my blog, and if you have questions, you can see my disclosure policy here. Thank you!!
I grabbed on old grapevine wreath that had seen better days, and tackled it with some paper crafting. First thing to do was create a design that would work dual sided. My idea started with the idea of a “poisoned apple”. I figured apples are a good fall staple, what with apple picking and apple orchards.

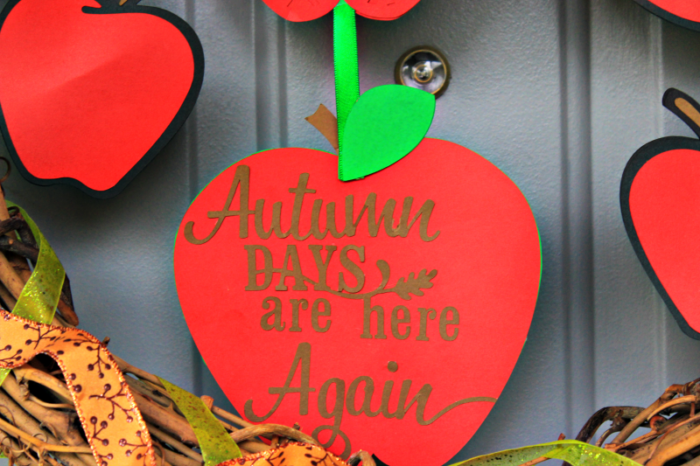
With a little help from my Silhouette AND my Cricut, I created a dual wreath. One side for fall, one for Halloween. I found these wonderful graphics in the Silhouette shop for $0.99 a piece and downloaded them for my project.

These were all super cute! If I’d had more time, I probably would have played around with welding the letters together of each design, since individually cutting them and adhering them to my paper apples was a bit obnoxious. I ran the small pieces through my Xyron sticker maker. I used my Skor tape to adhere the bigger paper cuts to each other. For my apples, I cut six; three apples mirrored to be glued back to back. I used some short wooden skewers in between the mirrored images and used those to stick them into my wreath.
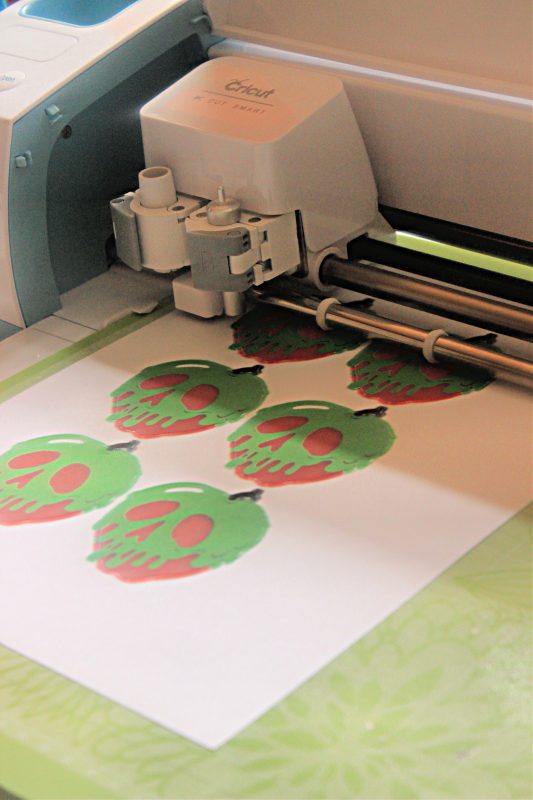
I used the PRINT THEN CUT feature on my Cricut for the poisoned apples, based on the design I used – but you could absolutely find an SVG file to cut these in layers instead!
I used ribbon to attach my two main apples, putting the words for each theme on the back of the other apple. I wrapped my wreath in a neutral green sparkly ribbon, one that would match both themes. Then, on either side, I used my Skor tape to stick a themed ribbon around the wreath, showing only on the appropriate side. So how do you think it turned out?
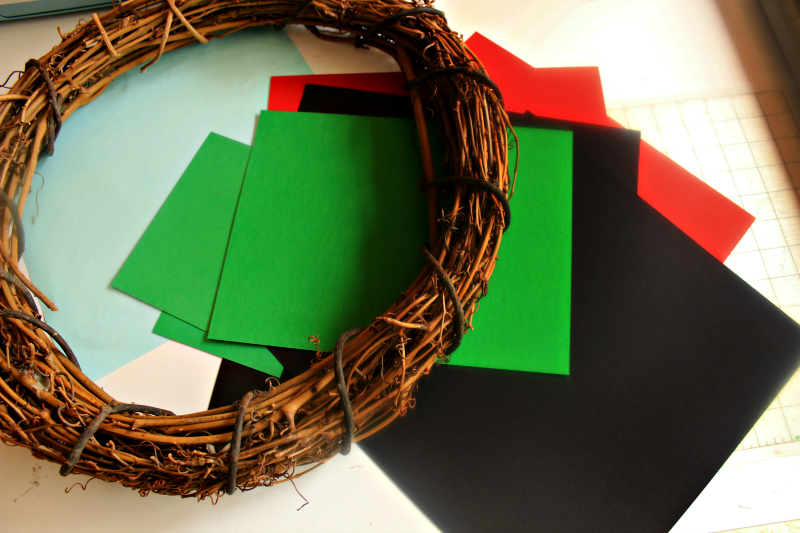
Supplies Needed
- Grapevine wreath
- Paper crafting materials (colored cardstock, scissors, glue)
- Silhouette, Cricut (or similar crafting cutter)
- Ribbon (green sparkly ribbon and theme-specific colors)
- Wooden skewers
- Xyron sticker maker (optional for smaller pieces)
- Skor tape or strong double-sided tape
Step-by-Step Guide:
(Sorry for the lack of process photos – they were all super blurry and grainy – my pre-iPhone days!)
Step 1: Design Preparation
- Start by either selecting a design (there are great options for FREE over on Creative Fabrica!) or designing your elements on the software of your choice. For a fall theme, think apples and leaves; for Halloween, consider bats or spooky elements. If you want the Disney ones, or similar, you can get those in Cricut Design Space!
Step 2: Cutting
- Use your cutting machine to cut out the paper elements for both themes. Remember to mirror the shapes for each side of your reversible elements.
Step 3: Crafting the Apples
- Cut six apples in total, ensuring three are mirrored to glue back-to-back. The Fall Apples were done using a BASIC cut feature, but the Poison Apples were done using the PRINT THEN CUT feature on my Cricut. This is due to the
- Place a wooden skewer between each set of mirrored apples to act as the spine of the apple, using glue to secure.
Step 4: Assemble the Wreath
- Wrap your grapevine wreath with the ribbon as a base layer to suit both themes.
- Attach the main themed elements (like the apples) using wooden skewers stuck into the wreath. Ensure that each side’s theme elements are visible only when desired.
Step 5: Adding Details
- Apply the themed ribbon to each side of the wreath, securing it with Skor tape or another strong adhesive. This ribbon should only show on the corresponding themed side and can be wrapped around the wreath’s visible sections.
Step 6: Final Touches
- If you’re using smaller paper elements, run them through a Xyron sticker maker for easy application or use double-sided tape to adhere them to the wreath.
- Arrange and adhere any additional decorations such as paper leaves or Halloween bats to enhance the themed looks.
Step 7: Display Your Wreath
Once completed, hang your wreath on your door or a preferred spot. Simply flip the wreath to switch between the Fall and Halloween themes as desired!
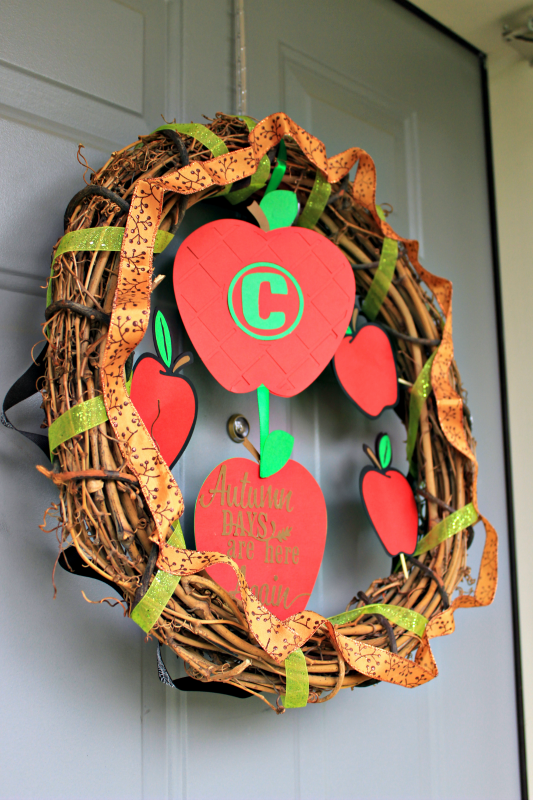

Not too shabby for an old wreath and a bit of paper!

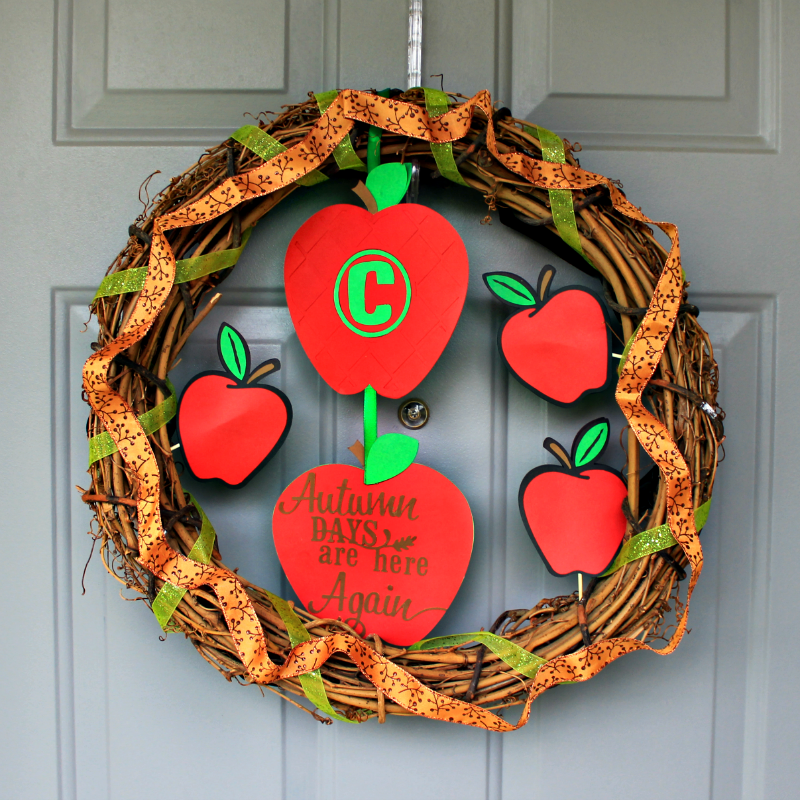
Do you like putting out a wreath for each season?

Very clever! I really like the idea of apples as they are great from late summer through harvest season. And reversible is such a time and money saver, too! I harvest wild grapevines that INFEST my yard (not even any sour grapes!) and make my own wreathes and tiny ones for Christmas ornaments. 1) Exercise, 2) needed yardwork, 3) no cost craft supply—win-win=win! I find I don’t decorate as much now that kids are grown and gone, but my daughter’s annual pumpkin carving party submerges us in HALLOWEEN!