Google Analytics is a powerful tool that tracks and analyzes website traffic for informed marketing decisions.
Service URL: policies.google.com
_gac_
Contains information related to marketing campaigns of the user. These are shared with Google AdWords / Google Ads when the Google Ads and Google Analytics accounts are linked together.
90 days
__utma
ID used to identify users and sessions
2 years after last activity
__utmt
Used to monitor number of Google Analytics server requests
10 minutes
__utmb
Used to distinguish new sessions and visits. This cookie is set when the GA.js javascript library is loaded and there is no existing __utmb cookie. The cookie is updated every time data is sent to the Google Analytics server.
30 minutes after last activity
__utmc
Used only with old Urchin versions of Google Analytics and not with GA.js. Was used to distinguish between new sessions and visits at the end of a session.
End of session (browser)
__utmz
Contains information about the traffic source or campaign that directed user to the website. The cookie is set when the GA.js javascript is loaded and updated when data is sent to the Google Anaytics server
6 months after last activity
__utmv
Contains custom information set by the web developer via the _setCustomVar method in Google Analytics. This cookie is updated every time new data is sent to the Google Analytics server.
2 years after last activity
__utmx
Used to determine whether a user is included in an A / B or Multivariate test.
18 months
_ga
ID used to identify users
2 years
_gali
Used by Google Analytics to determine which links on a page are being clicked
30 seconds
_ga_
ID used to identify users
2 years
_gid
ID used to identify users for 24 hours after last activity
24 hours
_gat
Used to monitor number of Google Analytics server requests when using Google Tag Manager
1 minute


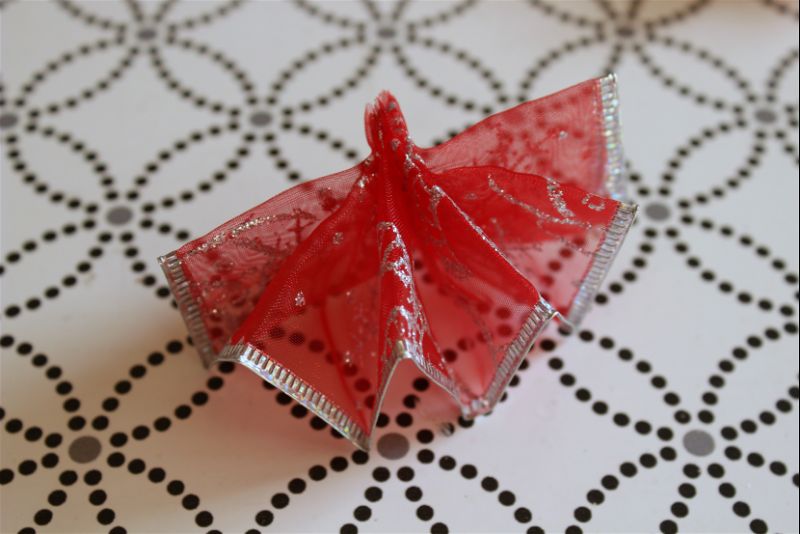
I’ve always wondered how they made those little angels but I never actually thought to look up a tutorial. Yours came out great! Pinned.
I love it and can’t wait to add it to my collection of Christmas angels that I hang on our tree each year! Thank you Megan!
These angels are beautiful! This is a great tutorial and I love ribbon crafts.
Such beautiful angels!!! I am definitely pinning this so I can make one for my tree! #2018ornamentexchange
Very pretty Megan! Love!
Kim
The angels are so pretty. It is a great way to use the pretty ribbon we all seem to collect.
What a pretty angel ornament and I love that it’s simple to make, too! I’m going to make a few of these for our tree.
Very pretty! I love decorating with angels myself!
Very festive angels! Merry Christmas!
Very nice! I have some wired ribbon that will be perfect for these, pinning! 🙂
I love using ribbon to make ornaments, too! And this is so adorable, Megan!
This turned out super cute! I fail at fabric crafts too haha but it looks like I could handle this one!
I’m sure your partner loved this new angel ornament. Looks like a great craft for teens to make too.
Your angel ornament turned out so pretty! I totally do a “test run” first before making one to gift; I want to be sure I do it the right way!
Sweet and you can customize the color to match any theme.
I am always looking for pretty ornaments that LOOK hard to make for my church’s Christmas bazaar. I really liked yours; I bet I have MORE ribbon that you do. How can you NOT buy more when it is 75-90% off? LOL!