PSST – I use affiliate links on my website, from Amazon as well as others – this means if you click my links, I may earn a little money at no cost to you! As an Amazon Associate I earn from qualifying purchases. I appreciate your support of my blog, and if you have questions, you can see my disclosure policy here. Thank you!
If you’ve had a baby, been around babies, or even scrolled Instagram in the last five years, you’ve probably seen those adorable monthly baby stickers. You know the ones: cute little circles declaring, “I’m 3 months old!” or “I can sit up!” stuck proudly to the belly of a squishy baby in a milestone photo.
These stickers have become a staple baby shower gift. While they aren’t terribly expensive, they are fairly simple in design. So today I’m going to show you how to make them yourself and do any design you want! You can fully customize them, gift them, or just stash them away for your next round of baby photo ops.
Why Make Them Yourself?
Now, my boys are past this stage, as are most of my friends’ kiddos. However, with the posts in my Baby Series from last year still pulling in some crazy traffic, I figured babies are still a big deal for a lot of you. When I was still operating my baby accessories business, I made many sets of these stickers. I loved getting to come up with fun new designs, and they are pretty easy to make!
Having made the decision a while back to close up shop and focus on my blog, now I want to share my tutorial on monthly baby stickers with you – plus, you can download a free set of my original Disney-inspired designs at the end of this post!
What You Will Need
- Access to a design site – like Picmonkey or Canva
- Printable Sticker Paper
- Printer and ink
- Cutting machine or circle punch
You don’t need a cutting machine, but it definitely makes life easier. Especially if you’re planning to make more than one set.
So let’s get into it!
Designing Your Stickers
First, you need to login to your design program. For the purpose of this tutorial, I’ll be using Picmonkey. I love it, it is easy, and there are both free and frugal plans. I use the paid plan because it is so cheap and I get all the extras!
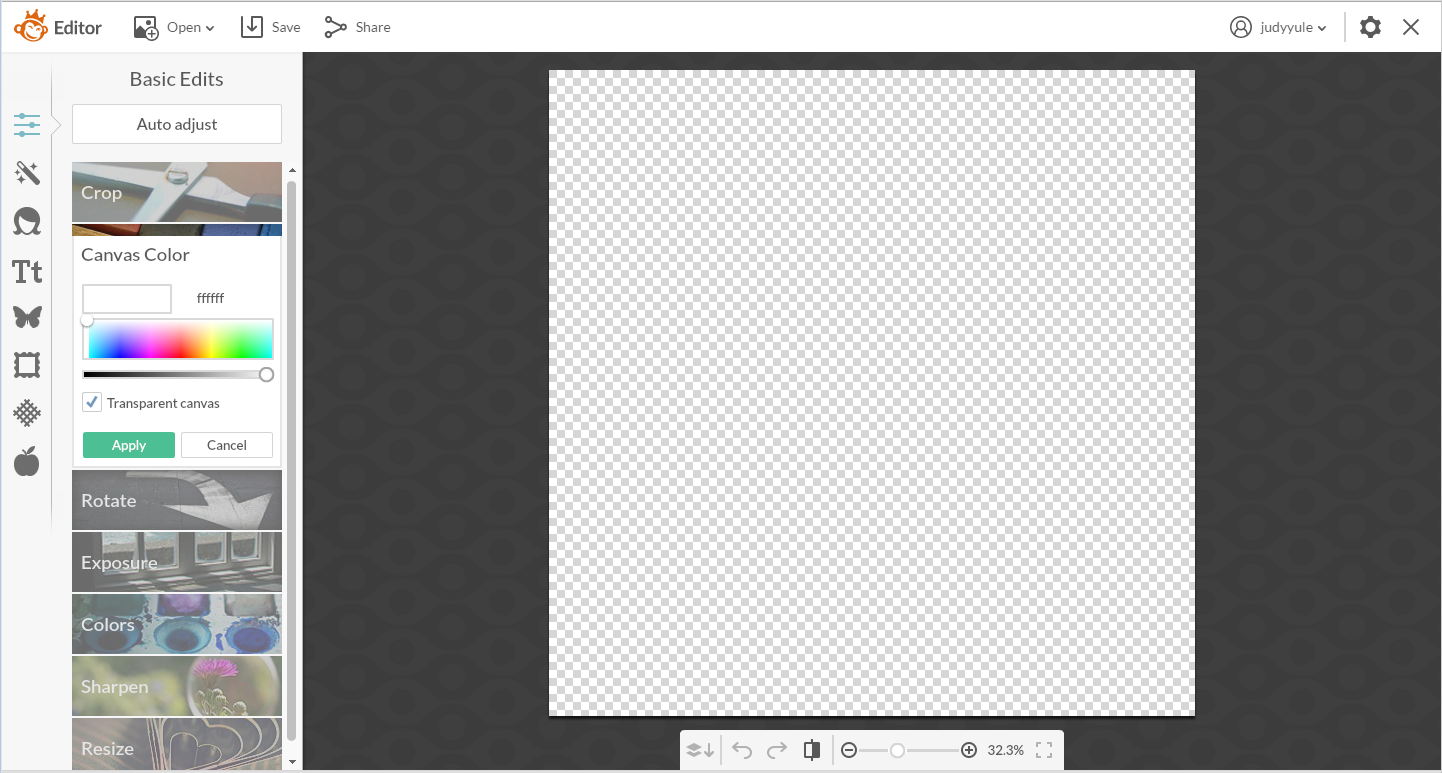
- After going to Picmonkey, click “Design” and select a square template. You want to make your canvas “transparent”.
- Once you have your transparent design, you want to click the “butterfly” tool for templates. Select geometric, and select a circle shape. Size the circle to the width of your canvas.
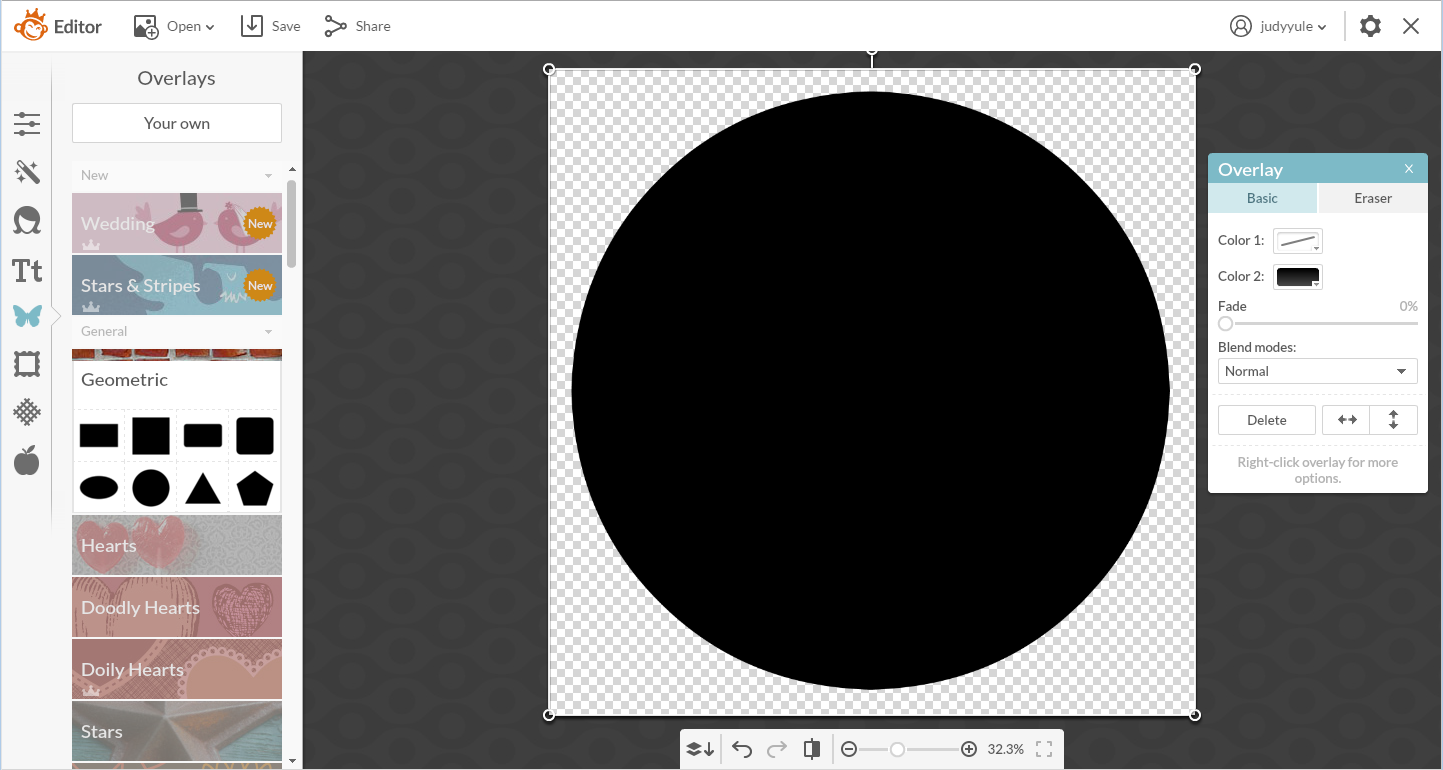
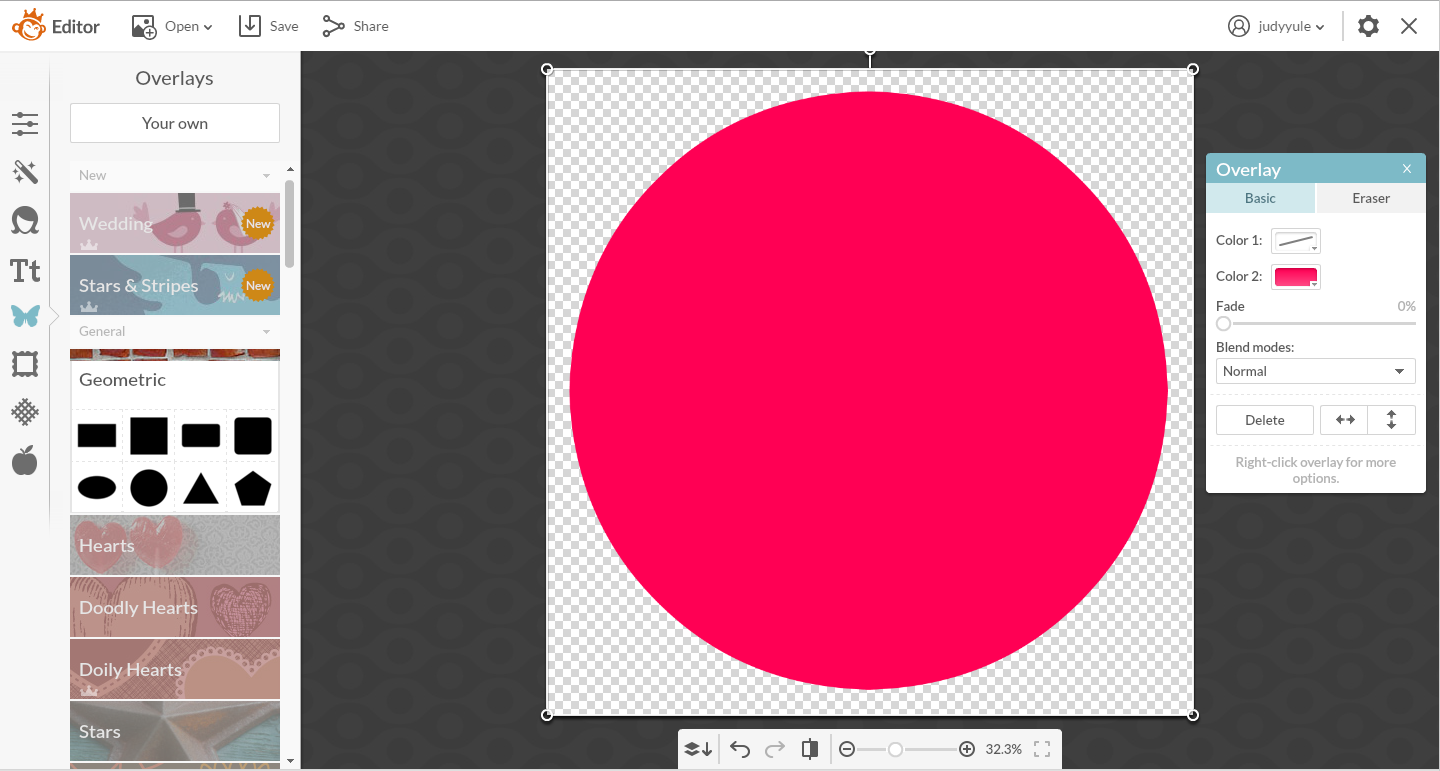
- The overlays will automatically default to black, but you can change them to any color you like. You can also feel free to use the squiggly circle vs the round circle, for a more fun sticker design, though you will want a cutting machine to make your life easier for that.
- It is important to make sure your base color is a nice rich, dark or bright color, and high contrast to the white. This will make it easier for a cutting machine to recognize, or to line up with your circle punch.
- Next you will overlay a new circle, using the Geometric tab in Overlays. (The butterfly icon).
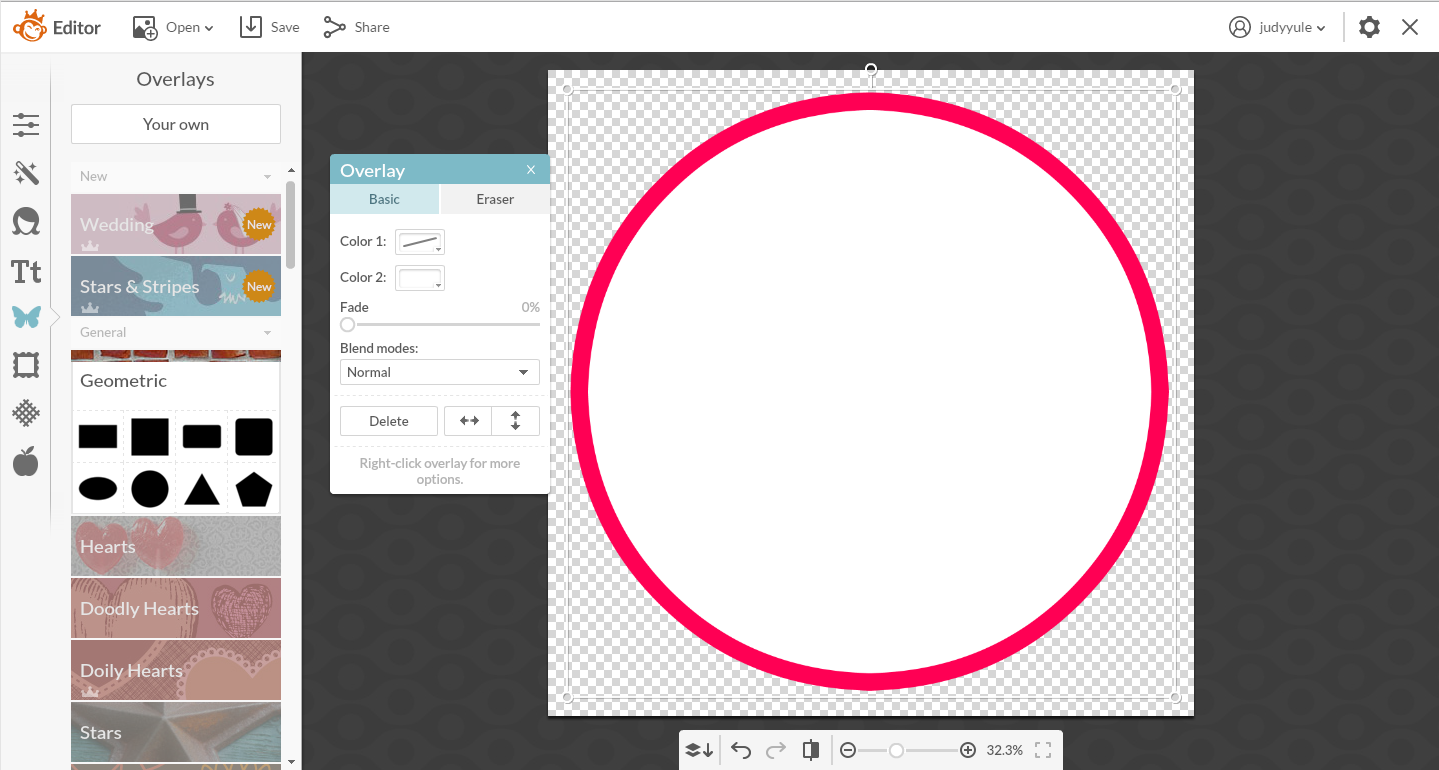
- Depending on your design, this circle could be colored, but white is easiest to read. Now it is time to add text!
- Click the “T” icon to move to text. Picmonkey allows you to use both their fonts and your own, so you can get super creative. If you intend to sell any of your designs, make sure you have the commercial license to use your own fonts.
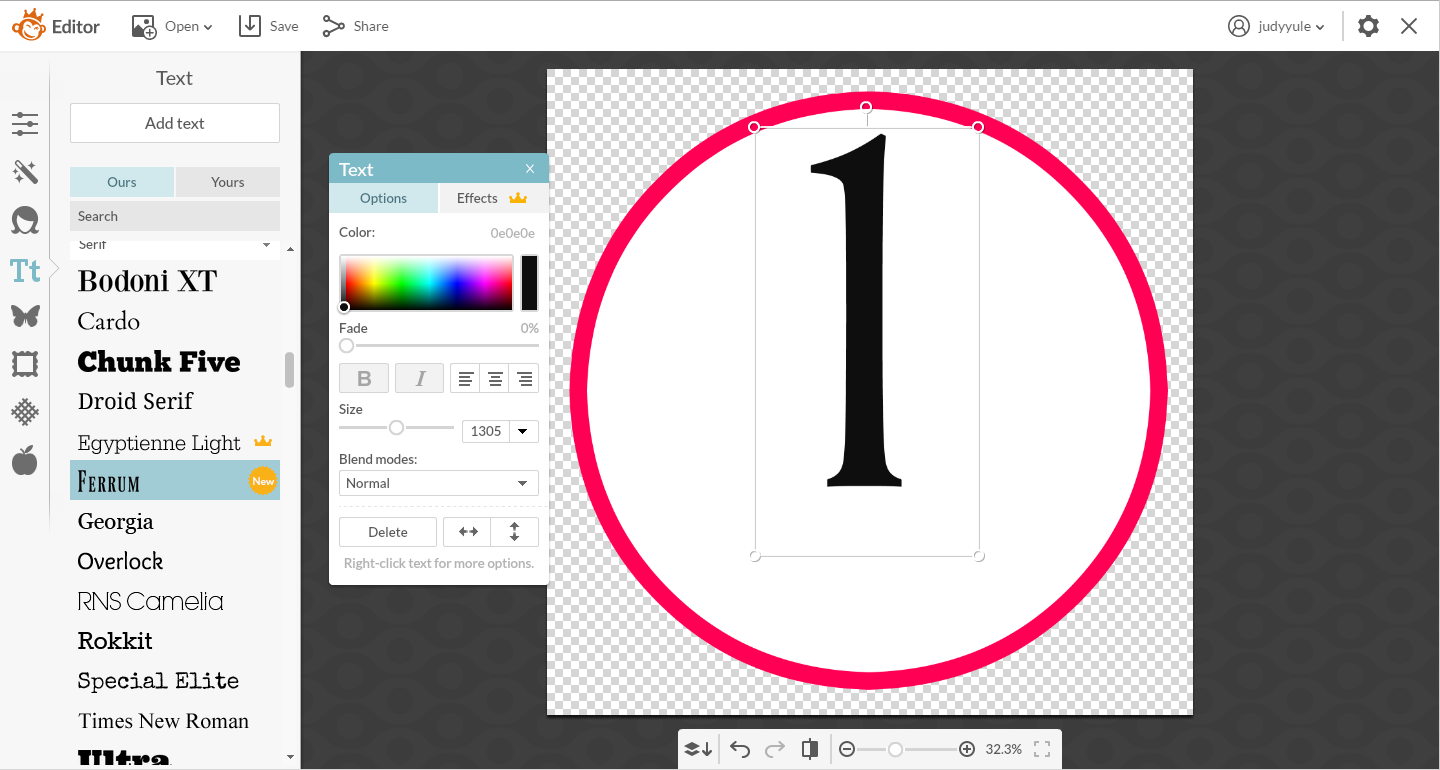
- Now comes the fun part! Play with fonts and overlays to create your unique design. Make the numbers the largest when creating monthly birthday stickers. You can add shapes, other colors, or they have some cute animal overlays available. Have fun!
- Use a contrasting font to spell out the “month” or “year” at the bottom.

- Once you are happy with your design, save it as a PNG file to your computer, at a high resolution. Picmonkey also has a beta version right now that allows you to save your designs to the Hub, which allows you to manipulate the overlays at a later time. This is a BIG deal to crafters such as myself, trust me!! SO EXCITED!!!
- Once you’ve saved one, just change up your numbers and save each one for a full set of 12 months.

Arranging and Cutting
Now, open up your cutting machine software, or Microsoft Word. You want to arrange four stickers per sheet. I always sized mine at about 4in in diameter. You can amend this to fit your circle punch size (I never found one that large), but it is a good size for a cutting machine and fits four stickers to normal sticker sheet at that size. Below is an example of one of my sheets:
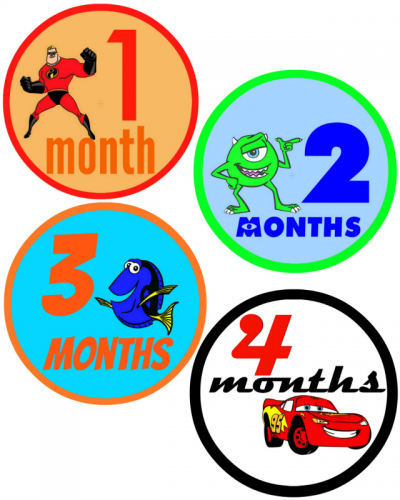
I created these by layering my Disney Cartidges in Cricut Design Space (before I owned my Cricut Explore Air™), and then creating a screen shot of the design and deleting the background. A bit more advanced, but you certainly don’t need to get that crazy.
- Once you’ve organized your stickers into sheet sets, you want to print on printable sticker paper. If using a cutting machine, you will need to import your designs to your software and set up the cutting settings to cut around the edges. Each machine is different, so check the tutorials online and in your manual for those. You will want to wait to print the images from your cutting machine software, not ahead of time.
- Once printed, cut them out! If going basic, use your circle punch to cut out the stickers. If using the cutting machine, load your printed papers to your machine and cut away.
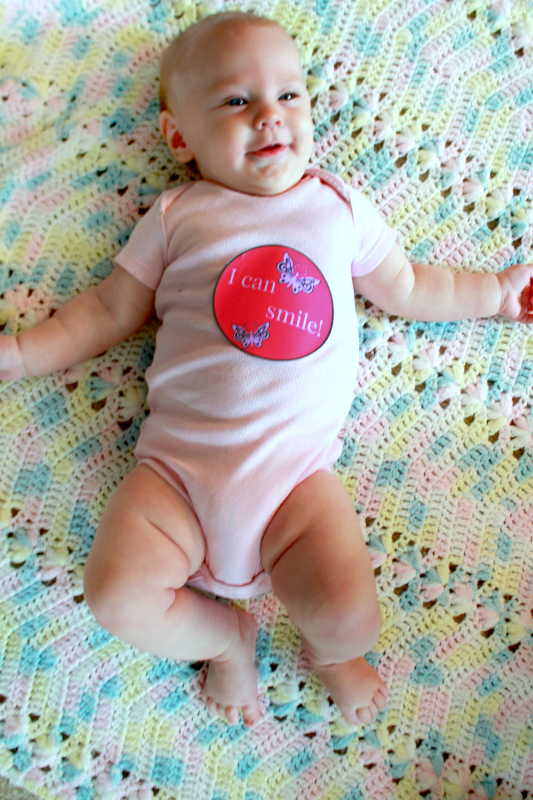
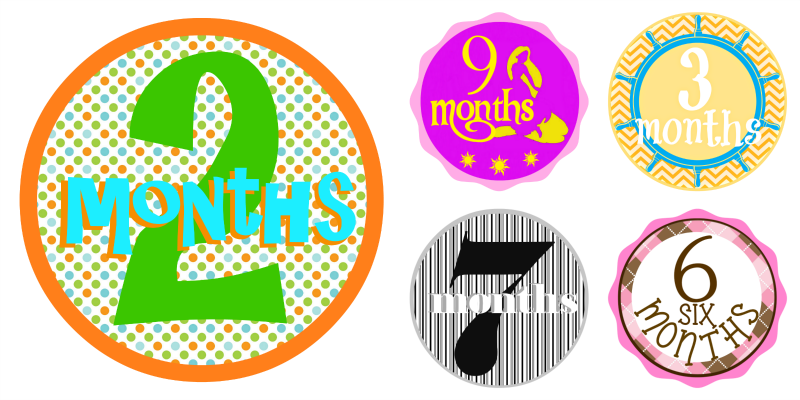
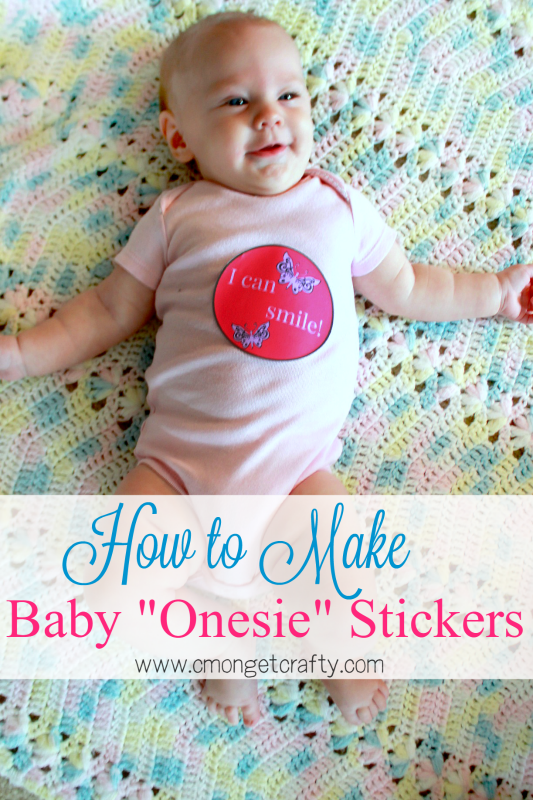
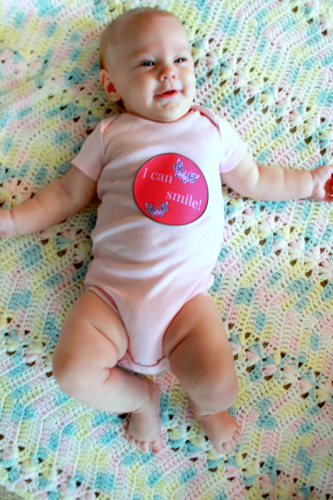
Above is my adorable goddaughter, sporting some “achievement” stickers I made for her. You can really get inventive with these. Below are a few different designs I created when I was still running my store:

Free Download: Disney Baby Sticker Set
Want to skip the design part and get straight to the cuteness? I’m offering a full set of my original Disney-inspired monthly milestone stickers (all 12 months, no repeats!) to anyone who joins my email list.
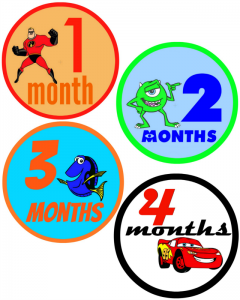
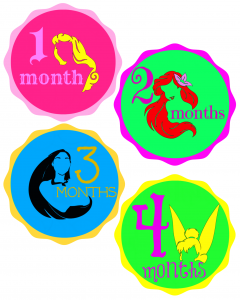
They’re perfect for Disney-loving parents, unique baby gifts, or anyone who just wants to add a little extra magic to those monthly baby photos.
More Disney Fun:
Disneyland First Birthday Party (with Printables)
DIY Floral Wire Minnie Ears from A Wonderful Thought

Nice
Love these
Lvoe to have your templates!